There’s something magical about antique wooden furniture – the rich patina of aged wood, the craftsmanship of another era, the stories embedded in every scratch and groove. But when those once-solid joints start wobbling, that magic can quickly turn to frustration. Don’t worry – repairing loose joints in antique wooden furniture is a skill anyone can master with the right guidance.
As a furniture restorer with 15 years of experience, I’ve repaired hundreds of pieces, from simple farmhouse chairs to ornate Victorian tables. The process of repairing loose joints in antique wooden furniture isn’t just about making something functional again – it’s about preserving history, honoring craftsmanship, and giving new life to pieces that deserve to be cherished for generations to come.
Table of Contents
Why Repairing Loose Joints in Antique Wooden Furniture Matters More Than You Think
When we talk about repairing loose joints in antique wooden furniture, we’re discussing much more than just a household repair. These pieces represent:
- Historical Value: That 19th century dresser might have construction techniques no longer used today
- Sentimental Worth: Family heirlooms carry memories that can’t be replaced
- Environmental Responsibility: Restoring is the ultimate form of recycling
- Financial Investment: Well-maintained antiques appreciate in value
The most common causes of loose joints in antique wooden furniture include:
- Natural aging of adhesives (early glues weren’t as durable as modern formulas)
- Wood movement from seasonal humidity changes
- Stress fractures from years of use
- Poor previous repairs that need correcting
Understanding these factors is crucial when repairing loose joints in antique wooden furniture because each requires slightly different approaches. For instance, furniture from humid climates like Florida often suffers from different issues than pieces from dry areas like Arizona.
The Complete Toolkit for Repairing Loose Joints in Antique Wooden Furniture
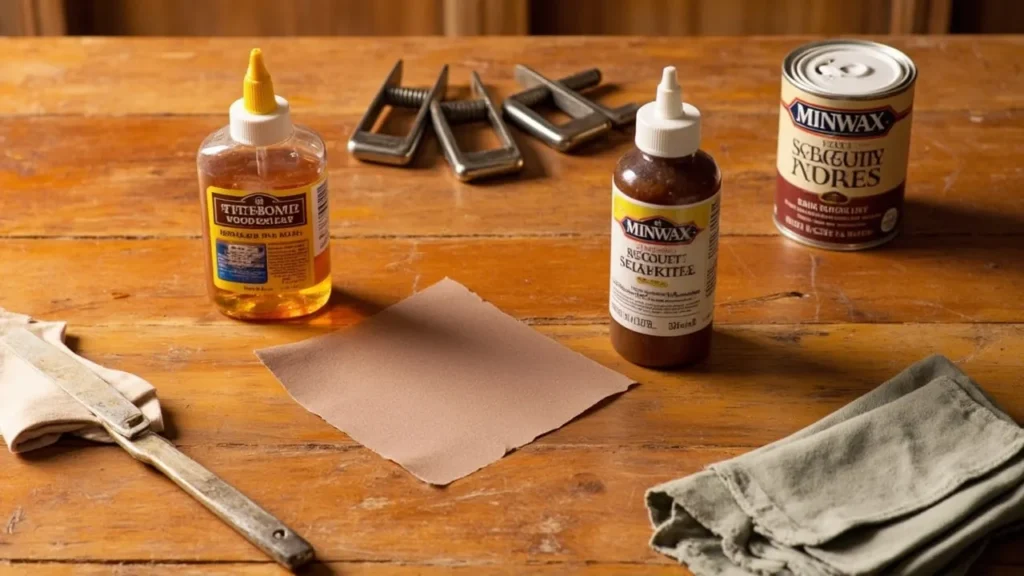
Before beginning any project involving repairing loose joints in antique wooden furniture, you’ll need to assemble the right materials. Here’s my professional-grade recommendation list:
Essential Tools:
- Clamps: At least 4-6 in various sizes (I prefer Jorgensen cabinetmaster clamps)
- Wood Glues:
- Titebond III for general use
- Hide glue for historically accurate repairs
- Epoxy for severely damaged areas
- Specialty Tools:
- Dental picks for cleaning old joints
- Syringes for precise glue application
- Japanese pull saw for delicate cuts
Materials for Different Scenarios:
When repairing loose joints in antique wooden furniture, you’ll often encounter:
- Simple Loose Joints: Just need cleaning and regluing
- Worn Tenons: May require shimming with veneer
- Cracked Mortises: Might need dutchman repairs
- Missing Parts: Could necessitate custom wood fabrication
For each scenario when repairing loose joints in antique wooden furniture, you’ll need slightly different materials. Always keep various wood types on hand for matching purposes – oak, mahogany, and walnut are most common in antiques.
The Professional’s Step-by-Step Process for Repairing Loose Joints in Antique Wooden Furniture

Stage 1: Assessment and Disassembly
- Document Everything: Photograph from multiple angles before disassembly
- Test Movement: Gently wiggle to identify all problem areas
- Disassemble Carefully: Use rubber mallets and padded clamps
- Label Components: Masking tape with numbers works well
Pro Tip: When repairing loose joints in antique wooden furniture, never force anything that won’t move easily. Heat and moisture can help stubborn joints separate without damage.
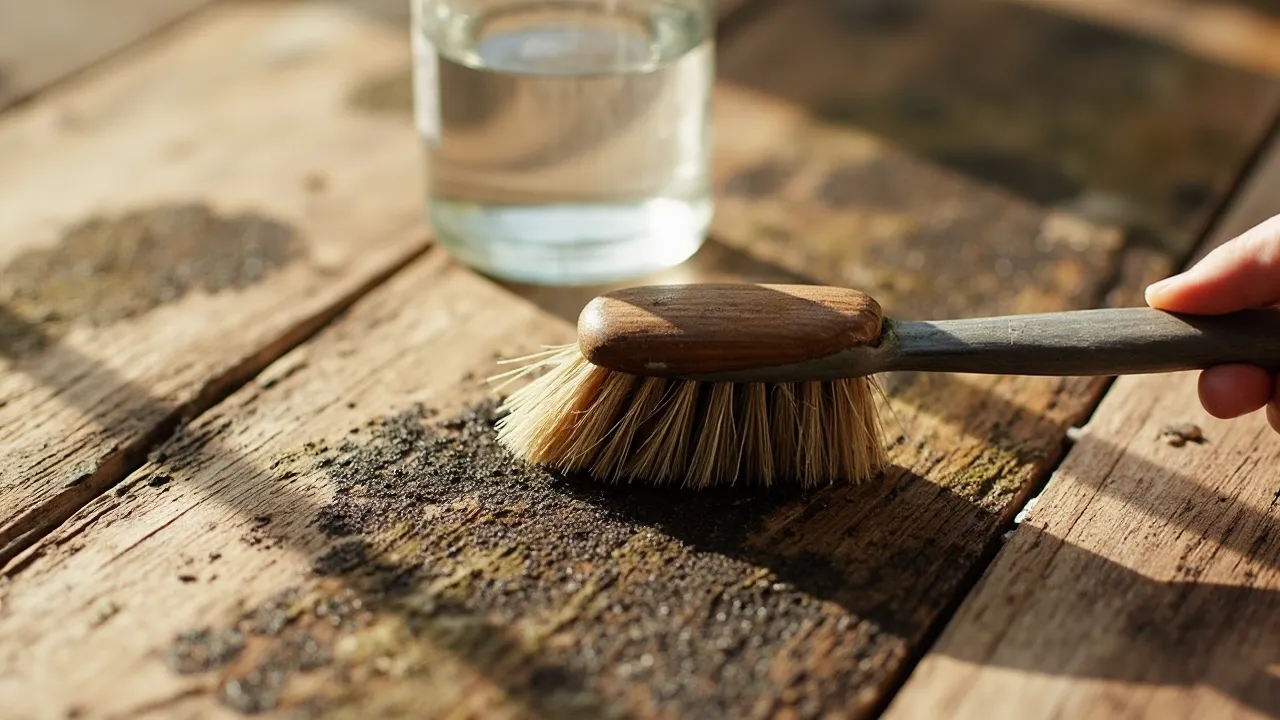
Stage 2: Cleaning and Preparation
- Remove Old Adhesives:
- Hide glue responds to warm water
- PVA glues need careful scraping
- Epoxies require solvents
- Inspect for Damage:
- Check for woodworm (common in older pieces)
- Look for hidden cracks
- Assess previous repairs
This stage of repairing loose joints in antique wooden furniture often reveals surprises. I once found a 1920s love letter hidden in a chair joint!
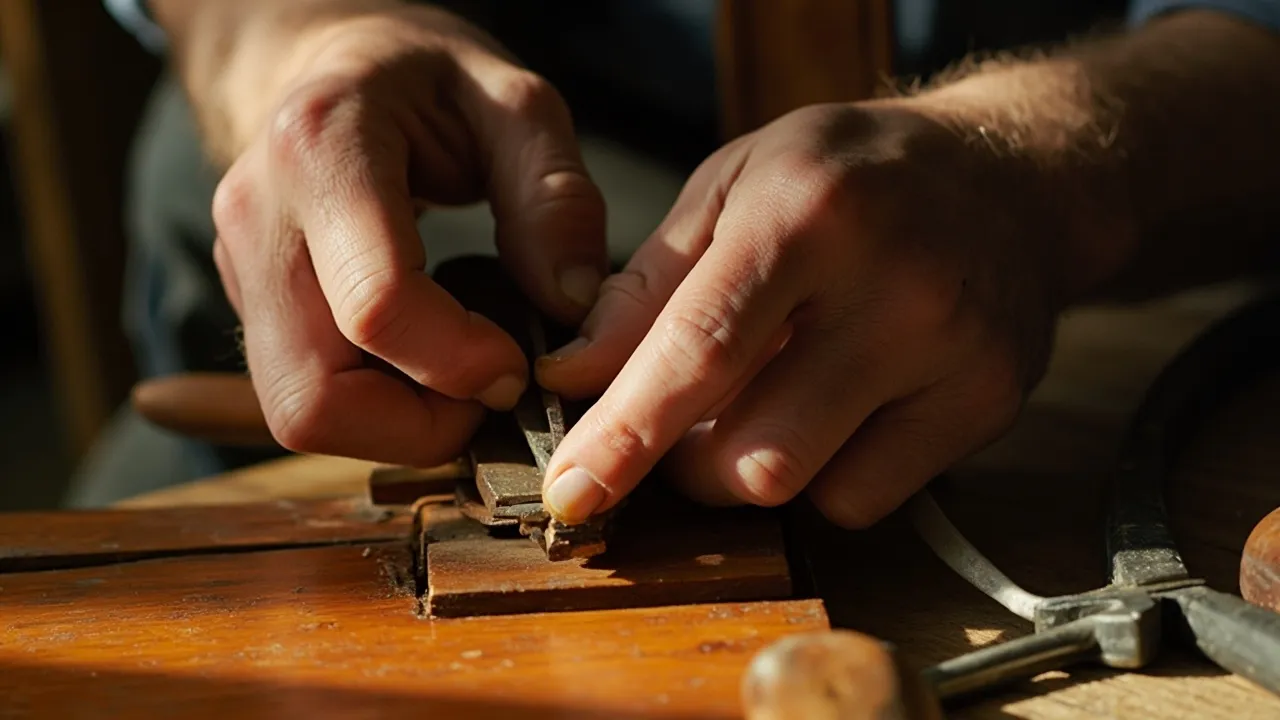
Stage 3: Structural Repairs
Here’s where repairing loose joints in antique wooden furniture gets technical:
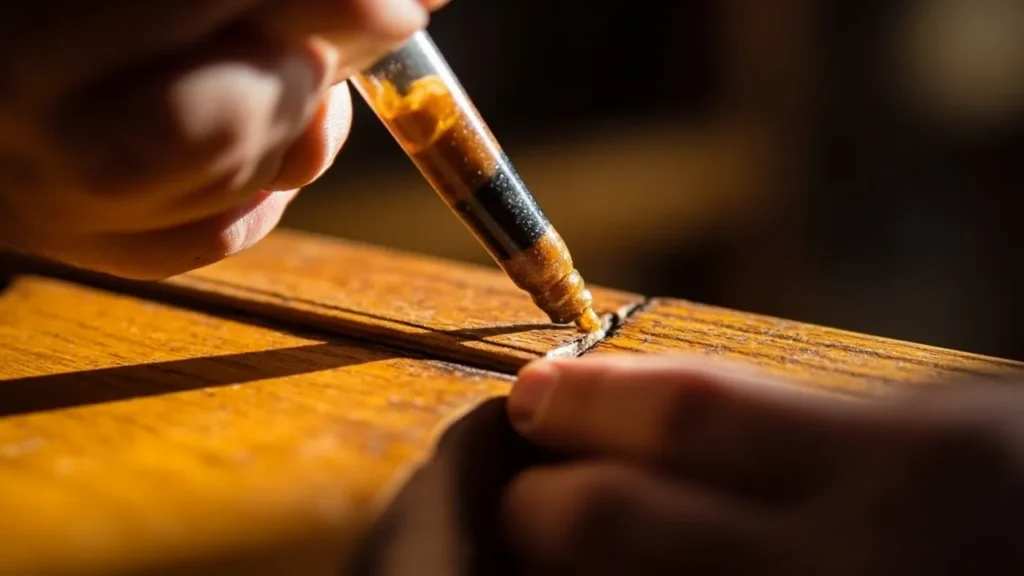
- Simple Regluing:
- Apply glue with syringe
- Clamp with even pressure
- Wipe excess immediately
- Tenon Repair:
- For slightly loose: Apply glue and wood dust mixture
- For very loose: Add veneer shims
- For damaged: Replace entirely
- Mortise Repair:
- Small gaps: Fill with epoxy/wood flour mix
- Large damage: Install dutchman patch
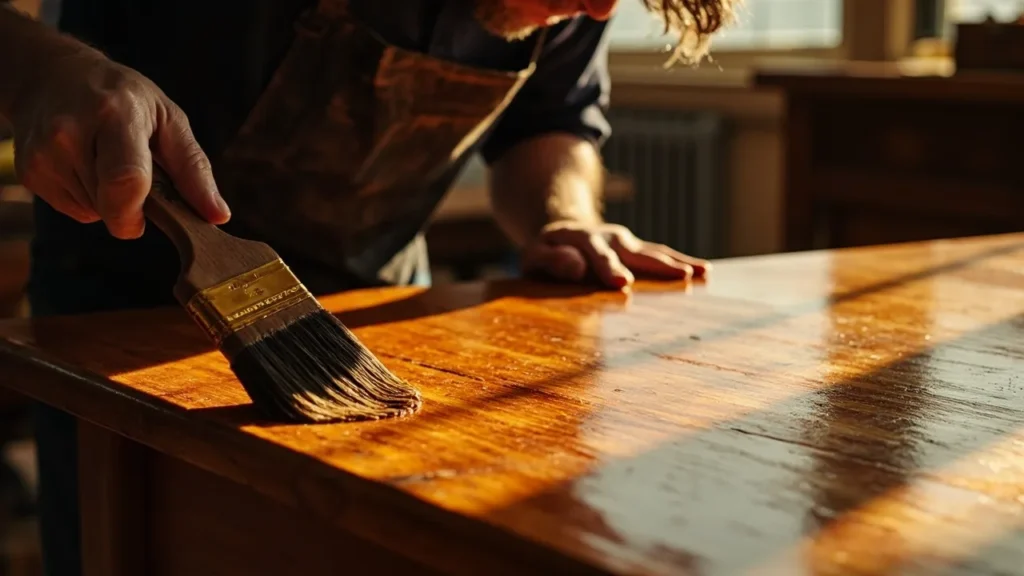
Stage 4: Finishing Touches
After repairing loose joints in antique wooden furniture:
- Clean Surfaces with mineral spirits
- Touch Up Finishes using appropriate stains
- Apply Protective Coatings like wax or shellac
- Reassemble Carefully checking alignment
Advanced Techniques for Repairing Loose Joints in Antique Wooden Furniture
For serious restorers, consider these professional methods when repairing loose joints in antique wooden furniture:
Drawboring:
- Traditional technique using offset peg holes
- Creates mechanical lock along with glue
- Requires specialized drill bits
Wedged Tenons:
- Adds expansion strength to joints
- Particularly good for chair legs
- Uses contrasting wood for decorative effect
Butterfly Keys:
- Stabilizes cracked wood near joints
- Adds decorative element
- Requires precise chisel work
Maintaining Your Repairs When Repairing Loose Joints in Antique Wooden Furniture
The work doesn’t stop after repairing loose joints in antique wooden furniture. Proper maintenance includes:
- Climate Control:
- Ideal humidity: 40-45%
- Temperature stability is key
- Use humidifiers/dehumidifiers as needed
- Regular Inspection:
- Check joints annually
- Look for new movement
- Address issues early
- Proper Use:
- Avoid excessive weight
- Lift rather than drag
- Use felt pads under objects
Common Mistakes to Avoid When Repairing Loose Joints in Antique Wooden Furniture
Through years of repairing loose joints in antique wooden furniture, I’ve seen every mistake imaginable:
- Over-gluing: Creates mess and weakens joints
- Over-clamping: Can distort delicate frames
- Using Wrong Adhesives: Some modern glues can’t be reversed
- Ignoring Wood Movement: Must account for seasonal changes
When to Call a Professional for Repairing Loose Joints in Antique Wooden Furniture
While many repairs are DIY-friendly, consider professional help for:
- Museum-quality pieces
- Extensive wood rot
- Valuable inlay work
- Complex curved elements
The Joy of Repairing Loose Joints in Antique Wooden Furniture
There’s profound satisfaction in repairing loose joints in antique wooden furniture. Each successful repair:
- Preserves history
- Honors original craftsmen
- Saves money versus replacement
- Reduces environmental impact
Frequently Asked Questions About Repairing Loose Joints in Antique Wooden Furniture
1. Can I use regular super glue instead of wood glue for repairing loose joints?
No, super glue (cyanoacrylate) is not suitable for repairing loose joints in antique wooden furniture. It dries brittle and doesn’t allow for wood movement, which can cause further damage. Titebond wood glue or hide glue are the best options because they remain flexible and can be reversed if needed.
2. How do I know if my antique furniture is worth repairing?
Consider:
- Sentimental value (family heirlooms are always worth restoring)
- Historical significance (check maker’s marks or construction techniques)
- Market value (consult an antique appraiser if unsure)
- Condition (if the wood is rotted or severely damaged, professional help may be needed)
If in doubt, repairing loose joints in antique wooden furniture is usually worthwhile—it preserves history and can save money compared to buying replacements.
3. What’s the best way to remove old glue before repairing a loose joint?
- For hide glue: Warm water and a soft brush
- For PVA (white/yellow glue): Carefully scrape with a chisel or use a heat gun on low
- For epoxy: Acetone or specialized epoxy solvents
Always work gently to avoid damaging the wood fibers.
4. How long should I clamp the joint after gluing?
For most wood glues (like Titebond), 24 hours is ideal. However:
- In high humidity (like Florida), wait 48 hours
- For hide glue, 12-18 hours is usually sufficient
- Never rush proper clamping ensures a lasting repair
5. Can I repair a loose joint without disassembling the furniture?
Sometimes, but it’s not ideal. Disassembly allows:
- Proper glue penetration
- Cleaning of old adhesive
- Inspection for hidden damage
If you can’t disassemble, try injecting thin cyanoacrylate (CA) glue with an accelerator, but this is a temporary fix.
6. Why do my furniture joints keep coming loose after repair?
Common reasons:
- Insufficient glue coverage (didn’t penetrate fully)
- Wood movement (humidity changes causing expansion/contraction)
- Poor clamping (uneven pressure or not held long enough)
- Wrong glue type (some modern glues aren’t flexible enough)
Solution: Use hide glue or polyurethane glue, ensure proper clamping, and control indoor humidity.
7. Is it better to use traditional hide glue or modern wood glue?
Hide glue (animal glue):
✔ Reversible (good for future repairs)
✔ Historically accurate
✖ Requires heating and precise mixing
PVA wood glue (Titebond III):
✔ Stronger bond
✔ Water-resistant
✖ Harder to undo
For museum-quality antiques, hide glue is best. For daily-use furniture, PVA is more practical.
8. How can I prevent future joint loosening?
- Maintain 40-45% humidity in your home
- Avoid placing furniture near heat vents or direct sunlight
- Use felt pads under heavy objects to reduce stress
- Check joints annually and retighten if needed
9. Can I use screws or nails to reinforce loose joints?
Avoid it! Metal fasteners can:
- Split antique wood
- Devalue the piece
- Cause uneven stress
Instead, use:
- Wooden dowels
- Drawbore pegs
- Wedged tenons
10. When should I call a professional for repairs?
Consider professional help if:
- The piece is extremely valuable (over $1,000)
- There’s extensive rot or insect damage
- You’re dealing with intricate marquetry or veneer
- The joint requires specialized tools (like a steam box)
Final Thoughts on Repairing Loose Joints in Antique Wooden Furniture
Mastering the art of repairing loose joints in antique wooden furniture opens up a world of possibilities. You’ll:
- Save family heirlooms
- Build valuable skills
- Discover hidden histories
- Create lasting legacies
Remember – every time you’re repairing loose joints in antique wooden furniture, you’re not just fixing an object. You’re becoming part of its ongoing story, ensuring it continues to bring beauty and function to future generations.