Imagine spending hours restoring a beautiful antique dresser, only to have the stain blotch or the paint peel within weeks. Heartbreaking, right? The difference between amateur and professional results comes down to one critical step proper sanding and surface preparation for wood. Whether you’re crafting a live-edge table in Oregon or refinishing a porch swing in humid Louisiana, this comprehensive guide will walk you through every detail to ensure perfection.
Table of Contents
Proper sanding and surface preparation for wood isn’t just about aesthetics it’s about durability, longevity, and professional-quality finishes. By the end of this guide, you’ll know exactly how to prep any wooden surface, from rustic Pennsylvania barnwood to sleek California redwood decks. Let’s dive deep into the art and science of flawless wood preparation.
Why Proper Sanding and Surface Preparation for Wood is Essential
The Foundation of Every Great Wood Project
Proper sanding and surface preparation for wood is like laying a strong foundation for a house. Without it, even the most expensive finishes will fail. Here’s why it matters:
- Ensures Adhesion
- Stain, paint, and sealant need a clean, smooth surface to bond properly.
- Poor prep leads to peeling, cracking, or uneven finishes.
- Prevents Future Damage
- Unprepared wood absorbs moisture unevenly, leading to warping (common in humid states like Florida).
- Rough surfaces trap dirt and wear down faster.
- Saves Time and Money
- A well-prepped surface requires fewer coats of finish.
- Fixing mistakes later is far more expensive than doing it right the first time.
Real-World Examples of Why Prep Matters
- In Arizona’s dry heat, skipping wood conditioner before staining causes blotchy absorption.
- In the Midwest’s freezing winters, wood contracts sanding before acclimating leads to cracks.
- Coastal regions like the Carolinas deal with salt air, requiring extra sealing steps.
Bottom line: Proper sanding and surface preparation for wood isn’t optional it’s the key to professional, long-lasting results.
Tools You’ll Need for Proper Sanding and Surface Preparation
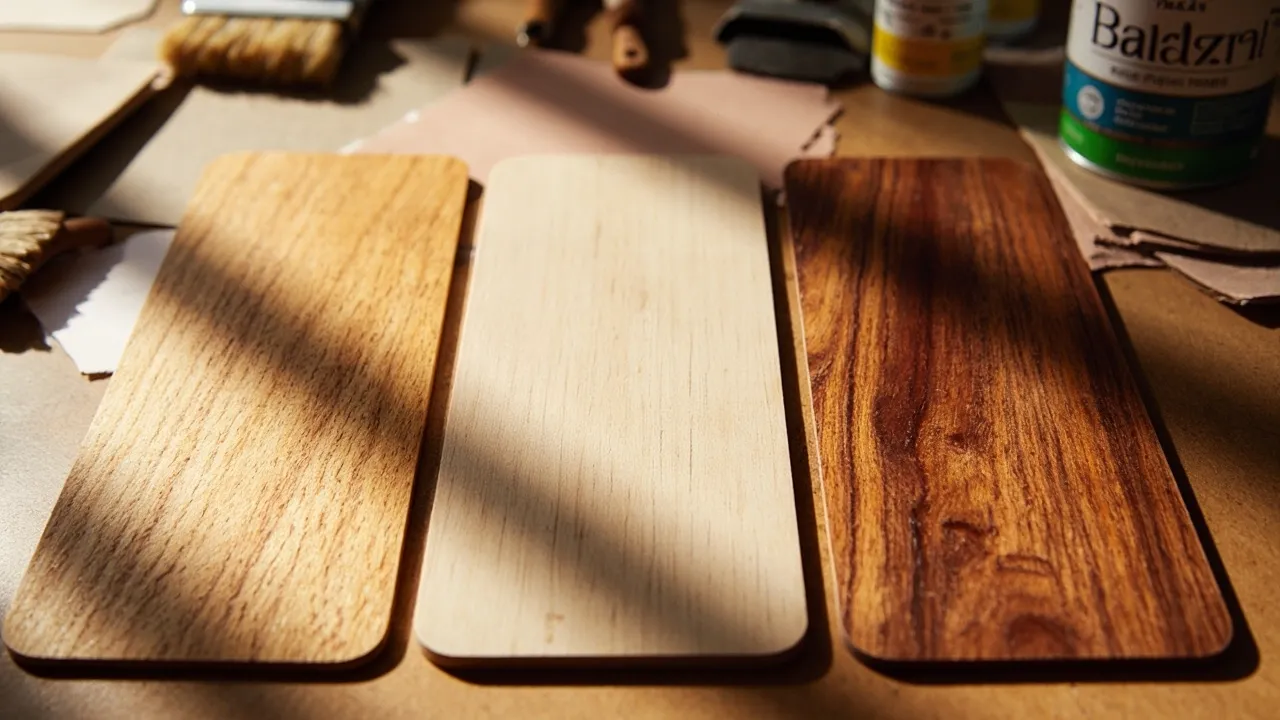
1. Sandpaper: The Heart of the Process
- Coarse Grit (60-100): For stripping old finishes or smoothing rough-cut lumber.
- Example: Use 80-grit on a reclaimed barn door with deep grooves.
- Medium Grit (120-150): For general smoothing between coats.
- Ideal for prepping furniture before painting.
- Fine Grit (180-220+): Final prep before staining or sealing.
- Essential for hardwoods like oak or maple.
Pro Tip: Buy sandpaper in bulk from Home Depot or Lowe’s brands like 3M or Mirka last longer.
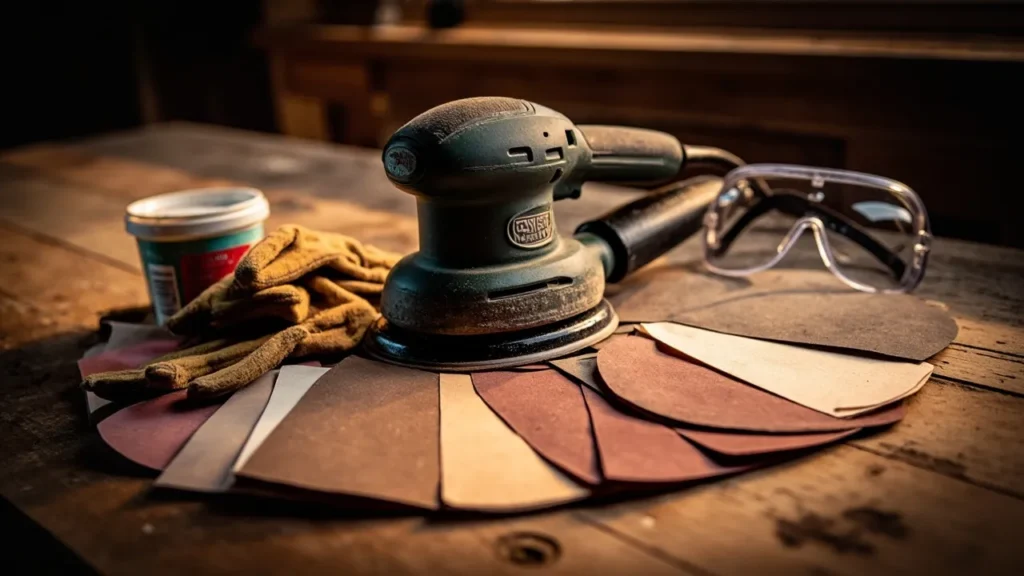
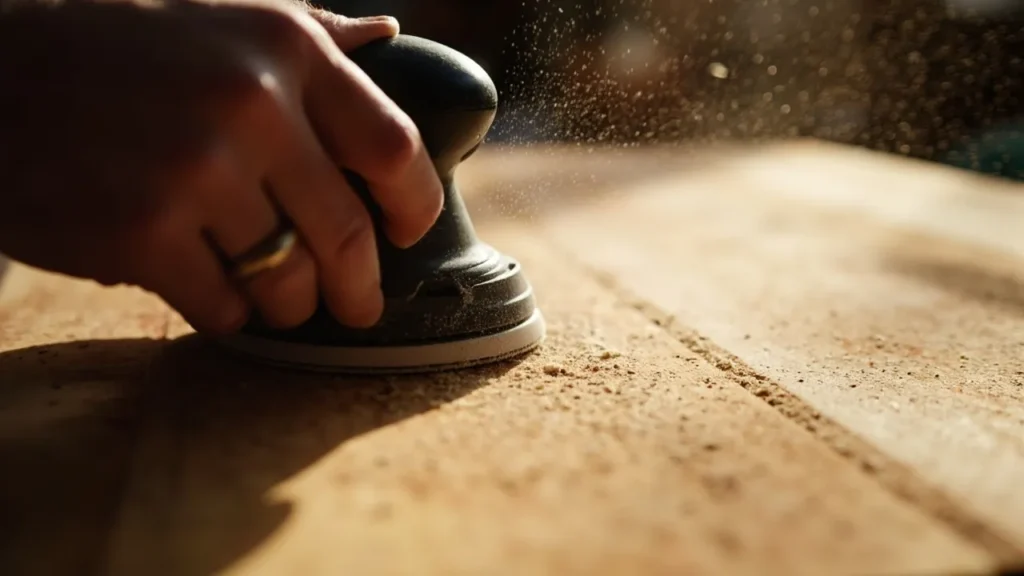
2. Power Sanders vs. Hand Sanding
| Tool | Best For | Tips |
|---|---|---|
| Orbital Sander | Large flat surfaces (tabletops, floors) | Use variable speed for control |
| Detail Sander | Corners, edges, intricate carvings | Great for furniture legs |
| Belt Sander | Heavy material removal (old decks) | Can gouge wood use carefully |
| Hand Sanding | Final touch-ups, curved surfaces | Always sand with the grain |

3. Must-Have Accessories
- Tack Cloth: Removes dust better than a rag.
- Wood Filler: Fixes cracks/nails holes (DAP Plastic Wood is a top pick).
- Safety Gear: N95 mask, goggles, and gloves sanding dust is harmful!
Regional Note: In dusty Texas workshops, a shop vacuum with a HEPA filter is a lifesaver.
Step-by-Step Guide to Proper Sanding and Surface Preparation for Wood
Step 1: Clean the Surface Thoroughly
- Remove grease with TSP (trisodium phosphate) for painted pieces.
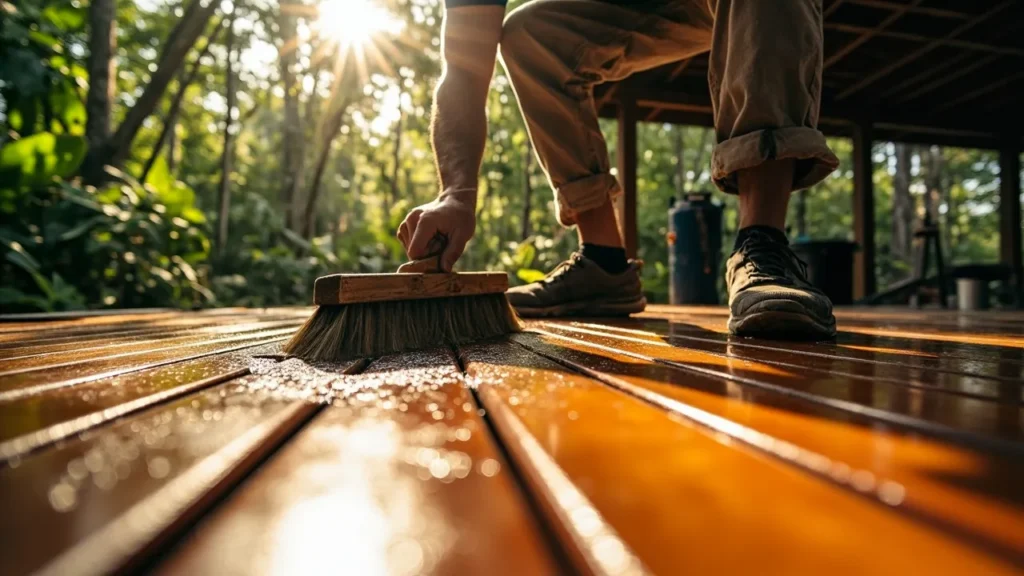
- For outdoor projects (like decks), use a wood brightener to kill mold.
Step 2: Start with Coarse Grit (When Needed)
- Use 60-80 grit for:
- Removing old paint/varnish (wear a respirator for lead paint risks).
- Leveling warped boards (common in humid climates).
Step 3: Progress Through Grits Methodically
| Grit | Purpose | Visual Check |
|---|---|---|
| 80-100 | Remove imperfections | Surface should feel evenly rough |
| 120-150 | Smooth scratches | No visible deep grooves |
| 180-220 | Final prep | Like touching smooth glass |
Key Tip: Always sand in the direction of the grain cross-grain scratches ruin finishes!
Step 4: Fill Imperfections Properly
- Use stainable wood filler for natural finishes.
- For painted pieces, lightweight spackle dries faster.
Step 5: Dust Removal The Make-or-Break Step
- Vacuum first, then use a tack cloth.
- In dry states (Nevada, Arizona), static makes dust cling wipe with a damp cloth.
Advanced Techniques for Perfect Results
Wet Sanding for Ultra-Smooth Finishes
- Used on fine furniture or guitars.
- Lubricates with water/oil to prevent clogging sandpaper.
Dealing With Problem Woods
- Pine (softwood): Sands easily but dents use finer grits.
- Oak (open grain): Needs grain filler for glass-smooth stains.
- Teak (oily): Wipe with acetone before sanding.
Climate-Specific Adjustments

| Region | Challenge | Solution |
|---|---|---|
| Deep South (GA, LA) | High humidity causes swelling | Seal immediately after sanding |
| Southwest (AZ, NM) | Dry air leads to static dust | Use anti-static cloths |
| Pacific Northwest | Constant moisture risks mold | Use marine-grade sealants |
Common Mistakes to Avoid
- Skipping Grits
- Jumping from 80 to 220 leaves hidden scratches.
- Over-Sanding Edges
- Creates uneven surfaces tape off delicate areas.
- Ignoring Safety
- Wood dust causes cancer always wear a mask!
FAQs About Proper Sanding and Surface Preparation for Wood
Q1: How long should I wait to sand pressure-treated wood?
A: For proper sanding and surface preparation for wood, wait at least 6 months after installation. Pressure-treated wood (common in decks across rainy Washington or bug-prone Florida) contains chemicals that can irritate skin and lungs when freshly sanded.
Q2: Can I skip sanding if I’m using wood conditioner?
A: Never! Even with conditioner, proper sanding and surface preparation for wood is essential. Conditioner helps stain absorb evenly, but only if the surface is smooth. Example: In dry states like Utah, skipping sanding leads to blotchy stains on porous woods like pine.
Q3: What’s the fastest way to check if I’ve sanded enough?
A: Try the “pantyhose test” (trust us!):
- Slide old pantyhose over the wood.
- If they snag, keep sanding with finer grits.
This trick is popular in furniture workshops from North Carolina to Oregon.
Q4: How do I sand curved surfaces properly?
A: For proper sanding and surface preparation for wood on curves:
- Wrap sandpaper around a foam block or tennis ball for even pressure.
- Use flexible sanding sponges (sold at Lowe’s/Home Depot) for intricate shapes like chair legs.
Pro tip: Louisiana’s cypress wood carvings often need this approach!
Q5: Is wet sanding better for hardwoods?
A: Yes, for woods like maple or cherry (popular in Amish furniture from Ohio), wet sanding with mineral spirits:
- Prevents dust buildup in pores.
- Creates a glass-smooth finish.
But always dry thoroughly before finishing critical in humid states like Alabama!
Q6: Why does my sandpaper keep clogging?
A: Common in resinous woods (e.g., pine in Colorado or teak in coastal areas):
- Use stearated sandpaper (3M’s “Clog Defense” line).
- Clean frequently with a sanding belt eraser.
Part of proper sanding and surface preparation for wood is adapting to the material!
Q7: Can I sand wood in freezing temperatures?
A: Avoid it! In cold states like Minnesota:
- Wood contracts, leading to uneven sanding.
- Finishes won’t adhere well below 50°F.
Wait for a heated workshop or warmer days.
Q8: How do I prevent “sanding swirls”?
A: A rookie mistake even in Texas workshops! For proper sanding and surface preparation for wood:
- Let the sander’s weight do the work don’t press down.
- Switch to finer grits gradually (never jump from 80 to 220).
Q9: What’s the best sander for large decks?
A: In deck-heavy states like California:
- Use a belt sander for fast material removal.
- Finish with an orbital sander (DeWalt’s cordless models are ideal).
Always follow with hand-sanding edges!
Q10: How do I dispose of sanding dust safely?
A: Critical for proper sanding and surface preparation for wood:
- Vacuum with a HEPA filter (especially for toxic woods like walnut).
- In fire-prone areas (Arizona, Nevada), wet dust before disposal to prevent combustion.
Why These FAQs Matter
These aren’t just tips they’re region-tested solutions for proper sanding and surface preparation for wood. Whether you’re battling humidity in Georgia or dust in New Mexico, adapting these methods ensures pro-level results.
Got more questions? Drop them below we’ll add the best to this guide!