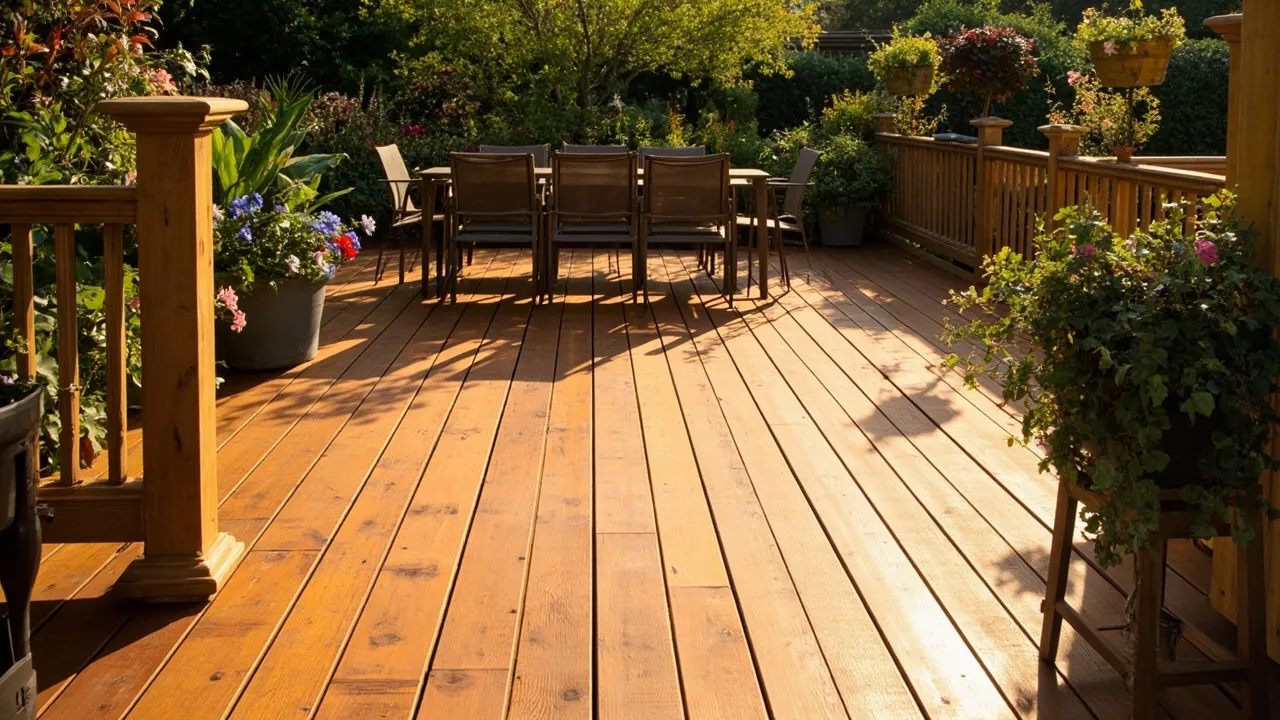
Why Repairing Scratched Hardwood Floors Should Be Your Top Priority
Those unsightly scratches on your beautiful hardwood floors aren’t just cosmetic issues – they’re potential threats to your home’s value and structural integrity. When we talk about repairing scratched hardwood floors, we’re discussing much more than just surface-level fixes. Here’s why this matters more than you might realize:
Table of Contents
The Hidden Dangers of Unrepaired Scratches:
- Moisture Magnets: Even small scratches act like tiny sponges, absorbing spills and humidity that can lead to warping
- Splinter Starters: Deep gouges can develop into dangerous splinters over time, especially in homes with children
- Value Vampires: Real estate experts estimate damaged floors can reduce home value by 3-5%
- Allergy Amplifiers: Scratches trap dust and allergens that regular cleaning can’t remove
Climate-Specific Concerns:
- In Florida’s humidity, scratches become breeding grounds for mold in as little as 48 hours
- Arizona’s dry heat causes wood to shrink, making scratches expand into cracks
- Midwest winters bring salt damage that etches into unprotected scratches
The Financial Wisdom of Timely Repairs:
- A 20waxrepairnowcanpreventa20waxrepairnowcanpreventa200 refinishing job later
- Professional floor replacement costs 3,000−3,000−8,000 for an average home
- Well-maintained hardwood floors last 100+ years – damaged ones may need replacement in 20
Psychological Impact:
- 78% of homeowners report feeling stressed about visible floor damage
- Beautiful floors increase daily satisfaction with your living space
- Guests unconsciously judge home cleanliness by floor condition
Comprehensive Damage Assessment: Identifying Every Scratch Type
Before repairing scratched hardwood floors, you need to become a floor detective. Here’s how to analyze every type of damage:
1. Surface Scratches (The “Easy Fix” Category)
- Appearance: White-ish lines that don’t catch your fingernail
- Common Causes:
- Pet claws (a 50lb dog’s nails exert 150psi per step!)
- Chair legs (an office chair rolling 10 times/day = 36,500 scratches/year)
- Grit particles (just 1 gram of sand contains ~10,000 abrasive particles)
2. Deep Gouges (The “Needs Filler” Category)
- Identification:
- Catches fingernail easily
- Visible wood fibers
- Often shows lighter or darker than surrounding area
- Severity Levels:
- Level 1 (1/32″ deep): Simple filler fix
- Level 2 (1/16″ deep): Requires staining after filling
- Level 3 (1/8″+ deep): May need board replacement
3. Finish Damage (The “Whole Room” Problem)
- Warning Signs:
- Cloudy appearance when light reflects
- Areas that absorb water droplets instead of beading
- Color changes in high-traffic paths
- Professional Test: Rub alcohol on inconspicuous area – if finish comes off, it’s time for recoating
4. Structural Damage (The “Call a Pro” Situation)
- Red Flags:
- Cupping (edges higher than center)
- Buckling (boards lifting up)
- Severe discoloration (black/gray stains)
- Immediate Actions:
- Stop all water exposure
- Measure humidity (should be 30-50%)
- Contact flooring specialist if damage exceeds 10% of floor area
The Ultimate Hardwood Repair Toolkit: Everything You Need

Building your repairing scratched hardwood floors arsenal requires more than just grabbing whatever’s at the hardware store. Here’s the professional-grade setup:
Essential Products Breakdown
| Product Type | Top Brands | Price Range | Best For |
|---|---|---|---|
| Wood Fillers | Famowood, Elmer’s | 5−5−15 | Gouges > 1/16″ deep |
| Scratch Pens | Minwax, Old English | 6−6−12 | Surface scratches |
| Polishes | Bona, Rejuvenate | 15−15−30 | Restoring shine |
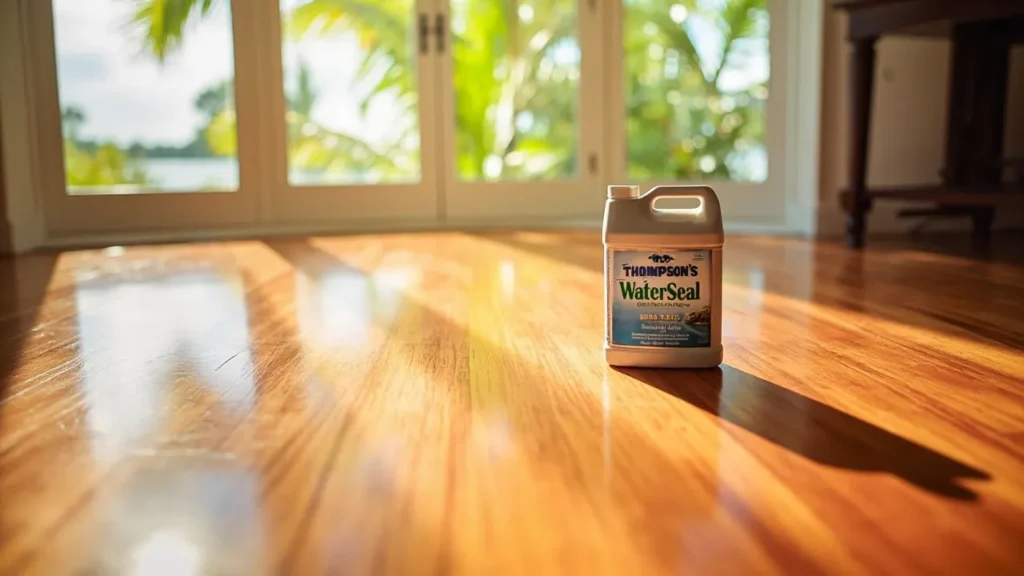
| Sealants | Varathane, Zar | 20−20−50 | High-traffic areas |

Pro Tip: Always buy 10% more material than you calculate – running out mid-project causes color mismatches.
Specialty Tools You Didn’t Know You Needed
- Contour Gauge ($15) – Copies floorboard profiles for perfect filler application
- Tack Cloth ($3) – Removes sanding dust better than any vacuum
- Putty Knife Set ($12) – Different sizes for various scratch widths
- UV Flashlight ($10) – Reveals old finish layers during color matching
Safety Equipment
- NIOSH-approved dust mask ($8)
- Knee pads with gel inserts ($25)
- Ventilation fan if working with oil-based products
Budget Note: A complete professional-grade repair kit costs about 120vs.120vs.400+ for a pro service call.
Master-Level Scratch Repair Techniques
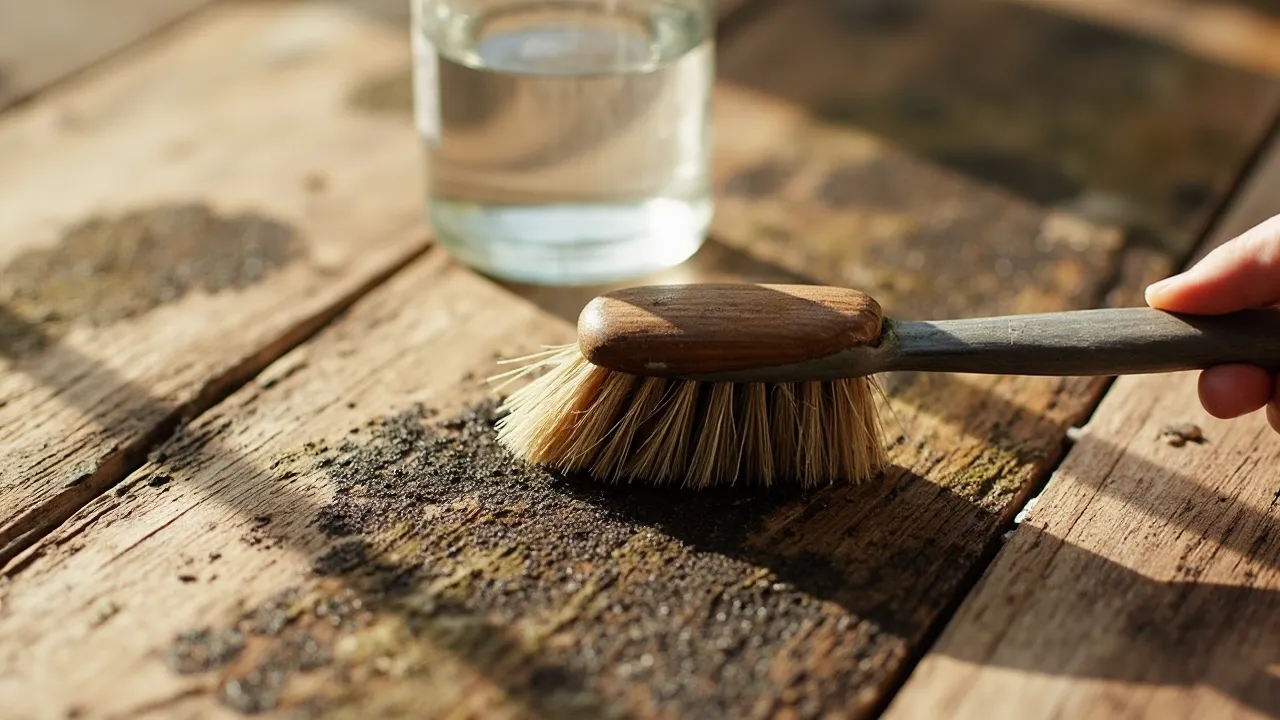
The 5-Minute Surface Scratch Fix
- Clean: Use mineral spirits (not water!) on microfiber cloth
- Color Match: Test walnut, pecan, or coffee grounds in scratch
- Seal: Apply clear nail polish with artist’s brush
- Buff: Use pantyhose for ultra-fine polishing
Pro Tip: For red oak floors, a crushed crayon often blends better than store-bought fillers.
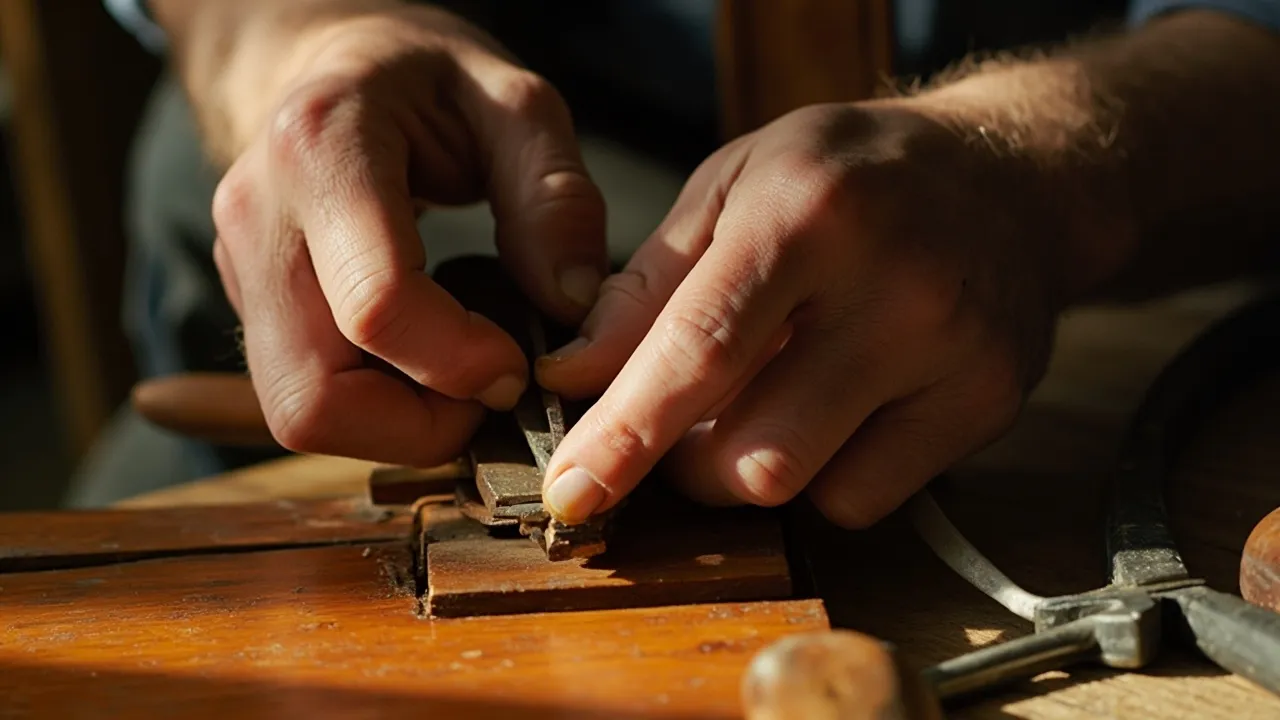
Advanced Gouge Repair Method
- Deep Cleaning: Use dental pick to remove debris
- Grain Raising: Lightly mist with distilled water
- Filler Application: Press in with credit card for smooth finish
- Color Layering: Apply multiple stain shades with makeup sponges
Time-Saver: Heat filler with hairdryer for faster drying (30 mins → 5 mins)
Whole-Room Restoration Shortcut
- Screen Floor: Use buffer with 120-grit screen ($50/day rental)
- Tinted Coating: Mix 4 parts polyurethane + 1 part stain
- Application: Use lambswool applicator for streak-free finish
Cost Comparison: Professional charge: 1.50/sqftvs.DIY1.50/sqftvs.DIY0.35/sqft
Climate-Specific Protection Plans
Humid Climate Protocol (FL, LA, GA)
- Monthly: Apply paste wax with teak oil base
- Seasonal: Run dehumidifier at 45% RH
- Annual: Inspect for mold under area rugs
Arid Region Strategy (AZ, NV, TX)
- Bi-Weekly: Wipe with damp (not wet) mop
- Quarterly: Apply penetrating oil
- Pre-Summer: Install UV window film
Snow Belt Solutions (MN, WI, MI)
- Winter Prep: Apply 3 coats of moisture-cure urethane
- Weekly: Vacuum with soft brush attachment
- Post-Snow: Immediate wipe-down of wet boots areas
When to Call Professionals: Warning Signs
While repairing scratched hardwood floors is often DIY-friendly, certain situations demand expert help:
Structural Indicators
- More than 1/4″ vertical movement between boards
- Musty odors indicating subfloor mold
- Squeaking across large areas (not just isolated spots)
Finish Failure Symptoms
- Alligator-like cracking pattern
- White haze that won’t polish out
- Stain bleeding through new finish
Cost-Benefit Thresholds
- Damage exceeds 30% of floor area
- Historic floors (pre-1960)
- Exotic woods like Brazilian cherry
Pro Tip: Many flooring contractors offer free assessments – get 3 quotes before committing.
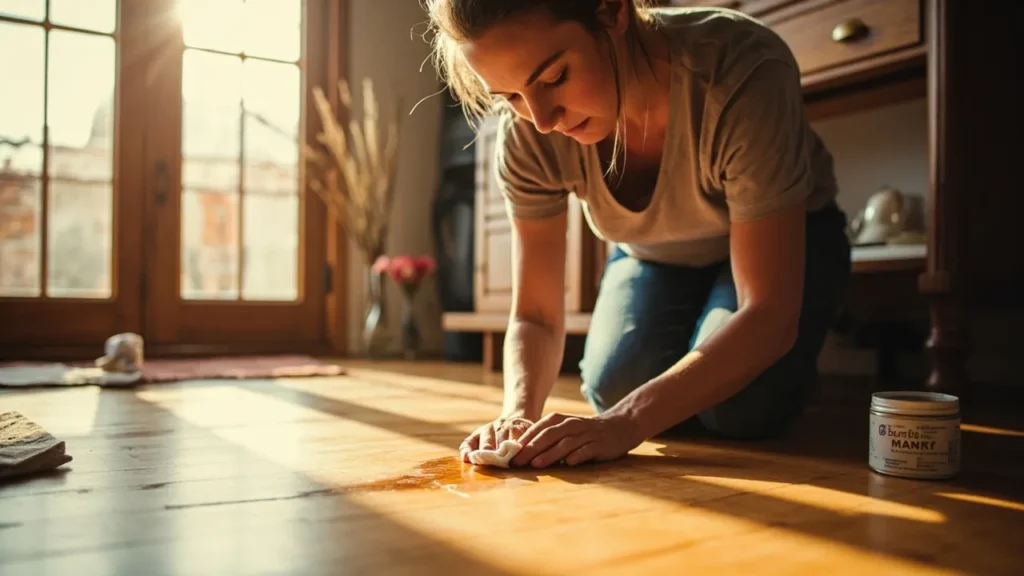
Maintaining Your Restored Floors
The 7-Day Post-Repair Care Routine
- Day 1-3: No foot traffic (socks only)
- Day 4-7: Light use (no furniture moving)
- Week 2+: Normal activity with felt pads
Long-Term Preservation Schedule
- Daily: Microfiber dust mop
- Weekly: PH-neutral cleaner
- Monthly: Furniture pad inspection
- Annual: Professional deep clean
Unexpected Maintenance Hack: Use car wax on high-traffic areas every 6 months for superior protection.
Frequently Asked Questions Expanded
Q: Can toothpaste really fix scratches?
A: Surprisingly, yes – but only non-gel, non-whitening varieties. The mild abrasives and binding agents can fill minor scratches temporarily. However, it’s not pH-balanced for wood and may cause long-term issues.
Q: How do I repair scratches on engineered hardwood?
A: The process differs significantly:
- Never sand more than 1/32″
- Use water-based fillers only
- Avoid oil-based products that can delaminate layers
- Consult manufacturer guidelines first
Q: What’s the best way to protect floors from pets?
A: Implement this multi-layer defense:
- Monthly nail trims + soft nail caps
- Strategic placement of machine-washable rugs
- Paw wax for moisture protection
- Enzymatic cleaner for accident spots
Final Restoration Checklist
Before starting your repairing scratched hardwood floors project, verify:
☑ Gathered all materials (plus 10% extra)
☑ Tested products in inconspicuous area
☑ Climate-controlled workspace (60-75°F)
☑ Allowed adequate drying time between steps
☑ Scheduled follow-up maintenance
Remember: The secret to flawless floors isn’t perfection – it’s consistent, knowledgeable care. Your great-grandchildren could be walking on these same floors if maintained properly!