A router is one of the most versatile power tools in any woodworker’s arsenal. At its core, it’s a motor that spins specialized cutting bits at incredibly high speeds (typically 8,000-24,000 RPM), allowing you to carve, shape, and smooth wood with remarkable precision. When it comes to using a router for woodworking decorative details, this tool truly shines – it’s like having a magic wand that can transform plain lumber into works of art.
Table of Contents
The beauty of using a router for woodworking decorative details lies in its flexibility. With just one tool and a selection of different bits, you can:
- Create elegant edge profiles on tables, shelves, and cabinets
- Carve intricate designs into flat surfaces
- Make precise grooves for joinery or inlays
- Replicate historical moldings and trim
- Add personalized touches to gifts and home decor
What makes routers particularly great for decorative work is their ability to produce consistent, repeatable results. Once you’ve set up your router properly, you can create dozens of identical pieces with perfect uniformity – something that would be incredibly difficult to achieve with hand tools alone.
For beginners, the idea of using a router for woodworking decorative details might seem intimidating, but I promise it’s more approachable than you think. Modern routers come with excellent safety features, and with some basic practice, you’ll be creating beautiful designs in no time. The key is starting with simple projects and gradually working your way up to more complex techniques.
Getting Started: Choosing the Right Router and Bits

Before you begin using a router for woodworking decorative details, it’s crucial to understand your equipment options. The market offers an overwhelming array of routers and bits, so let’s break down everything you need to know to make informed choices.
1. Types of Routers
When using a router for woodworking decorative details, you’ll primarily encounter three router types:
Fixed-Base Routers
- Ideal for beginners and edge work
- Maintains consistent depth throughout operation
- More stable and easier to control
- Great for: Rounding edges, creating simple profiles, template routing
Plunge Routers
- Allows starting cuts in the middle of material
- Depth can be adjusted during operation
- Perfect for: Mortises, inlays, stopped grooves
- Requires more skill but offers greater versatility
Combo Kits
- Includes both fixed and plunge bases
- Lets you switch between modes as needed
- Excellent long-term investment
- Brands like DeWalt and Bosch offer great combo options
For those in the U.S. shopping at Home Depot or Lowe’s, I recommend starting with a mid-range 1.75 to 2.25 HP router from reputable brands like:
- DeWalt DW618 (excellent combo kit)
- Bosch 1617EVS (versatile and reliable)
- Makita RT0701C (compact but powerful)
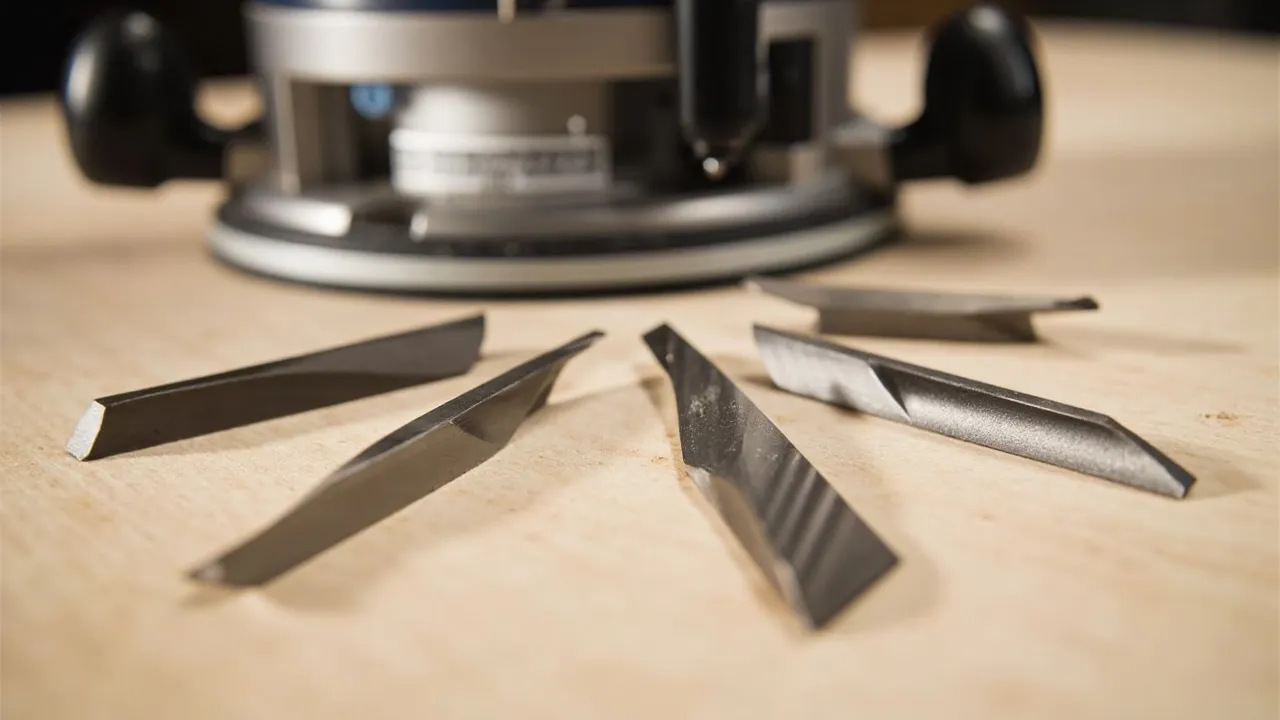
2. Router Bits for Decorative Details
The real magic of using a router for woodworking decorative details comes from your selection of bits. Here’s an expanded look at the most useful types:
Edge-Forming Bits
- Round-over bits: Create soft, rounded edges (available in various radii)
- Chamfer bits: Make angled edges (great for modern furniture)
- Ogee bits: Produce classic S-shaped profiles (perfect for traditional moldings)
- Cove bits: Cut concave curves (beautiful for decorative trim)
Grooving Bits
- Straight bits: For dados, rabbets, and precise grooves
- V-groove bits: Create decorative channels and lettering
- Beading bits: Add delicate bead details to edges
Specialty Bits
- Fluting bits: Cut parallel grooves (ideal for column details)
- Dovetail bits: For both joinery and decorative effects
- Panel-raising bits: Create professional cabinet door profiles
When using a router for woodworking decorative details in humid areas like Florida, opt for carbide-tipped bits from brands like Freud or Whiteside – they’ll last much longer than standard steel bits. In drier climates, high-speed steel bits can be more cost-effective.
Step-by-Step: How to Use a Router for Decorative Details


Now that you’re familiar with the tools, let’s dive deep into the actual process of using a router for woodworking decorative details. I’ll walk you through every step with extra tips to ensure success.
1. Prepare Your Wood
Proper preparation is crucial when using a router for woodworking decorative details:
- Mill your stock to final dimensions (jointed, planed, and squared)
- Sand progressively from 80 to 150 grit (smoother surfaces yield cleaner cuts)
- For figured woods, apply painter’s tape along cut lines to prevent tear-out
- In dry climates (Arizona, Nevada), lightly mist wood before routing to reduce brittleness
2. Set Up Your Router
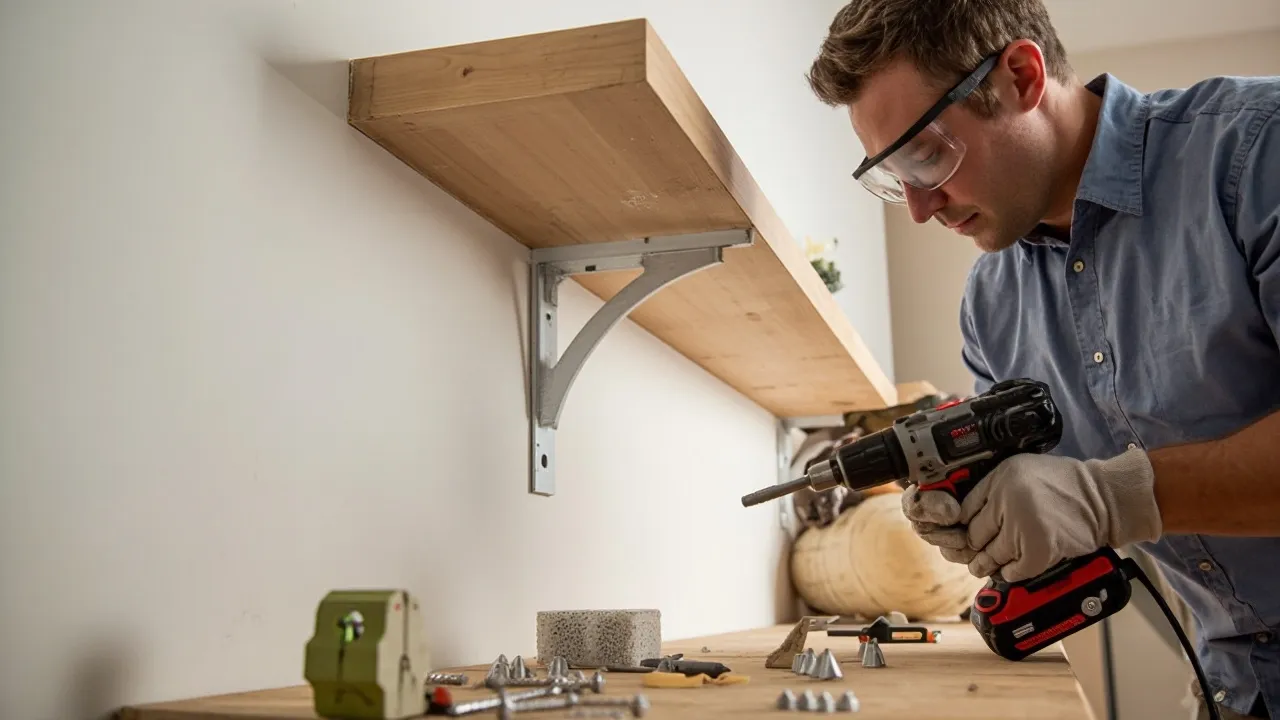
Safety first! Always:
- Wear ANSI-approved safety glasses and hearing protection
- Secure long hair and loose clothing
- Use sharp bits (dull bits are dangerous and produce poor results)
For depth adjustment:
- Make test cuts in scrap wood from the same stock
- For deep profiles, make multiple shallow passes (1/8″ increments)
- Use router’s micro-adjustment for perfect depth setting
3. Practice Techniques
Master these fundamental techniques when using a router for woodworking decorative details:
Edge Routing
- Move router left-to-right when working on outside edges
- Maintain firm, even pressure against guide bearing
- For tear-out prone woods, make a light scoring pass first
Template Routing
- Secure template firmly to workpiece
- Use flush-trim bit with top or bottom bearing
- Move router clockwise around outside patterns
Freehand Decorative Work
- Sketch design lightly in pencil first
- Make relief cuts for tight curves
- Practice intricate designs on MDF before real wood
4. Advanced Decorative Applications
Once comfortable with basics, try these creative ways of using a router for woodworking decorative details:
Sign Making
- Use V-groove bits for carved lettering
- Combine with paint or epoxy fills
Custom Moldings
- Stack multiple router passes for complex profiles
- Create period-accurate historical reproductions
Texture Effects
- Use rotary carving bits for artistic flourishes
- Create “linen fold” effects with specialized bits
5. Finishing Touches
After using a router for woodworking decorative details:
- Sand lightly with 220 grit to remove machining marks
- Use detail sanding tools for intricate areas
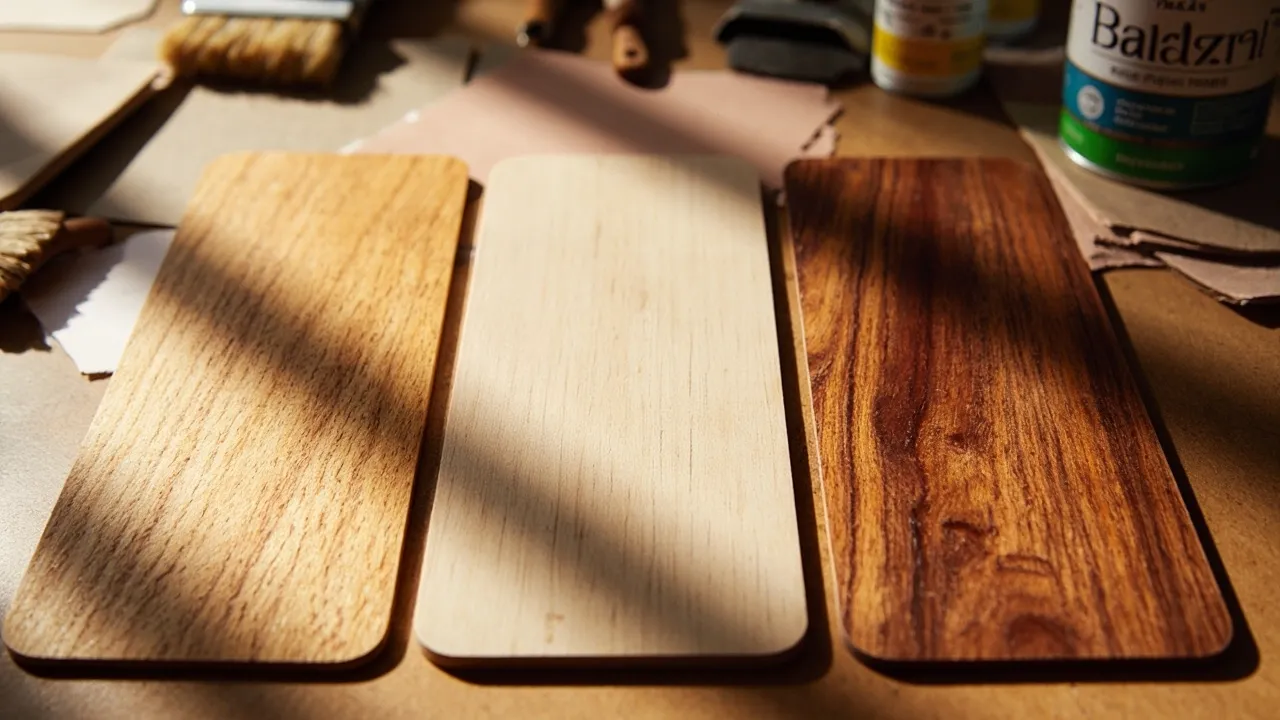
- Apply finish appropriate for your climate:
- Humid regions: Marine-grade varnishes
- Dry areas: Penetrating oil finishes
- High-traffic pieces: Polyurethane
Regional Tips for U.S. Woodworkers
The climate and local styles across America greatly affect how you should approach using a router for woodworking decorative details. Here’s an expanded regional guide:
Humid Climates (Gulf Coast, Southeast)
- Common woods: Cypress, Spanish Cedar
- Special considerations:
- Allow extra acclimation time for lumber
- Use water-resistant glues (Titebond III)
- Apply finish to all surfaces to prevent warping
- Design tip: Raised panel doors allow for wood movement
Dry Climates (Southwest, Mountain States)
- Common woods: Mesquite, Pine
- Special considerations:
- Pre-treat with wood stabilizer before routing
- Avoid very thin decorative elements
- Humidify workshop during winter months
- Design tip: Geometric patterns hide small cracks
Cold Climates (Midwest, Northeast)
- Common woods: Maple, Cherry
- Special considerations:
- Warm wood before routing in winter
- Allow for seasonal expansion in joinery
- Use flexible fillers for cracks
- Design tip: Traditional Shaker-style profiles
Inspiring Ideas for Decorative Details

Here are more creative ways of using a router for woodworking decorative details:
Furniture Accents
- Fluted legs on tables and chairs
- Rope-twist edges on mirrors and frames
- Custom drawer front profiles
Architectural Elements
- Wainscoting panels
- Crown moldings
- Decorative corbels
Small Projects
- Engraved cutting boards
- Ornamental boxes
- Picture frames with layered profiles
FAQs About Using a Router for Decorative Details
1. What’s the best router for beginners starting with decorative work?
A fixed-base router in the 1.5-2 HP range offers the best balance of power and control. The DeWalt DW616 is an excellent choice available at most Home Depot locations.
2. How do I prevent burning when routing decorative edges?
- Use sharp carbide bits
- Maintain steady feed rate
- Make multiple shallow passes
- Clean bits regularly with pitch remover
3. Can I create my own custom router bit profiles?
Yes! Companies like Magnate and Whiteside offer custom bit grinding services. For unique decorative elements, this can be worth the investment.
Key Takeaways
- Using a router for woodworking decorative details opens endless creative possibilities
- Start with quality equipment from trusted brands
- Master basic techniques before advancing to complex designs
- Always prioritize safety with proper PPE and techniques
- Adapt your approach to local climate conditions
Final Thoughts
The art of using a router for woodworking decorative details represents the perfect marriage of craftsmanship and creativity. Whether you’re adding subtle elegance to a simple shelf or creating museum-quality moldings, the router empowers you to bring your unique vision to life.
Remember that every master woodworker started as a beginner. With patience and practice, you’ll develop the skills to transform ordinary wood into extraordinary pieces. The key is to start simple, learn from each project, and most importantly – enjoy the process!
Now that you’re equipped with this comprehensive knowledge, I encourage you to fire up your router and begin your decorative woodworking journey. Share your creations with our community, and don’t hesitate to ask questions along the way. Happy routing!