Woodworking is more than just a craft it’s an art form that transforms raw timber into breathtaking masterpieces. Whether you’re a seasoned professional or an enthusiastic beginner looking to refine your skills, mastering advanced wood carving techniques for professionals is the key to elevating your work from ordinary to extraordinary.
In this comprehensive guide, we’ll explore everything you need to know about advanced wood carving techniques for professionals, from selecting the right tools to perfecting intricate carving methods. By the end, you’ll have the knowledge and confidence to tackle complex projects with precision and creativity.
Table of Contents
Why Advanced Wood Carving Techniques for Professionals Matter
When I first picked up a chisel, I thought wood carving was just about shaping wood into simple designs. But as I delved deeper, I realized that advanced wood carving techniques for professionals are what separate hobbyists from true artisans. These techniques allow you to:
- Add depth and dimension to flat surfaces, turning them into lifelike sculptures.
- Enhance texture and detail, making your work stand out in galleries or custom furniture markets.
- Increase efficiency, reducing mistakes and wasted material.
- Expand your creative possibilities, enabling you to tackle complex commissions with confidence.
For example, if you’re crafting a custom mantelpiece or a decorative door panel, using advanced wood carving techniques for professionals will ensure flawless execution. Imagine the satisfaction of seeing a client’s face light up when they realize your piece is a one-of-a-kind masterpiece.
Additionally, mastering these skills opens doors to new opportunities whether selling high-end carvings, teaching workshops, or even restoring historical woodwork.
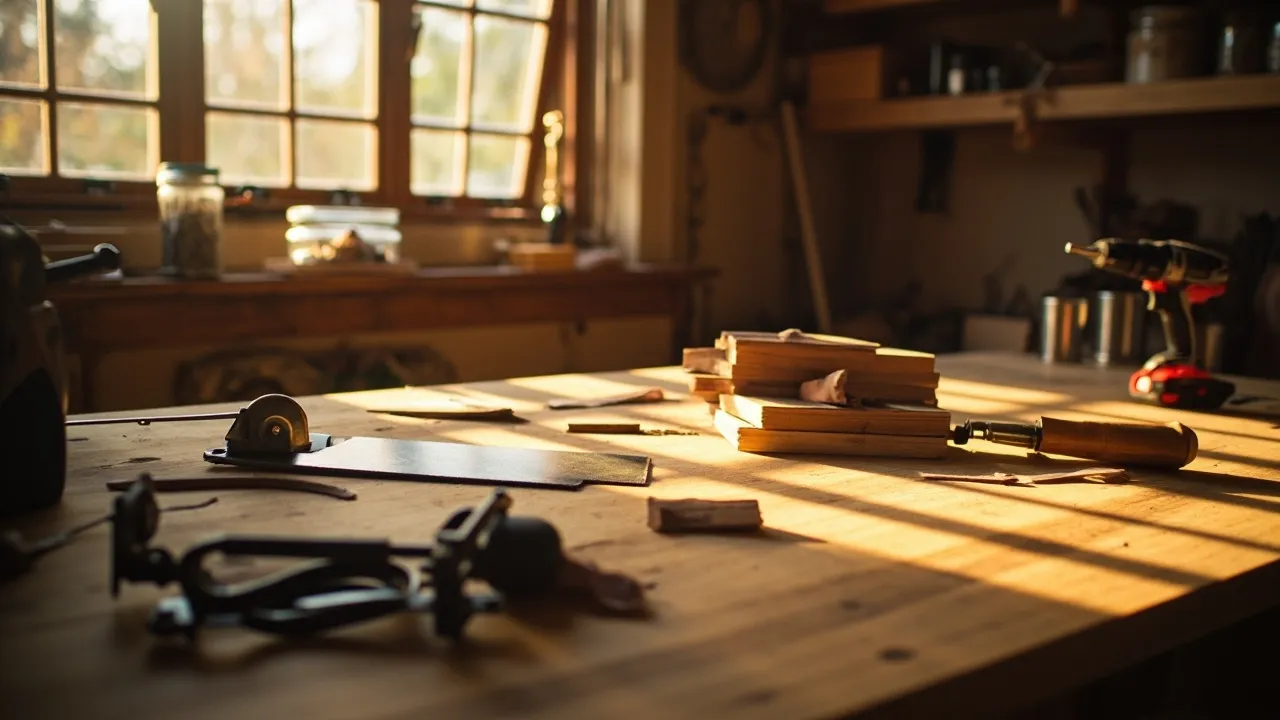
Essential Tools for Advanced Wood Carving

Before diving into techniques, let’s discuss the tools you’ll need. Just as a painter needs quality brushes, a woodcarver relies on precision instruments. Here’s an in-depth breakdown:
1. Chisels & Gouges (The Foundation of Every Carver’s Kit)
- Straight Chisels: Ideal for clean cuts and sharp edges.
- Skew Chisels: Perfect for delicate detailing.
- V-Gouges: Essential for creating fine lines and decorative grooves.
- U-Gouges: Best for hollowing and smoothing curves.
Pro Tip: Invest in high-carbon steel tools from brands like Pfeil, Two Cherries, or Flexcut available at Home Depot or Woodcraft. If you live in humid regions like Florida, opt for stainless steel tools to prevent rust.
2. Mallets (Controlled Force for Precision Work)
- Wooden Mallets: Best for delicate work, reducing tool wear.
- Rubber Mallets: Absorb shock, ideal for beginners.
- Metal Mallets: Provide maximum force for hardwoods.
3. Sharpening Systems (Keeping Your Tools Razor-Sharp)
- Diamond Stones: Fast and efficient for sharpening.
- Water Stones: Provide a polished edge for fine detail work.
- Leather Strops: Essential for maintaining a razor-sharp finish.
Pro Tip: Dull tools are dangerous they slip easily and ruin your workpiece. Sharpen your tools every 1-2 hours of continuous use.
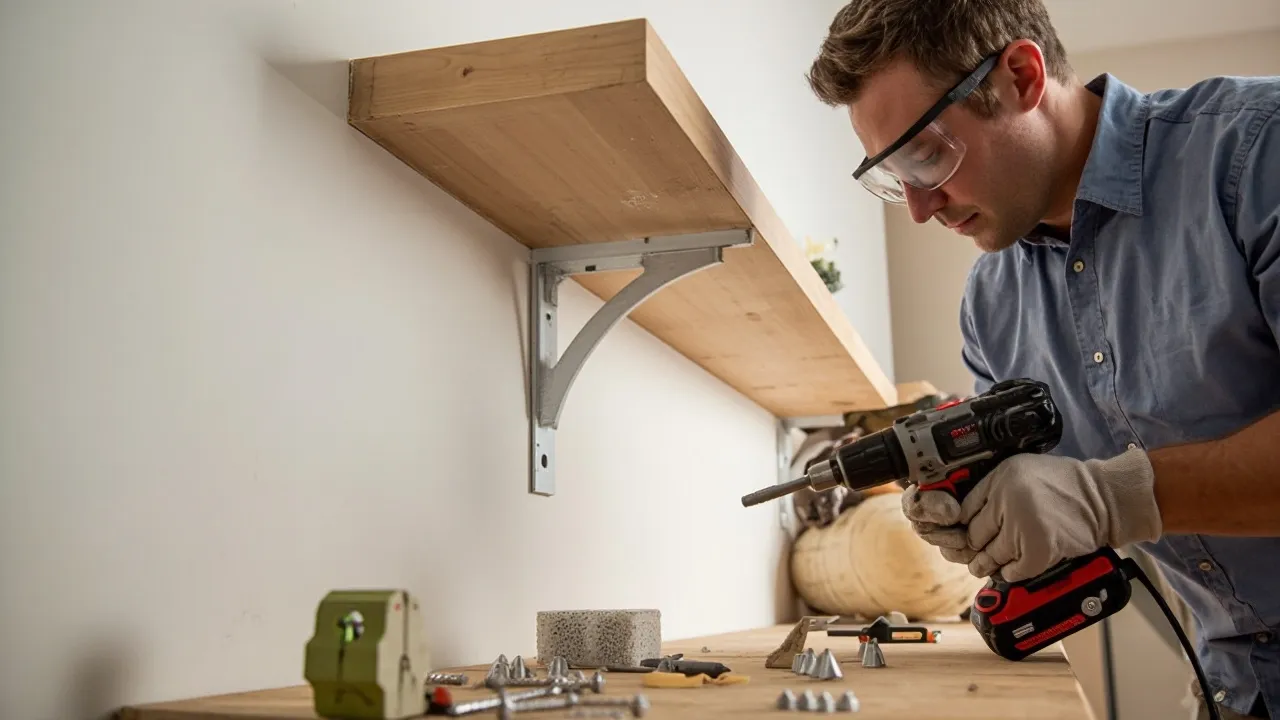
4. Clamps & Workholding (Stability is Key)
- Bench Vises: Secure large pieces firmly.
- Carving Braces: Hold smaller work at comfortable angles.
- Quick-Release Clamps: Adjustable for irregular shapes.
5. Safety Gear (Non-Negotiable!)
- Cut-Resistant Gloves: Protect your hands from slips.
- Safety Glasses: Prevent wood chips from damaging your eyes.
- Dust Mask: Essential when sanding or power carving.
Regional Tip: If you’re in a dry climate like Arizona, condition your wood with Minwax Wood Conditioner to prevent splitting.
Mastering Advanced Wood Carving Techniques for Professionals

Now, let’s explore the four most essential advanced wood carving techniques for professionals, step by step.
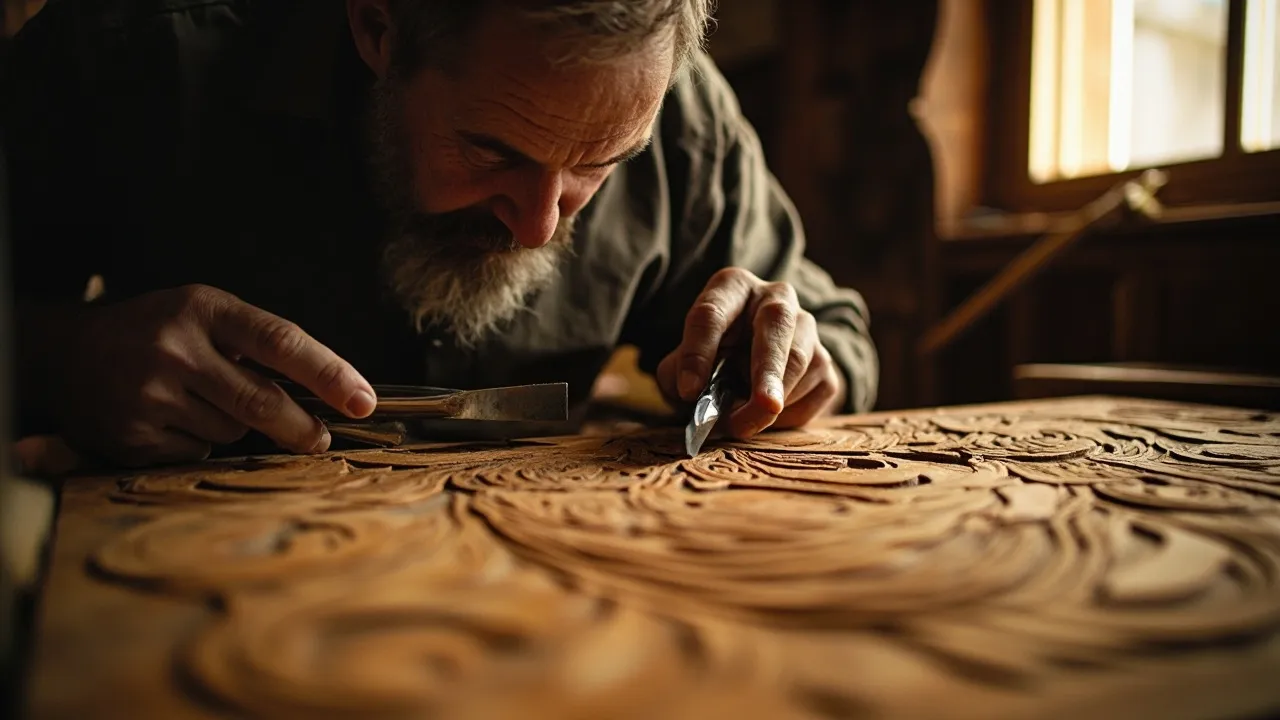
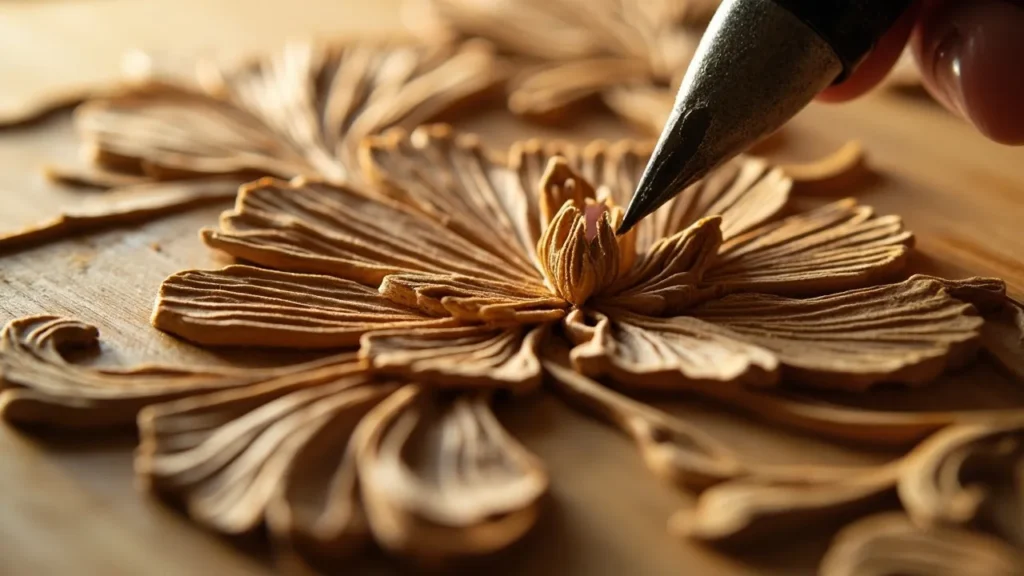
1. Relief Carving (Bringing Flat Wood to Life)
Relief carving involves carving a design into a flat panel, creating a 3D effect. It’s perfect for:
- Wall art
- Furniture embellishments
- Signage
Step-by-Step Process:
- Design Transfer: Sketch or trace your pattern onto the wood.
- Outlining: Use a V-gouge to outline the design.
- Background Removal: Lower the surrounding wood with chisels.
- Detailing: Add depth by carving layers.
Pro Tip: In humid states like Louisiana, seal your wood with Thompson’s WaterSeal before carving to prevent warping.
2. Chip Carving (Precision Geometric Patterns)
Chip carving is all about removing small chips to create intricate designs. Great for:
- Jewelry boxes
- Decorative plates
- Custom furniture accents
Key Techniques:
- Three-Knife Method: Use a stab knife, skew knife, and straight knife for different cuts.
- Practice on Basswood: Softwood is forgiving for beginners.
3. Whittling (The Timeless Art of Hand Carving)
Whittling uses just a knife to shape wood into:
- Figurines
- Spoons & utensils
- Ornaments
Pro Tip: If you’re in the Midwest, whittling is a great winter hobby try butternut or pine for easy carving.
4. Carving in the Round (True 3D Sculptures)
This technique creates freestanding sculptures, such as:
- Animal carvings
- Busts
- Bowl turning
Steps to Success:
- Roughing Out: Remove large chunks with a bandsaw.
- Shaping: Refine with gouges.
- Finishing: Sand and seal for a polished look.
Adapting Advanced Wood Carving Techniques for Professionals to Your Environment

Wood behaves differently depending on climate. Here’s how to adjust:
- Humid Climates (Southeast, Florida):
- Use rot-resistant woods like cypress or teak.
- Apply marine-grade sealants to prevent swelling.
- Dry Climates (Arizona, Nevada):
- Store wood in a humidity-controlled space.
- Pre-treat with linseed oil to prevent cracking.
- Cold Regions (Midwest, Northeast):
- Avoid carving frozen wood it’s brittle and prone to splitting.
- Work indoors with a space heater to maintain stable temps.
Pro Tips for Mastering Advanced Wood Carving Techniques for Professionals
- Start Small: Practice on scrap wood before tackling big projects.
- Study Masters: Watch YouTube tutorials or take classes at Rockler or Woodcraft.
- Keep a Sketchbook: Document designs and improvements.
- Join a Guild: Organizations like the National Wood Carvers Association offer support.
FAQ: Advanced Wood Carving Techniques for Professionals – Your Questions Answered
1. How long does it take to master advanced wood carving techniques for professionals?
Mastering advanced wood carving techniques for professionals is a gradual process. Beginners typically need 6-12 months of consistent practice to develop foundational skills, while achieving professional-level precision can take 3-5 years. The key is:
- Daily practice (even 30 minutes helps).
- Working on varied projects (relief, chip carving, sculpture).
- Learning from mistakes every flawed piece teaches something new.
2. What’s the best way to prevent wood from splitting during carving?
Splitting is common, especially with dry or brittle wood. To avoid it:
- Use sharp tools (dull blades tear fibers).
- Carve with the grain (never against it).
- Pre-treat wood with boiled linseed oil (for hardwoods like oak).
- Avoid knots they’re prone to cracking.
Pro Tip: In arid states like Texas, store wood in a humidified workshop to maintain moisture balance.
3. Can I use power tools for advanced wood carving techniques for professionals?
Absolutely! Power tools speed up rough shaping:
- Rotary tools (Dremel): Ideal for fine detailing.
- Angle grinders: Great for rapid material removal.
- Power carvers: Offer precision for intricate work.
However, hand tools are still essential for:
- Delicate finishing touches.
- Traditional craftsmanship (e.g., Japanese chisels).
4. How do I fix mistakes in advanced wood carvings?
Mistakes happen here’s how to salvage your work:
- Small cracks: Fill with wood glue + sawdust paste.
- Over-cut grooves: Redesign the pattern to incorporate them.
- Major errors: Sand down and restart the section.
Pro Tip: Keep basswood scraps for practicing tricky cuts before working on your main piece.
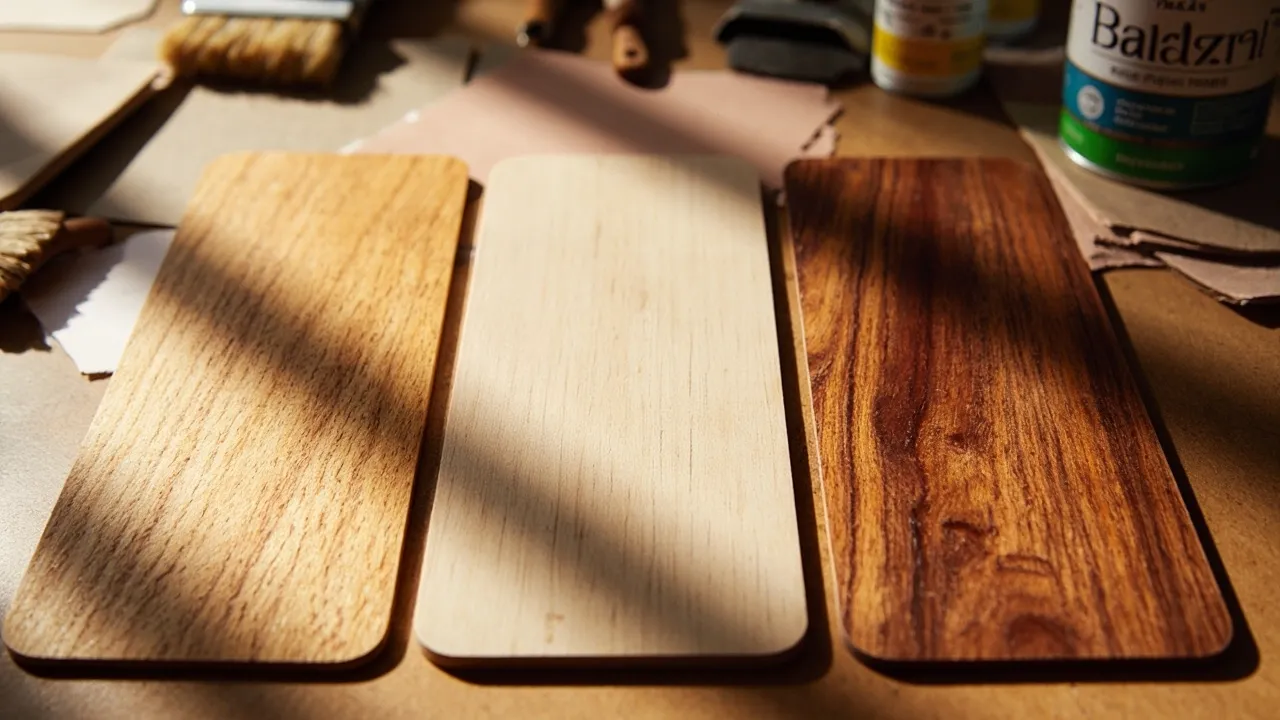
5. What’s the best finish for professional wood carvings?
The finish depends on the project:
- Oil finishes (tung oil, Danish oil): Enhance grain; ideal for sculptures.
- Wax (beeswax, carnauba): Adds a smooth, matte feel great for decorative items.
- Lacquer/spray varnish: Best for high-traffic pieces (e.g., furniture).
Regional Note: In humid areas like Georgia, use spar urethane for outdoor carvings it resists moisture.
6. How do I price my advanced wood carvings as a professional?
Pricing factors include:
- Time invested (hourly rate + complexity).
- Material cost (exotic woods cost more).
- Market demand (custom pieces fetch higher prices).
Final Thoughts
Mastering advanced wood carving techniques for professionals is a journey one that rewards patience and persistence. Whether you’re crafting heirloom furniture or sculpting art, these skills will set you apart.
Now it’s your turn grab your tools and start creating!