Woodworking is one of those hobbies that can feel intimidating at first, but trust me, it doesn’t have to be. Whether you’re in sunny California dealing with dry heat or in humid Florida where moisture is a constant battle, there are easy woodworking projects for practice that can help you build your skills while creating something useful and beautiful. The best part? You don’t need to be a pro to get started.
In this article, I’ll walk you through some simple projects that are perfect for beginners. These projects are designed to help you practice essential skills like measuring, cutting, sanding, and finishing. Plus, they’re practical think shelves, planters, or even a small side table so you’ll have something to show off at the end.
Table of Contents
So, grab your tools, and let’s dive into some fun and rewarding easy woodworking projects for practice that will make you feel like a woodworking pro in no time!
Why Start with Easy Woodworking Projects?

When I first started woodworking, I made the mistake of jumping into a complicated project right away. Spoiler alert: it didn’t go well. That’s why I always recommend starting with easy woodworking projects for practice. These projects are like training wheels they help you build confidence and skills without overwhelming you.
For example, if you live in Arizona, where the heat can warp wood, starting with a small project like a wooden coaster set can teach you how to handle and finish wood properly. Or, if you’re in the Midwest, where winters are harsh, building a simple storage box can help you understand how to work with different types of wood and finishes.
The key is to start small, learn the basics, and gradually take on more challenging projects.
Benefits of Starting Small
- Build Confidence – Completing a small project gives you a sense of accomplishment. There’s nothing quite like the feeling of holding something you’ve made with your own hands.
- Learn Fundamentals – You’ll master basic skills like measuring, cutting, and sanding, which are the foundation of all woodworking projects.
- Save Money – Small projects require fewer materials, so you won’t break the bank. Plus, you can often use scrap wood, which is a great way to recycle and save.
- Test Your Interest – Woodworking might not be for everyone, so starting small lets you test the waters without a huge investment of time or money.
Common Mistakes to Avoid
- Skipping the Planning Phase – Always start with a clear plan. Sketch your project, list the materials you’ll need, and measure twice before cutting.
- Ignoring Safety – Always wear safety gear and follow tool instructions. A small mistake can lead to big injuries.
- Rushing the Process – Woodworking requires patience. Take your time to ensure each step is done correctly.
Best Woods for Beginners
- Pine – Affordable, soft, and easy to work with.
- Cedar – Naturally resistant to rot and insects, great for outdoor projects.
- Plywood – Budget-friendly and versatile for many easy woodworking projects for practice.
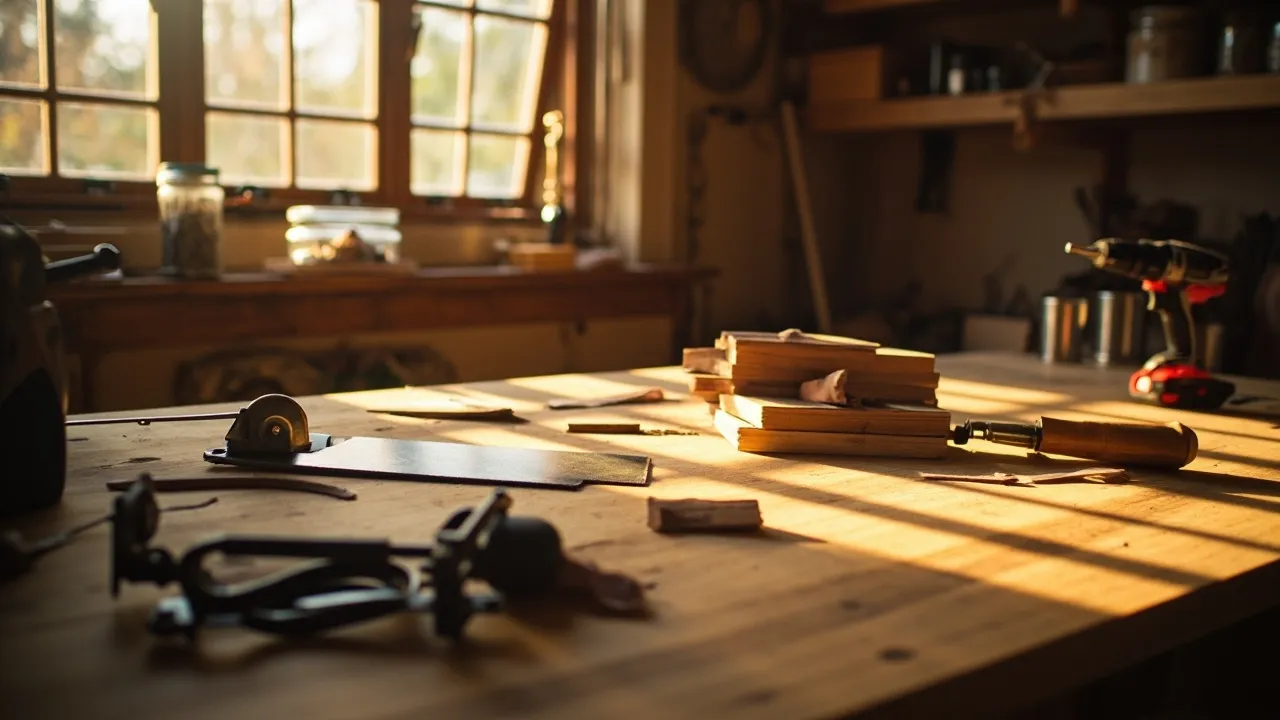
Tools You’ll Need to Get Started


Before we get into the projects, let’s talk about tools. You don’t need a fancy workshop to start woodworking. Here’s a basic list of tools you’ll need for most easy woodworking projects for practice:
Essential Tools for Beginners
- Measuring Tape – Precision is key in woodworking. A good measuring tape will help you get accurate cuts.
- Saw – A handsaw or circular saw will do for beginners. If you’re just starting, a handsaw is a great option because it’s affordable and easy to use.
- Sandpaper – To smooth out rough edges. Start with coarse grit (around 80) and work your way up to fine grit (around 220) for a smooth finish.
- Clamps – To hold pieces together while you work. Clamps are especially useful when gluing pieces together.
- Drill – For making holes or assembling pieces. A cordless drill is a versatile tool that you’ll use in many projects.
- Wood Glue – To bond pieces together. Look for a strong, waterproof glue if you’re working on outdoor projects.
- Safety Gear – Gloves, goggles, and a mask. Safety should always be your top priority.
Tips for Choosing Tools
- Start with the Basics – You don’t need every tool right away. Start with the essentials and add to your collection as you go.
- Invest in Quality – While it’s tempting to go for the cheapest option, investing in quality tools can save you money in the long run. Cheap tools often break easily and can be frustrating to use.
- Safety First – Always wear safety gear to protect yourself from accidents. This includes gloves, goggles, and a mask, especially when sanding or cutting.
Recommended Brands
- Saws – DeWalt or Bosch for power saws; Stanley for handsaws.
- Drills – Milwaukee or Makita for cordless drills.
- Sandpaper – 3M or Norton for durability.
- Wood Glue – Titebond III for its strong, waterproof bond.
Easy Woodworking Projects for Practice
Now, let’s get to the fun part the projects! Here are some easy woodworking projects for practice that will help you build your skills:
1. Wooden Coasters
Skill Level: Beginner
Materials Needed: Scrap wood, sandpaper, wood stain or sealant
Coasters are a great first project because they’re small and simple. Cut your wood into squares, sand the edges, and apply a finish. If you’re in a humid area like Florida, consider using a water-resistant sealant like Minwax Polycrylic to protect your coasters from moisture.
Step-by-Step Guide:
- Cut the Wood – Use a handsaw or circular saw to cut the wood into 4×4 inch squares.
- Sand the Edges – Start with coarse grit sandpaper (80) to remove rough edges, then move to fine grit (220) for a smooth finish.
- Apply Finish – Use a brush or cloth to apply wood stain or sealant. Let it dry completely before using.
- Optional – Add felt pads to the bottom to protect surfaces.
Pro Tip: If you’re in a humid area, consider using cedar or teak wood, which are naturally resistant to moisture.
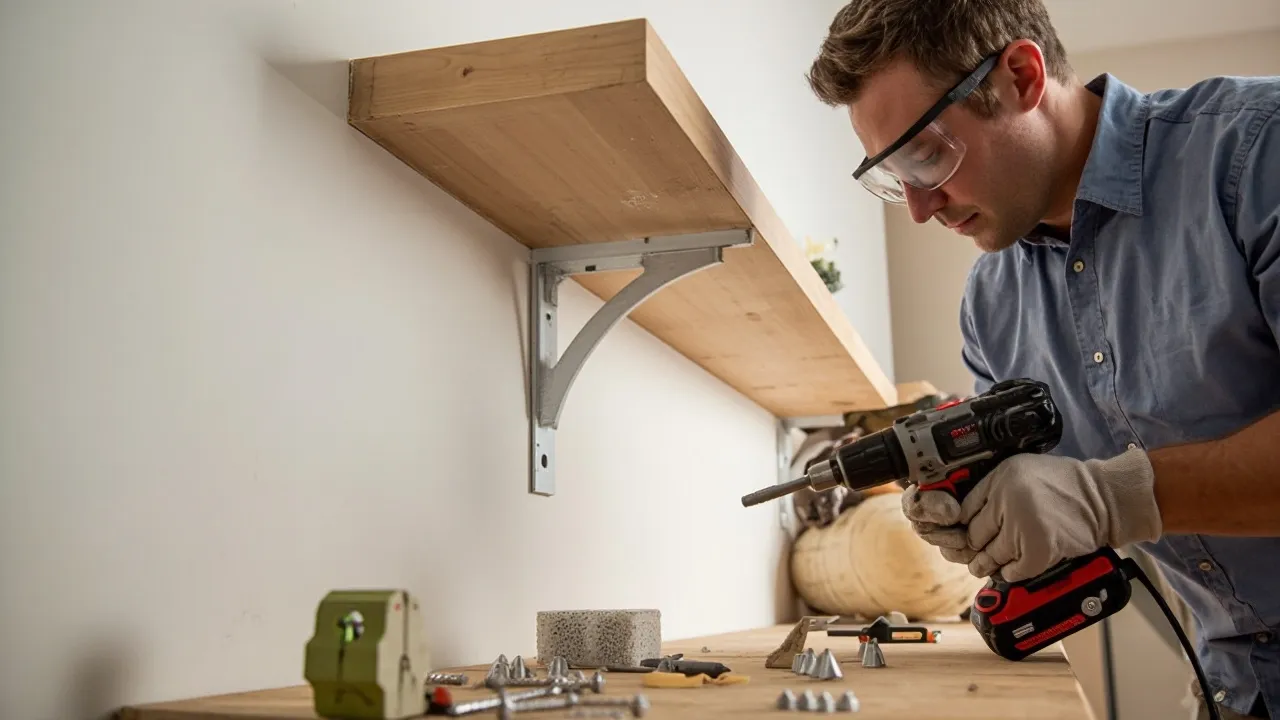
2. Floating Shelves
Skill Level: Beginner to Intermediate
Materials Needed: Wood planks, brackets, screws, drill
Floating shelves are practical and stylish. They’re perfect for displaying photos, plants, or books. Start with a single shelf and work your way up to a set. If you’re in Texas, where water hardness can be an issue, make sure to use stainless steel screws to prevent rust.
Step-by-Step Guide:
- Measure and Cut – Measure the space where you want to install the shelf and cut the wood plank to size.
- Sand the Wood – Sand the edges and surfaces until smooth.
- Install Brackets – Use a drill to attach the brackets to the wall. Make sure they’re level.
- Attach the Shelf – Place the wood plank on the brackets and secure with screws.
Pro Tip: Use a stud finder to locate wall studs for a more secure installation.
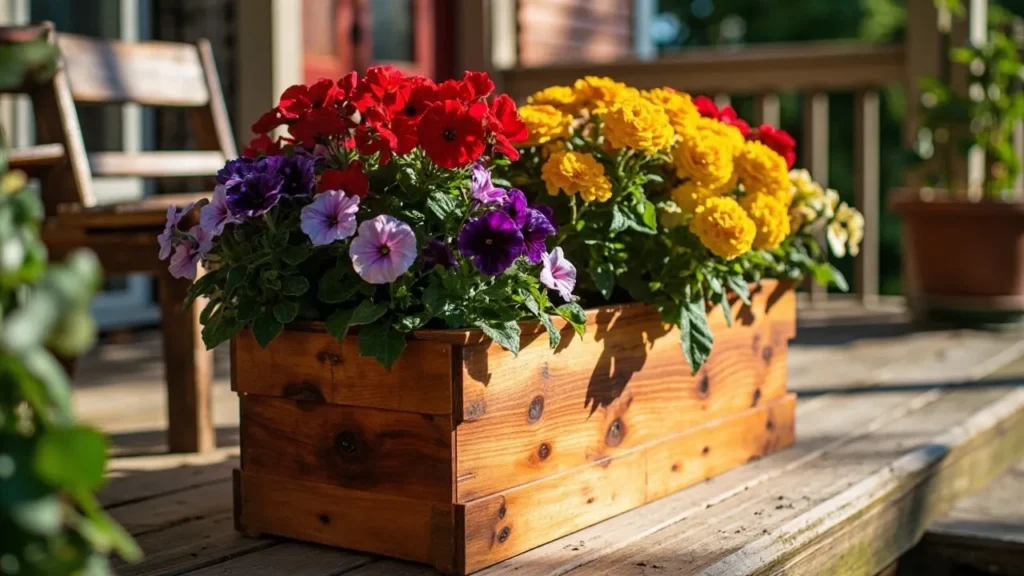
3. Wooden Planter Box
Skill Level: Beginner
Materials Needed: Cedar or redwood planks, nails, wood glue
A planter box is a great way to add some greenery to your space. Cedar and redwood are naturally resistant to pests and rot, making them ideal for outdoor projects. If you’re in the Northeast, where porches and decks are common, this project is a must-try.
Step-by-Step Guide:
- Cut the Wood – Cut the planks to your desired size. A standard size is 12×24 inches.
- Assemble the Box – Use nails and wood glue to assemble the box. Start with the base, then attach the sides.
- Sand the Edges – Sand the edges and surfaces until smooth.
- Apply Finish – Use a weather-resistant finish if the planter will be outdoors.
Pro Tip: Add a plastic liner to protect the wood from soil and water damage.
4. Simple Side Table
Skill Level: Intermediate
Materials Needed: Wood planks, screws, wood stain
A side table is a step up in complexity but still manageable for beginners. It’s a great way to practice joining pieces of wood and finishing techniques. If you’re in California, consider using Behr Premium Wood Stain for a durable, weather-resistant finish.
Step-by-Step Guide:
- Cut the Wood – Cut the planks to your desired size. A standard side table is around 18×18 inches.
- Assemble the Table – Use screws to attach the legs to the tabletop.
- Sand the Edges – Sand the edges and surfaces until smooth.
- Apply Finish – Use a brush or cloth to apply wood stain or sealant.
Pro Tip: Use pocket holes for a cleaner, more professional look.
Tips for Success
- Start with scrap wood – It’s cheaper and less intimidating than buying expensive materials.
- Take your time – Woodworking is all about patience and precision.
- Learn from mistakes – Every mistake is a learning opportunity.
- Ask for help – Join local woodworking groups or online forums for advice and support.
Additional Tips
- Use a Workbench – A stable surface makes a big difference. If you don’t have a workbench, a sturdy table will do.
- Keep Your Workspace Organized – This will save you time and frustration. Use tool organizers or pegboards to keep everything in place.
- Practice Safety – Always wear safety gear and follow tool instructions.
FAQs About Easy Woodworking Projects for Practice
Q: How long does it take to complete an easy woodworking project as a beginner?
A: Most easy woodworking projects for practice can be completed in:
- 2-4 hours for simple projects like coasters or small shelves
- A weekend for slightly more complex projects like planter boxes
- Several weekends if you’re working on your first side table
The key is not to rush – take your time to learn proper techniques.
Q: What’s the best way to learn woodworking if I have no experience?
A: For absolute beginners, I recommend:
- Starting with easy woodworking projects for practice (like the ones in this article)
- Watching beginner-friendly YouTube tutorials
- Taking a local community college class
- Joining a woodworking forum like LumberJocks
- Practicing basic cuts and joints with scrap wood first
Q: How much money should I budget for my first woodworking projects?
A: You can start small with about 50−50−100 for basic tools and materials:
- $20-30 for a basic handsaw
- $15 for sandpaper and finishing supplies
- $10-20 for wood (start with pine or scrap wood)
- $15-30 for safety gear
Many home improvement stores like Lowe’s or Home Depot offer beginner tool kits at reasonable prices.
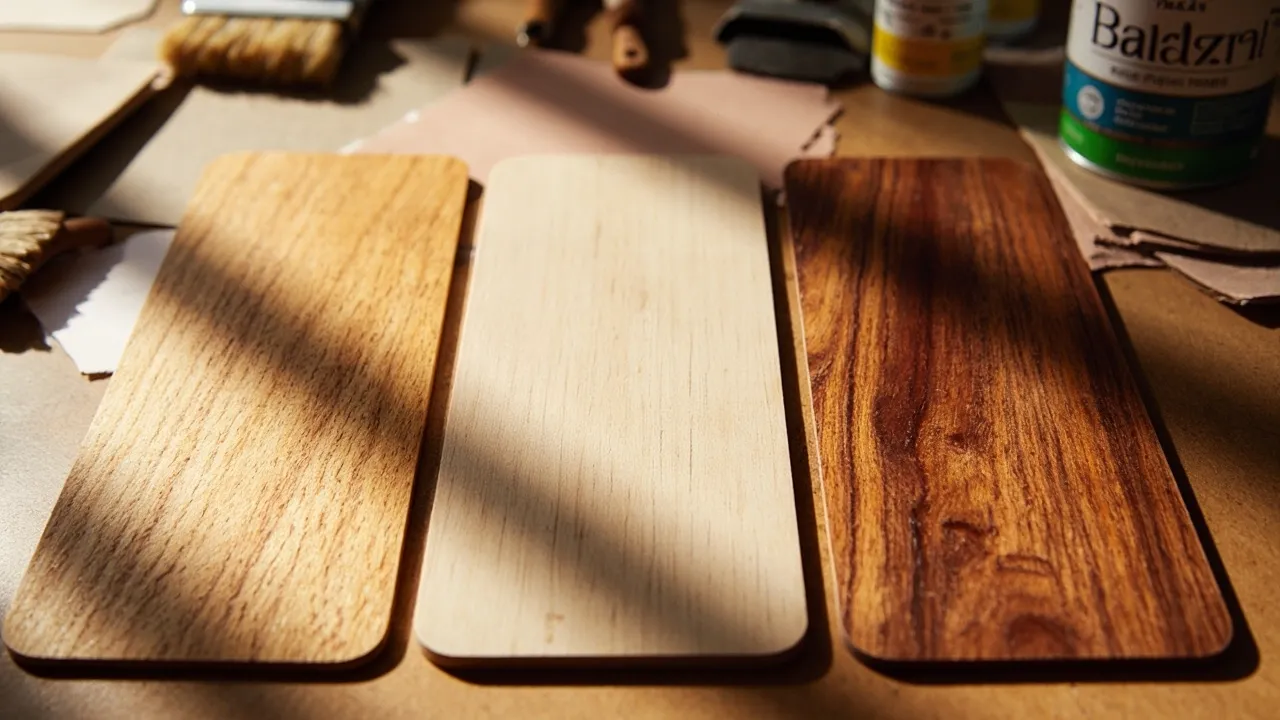
Q: What are some common finishing options for beginner projects?
A: For your easy woodworking projects for practice, consider:
✔ Wood stains (Minwax is beginner-friendly)
✔ Clear polyurethane for protection
✔ Paint (chalk paint is forgiving for beginners)
✔ Natural oil finishes like tung or linseed oil
✔ Wax finishes for a smooth feel
Start with water-based finishes as they’re easier to work with and clean up.
Q: How do I fix mistakes in my woodworking projects?
A: Common beginner mistakes and fixes:
- Uneven cuts: Sand down carefully or recut
- Gaps in joints: Use wood filler, then sand smooth
- Splintered wood: Apply glue to stabilize, then sand
- Stain blotches: Lightly sand and reapply evenly
Remember – even professionals make mistakes! Part of easy woodworking projects for practice is learning to problem-solve.
Q: Where can I find free wood for practice projects?
A: Great sources for free/cheap wood:
✓ Construction site scrap piles (ask first!)
✓ Pallet wood (remove nails carefully)
✓ Local woodworking shops often have offcuts
✓ Online marketplaces (Craigslist/Facebook)
✓ Neighborhood curb alerts during cleanups
Just be sure to inspect for nails, warping, or rot before using.
Q: What safety precautions are most important for beginners?
A: Never skip these safety essentials:
⚠ Eye protection (safety glasses/goggles)
⚠ Hearing protection for power tools
⚠ Dust mask/respirator when sanding
⚠ Keep fingers away from blades
⚠ Secure your workpiece before cutting
⚠ Read tool manuals thoroughly
Safety should always come first, even with easy woodworking projects for practice.
Q: How do I maintain my woodworking tools?
A: Basic tool maintenance tips:
• Keep blades sharp (dull tools are dangerous)
• Clean tools after each use
• Store in dry place to prevent rust
• Lubricate moving parts occasionally
• Check for loose parts before use
A well-maintained tool makes easy woodworking projects for practice much more enjoyable!
Q: When should I move on to more advanced projects?
A: You’re ready to advance when:
✓ You’re comfortable with basic cuts and joints
✓ You’ve completed several easy woodworking projects for practice
✓ You understand how different woods behave
✓ You feel confident using your tools safely
✓ You’re excited (not intimidated) by new challenges
There’s no rush – enjoy the learning process!
Q: Can kids participate in woodworking projects?
A: Absolutely! Great starter projects for kids:
• Birdhouses
• Simple picture frames
• Wooden toys
• Small toolboxes
Always supervise closely and:
- Use hand tools instead of power tools
- Choose soft woods like pine
- Keep projects small and manageable
- Make safety the top priority
Woodworking is a fantastic skill to learn young!
Key Takeaways
- Start with easy woodworking projects for practice to build your skills.
- Invest in basic tools and safety gear.
- Choose projects that match your skill level and local climate.
- Don’t be afraid to make mistakes they’re part of the learning process.
Woodworking is a rewarding hobby that allows you to create something tangible and beautiful. Whether you’re in the dry heat of Arizona or the humid South, there’s a project out there for you. So, roll up your sleeves, grab your tools, and start building!
What’s your first project going to be? Share your experience in the comments below!