Why Precision Matters in Woodworking
After 30 years as a professional woodworker and instructor at the North Bennet Street School, I’ve learned that accurate wood measuring and marking techniques are the foundation of every successful project. Whether you’re building a simple birdhouse or an heirloom dining table, mastering these skills will transform your work from amateurish to professional quality.
Table of Contents
Accurate wood measuring and marking techniques affect every aspect of your project:
- Structural integrity
- Visual appeal
- Ease of assembly
- Long-term durability
Consider this: A 1/16″ error in measuring might seem insignificant, but when multiplied across multiple joints in a cabinet, it can lead to gaps large enough to see daylight through. That’s why professional woodworkers obsess over accurate wood measuring and marking techniques.
The Science Behind Wood Movement and Measurement
Understanding how wood behaves is crucial for developing proper accurate wood measuring and marking techniques. Wood is a hygroscopic material, meaning it constantly absorbs and releases moisture from its environment.
Key factors affecting your measurements:
- Seasonal Changes: In humid New England summers, wood can expand up to 1/4″ per foot
- Species Variation: Pine moves differently than oak or maple
- Cut Orientation: Quarter-sawn boards are more stable than plain-sawn
Pro Tip: For the most accurate wood measuring and marking techniques, always acclimate your lumber to your shop environment for at least 72 hours before measuring. Keep a hygrometer in your workspace to monitor humidity levels.
Essential Tools for Perfect Measurements
Building a complete toolkit is the first step toward mastering accurate wood measuring and marking techniques. Here’s my recommended arsenal:
Basic Measuring Tools ($50-200)
- Tape Measures:
- Stanley FatMax (best for construction)
- Starrett pocket tape (for fine woodworking)
- Avoid cheap tapes – their hooks often aren’t square
- Squares:
- Combination square (4″, 6″, and 12″)
- Try square for quick checks
- Framing square for large projects
Advanced Layout Tools ($200-1000)
- Digital Calipers: For joinery work
- Marking Gauges:
- Wheel-type for cross-grain
- Cutting gauge for with-grain
- Precision Straightedges:
- Starrett 24″ steel rule
- Woodpeckers aluminum straightedges
Step-by-Step Measuring Process

Follow this 10-step system for foolproof accurate wood measuring and marking techniques:
- Prepare Your Workspace:
- Ensure proper lighting (5000K LED recommended)
- Clean, flat reference surface
- Stable temperature (68-72°F ideal)
- Inspect Your Lumber:
- Identify the best face (show side)
- Check for twist or cup
- Determine grain direction
- Establish Reference Edges:
- Joint one face flat
- Plane one edge square
- Mark these reference surfaces clearly
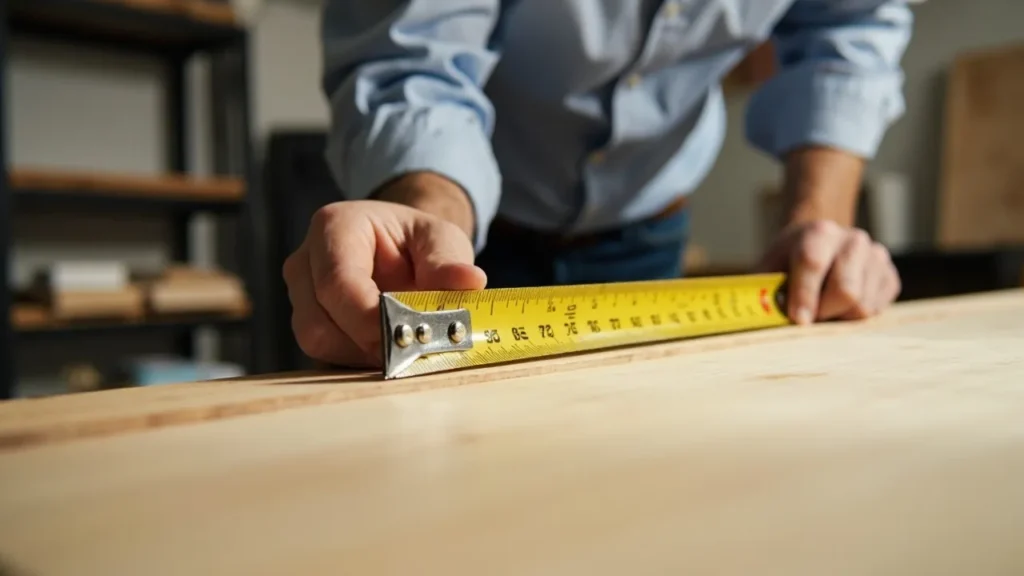
- Measure Systematically:
- Always measure from reference edges
- Use consistent pressure on tape measures
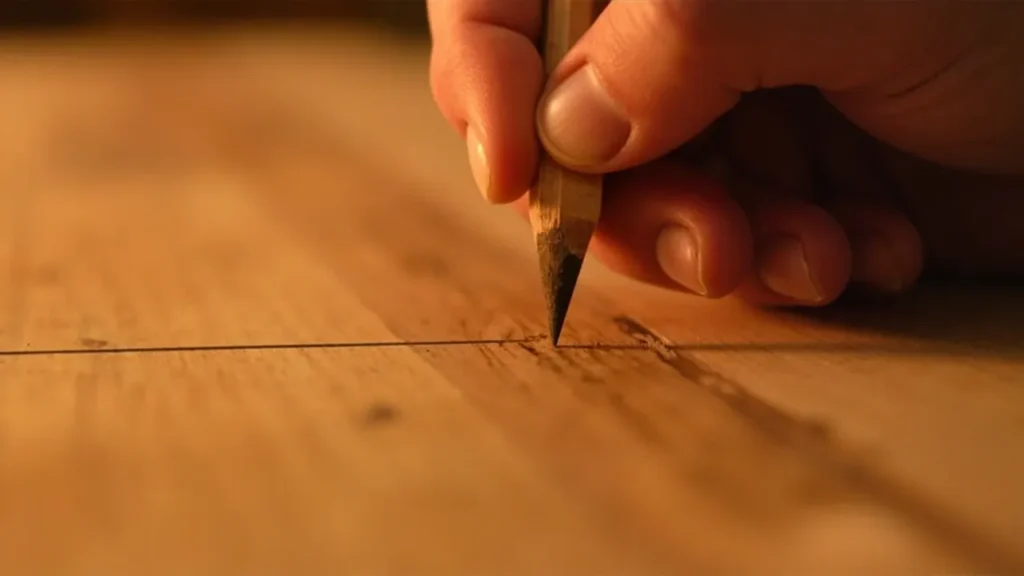
- Mark with a sharp, hard pencil (4H or harder)
- Double-Check Everything:
- Measure twice from opposite ends
- Verify with a second tool when possible
- Record critical measurements in a notebook
Specialized Marking Methods
Beyond basic pencil lines, true accurate wood measuring and marking techniques include:
Knife Wall Technique
- Creates perfect joinery lines
- Prevents tear-out when sawing
- Essential for dovetails and mortise/tenon joints
Story Stick System
- Create custom measuring sticks for each project
- Eliminates math errors
- Perfect for repetitive measurements
Laser-Assisted Layout
- Laser squares for large projects
- Digital angle finders
- Projection systems for complex curves
Regional Considerations Across the U.S.
Your location dramatically impacts how you apply accurate wood measuring and marking techniques:
Northeast (Four Seasons)
- Account for 1/8″ seasonal movement
- Measure indoors at room temperature
- Use moisture-resistant marking tools
South (High Humidity)
- Allow for expansion in joinery
- Consider pressure-treated wood movement
- Protect tools from rust
West (Dry Climate)
- Wood shrinks significantly
- Make joinery slightly tighter
- Avoid leaving marks too long before cutting
Advanced Applications
Take your accurate wood measuring and marking techniques to the next level:
Fine Furniture
- Hand-cut dovetail layout
- Marquetry pattern transfer
- Curved element templates
Architectural Millwork
- Whole-house trim packages
- Stair stringer layout
- Custom molding profiles
Outdoor Projects
- Deck board spacing
- Fence post alignment
- Pergola angles
Troubleshooting Common Issues
Even with perfect accurate wood measuring and marking techniques, problems occur:
When Measurements Don’t Match
- Check tool calibration
- Verify reference edges
- Consider temperature changes
Fixing Mistakes
- When to recut vs. adjust
- Shimming techniques
- Creative design solutions
FAQ: Accurate Wood Measuring and Marking Techniques
1. What’s the most common mistake beginners make when measuring wood?
The biggest mistake is not establishing a consistent reference edge. Beginners often measure from different sides of the board, leading to cumulative errors. Always mark your reference face and edge first, then measure from those surfaces for accurate wood measuring and marking techniques.
2. How do I prevent my pencil marks from being too thick and inaccurate?
Use a sharp marking knife or a fine mechanical pencil (0.5mm) for precision. A dull pencil can create a line up to 1/16″ thick, which affects cuts. For accurate wood measuring and marking techniques, a knife line is even better because it severs wood fibers, reducing tear-out.
3. Why does my wood measurement change after cutting, even though I measured carefully?
This usually happens due to kerf width (the material removed by the saw blade) or wood movement from humidity changes. Always account for the saw blade’s thickness (typically 1/8″) and measure in a climate-controlled space for accurate wood measuring and marking techniques.
4. What’s the best tape measure for woodworking?
A high-quality 25′ tape measure with a rigid blade (like Stanley FatMax) is ideal. Look for:
✔ Fine markings (1/16″ or 1/32″ increments)
✔ A sturdy hook that doesn’t bend
✔ A smooth retraction mechanism
5. How do I ensure my angles are perfectly square?
Use a trusted combination square or engineer’s square and test it against a known straight edge. For accurate wood measuring and marking techniques, check for light gaps between the square and the wood if you see any, your square might need calibration.
6. Can I use a laser measure instead of a tape measure?
Yes, but only for rough measurements. Laser measures are great for large projects (like deck framing), but for fine woodworking, traditional accurate wood measuring and marking techniques (tape + square) are still superior for precision.
7. How does humidity affect my measurements?
Wood expands in high humidity (like Florida summers) and shrinks in dry climates (like Arizona winters). For accurate wood measuring and marking techniques, store wood in your workshop for at least 48 hours before measuring, and account for seasonal movement (typically 1/8″ per foot for softwoods).
8. What’s the best way to mark curved cuts accurately?
Use a flexible ruler or a French curve tool for smooth arcs. For accurate wood measuring and marking techniques, you can also make a custom template from thin plywood or cardboard and trace it onto your workpiece.
9. Should I measure in inches or millimeters for better accuracy?
Both work, but millimeters allow for finer increments (1mm ≈ 1/25″). Many woodworkers prefer metric for accurate wood measuring and marking techniques because it reduces fraction confusion.
10. How often should I check my measuring tools for accuracy?
✔ Monthly for tape measures (compare against a known standard)
✔ Before every major project for squares (use the 3-4-5 method)
✔ Annually for digital tools (check calibration)
11. What’s the best pencil for marking wood?
A carpenter’s pencil (flat design) or a 4H mechanical pencil works best. Avoid soft lead pencils (like #2) because they smudge and leave thick lines, reducing accurate wood measuring and marking techniques.
12. How do I fix a measurement if I’ve already cut the wood too short?
If the piece is salvageable:
✔ Use shims or filler strips for small gaps
✔ Recut the mating piece if possible
✔ Redesign the joint (e.g., deeper tenon)
For accurate wood measuring and marking techniques, always double-check before cutting!
The Future of Precision Measuring
Emerging technologies changing accurate wood measuring and marking techniques:
- 3D scanning
- Augmented reality layout
- Smart tool integration
The Path to Mastery
Developing true expertise in accurate wood measuring and marking techniques requires:
- Quality tools
- Systematic processes
- Understanding material science
- Continuous practice
Remember what my mentor told me: “Measure with your head, mark with your heart, cut with confidence.” With these accurate wood measuring and marking techniques, you’re well on your way to woodworking mastery.
Appendices
- Wood Movement Calculator by species
- Tool Maintenance Schedule
- Measurement Conversion Charts
- Regional Climate Guide
- Further Reading List