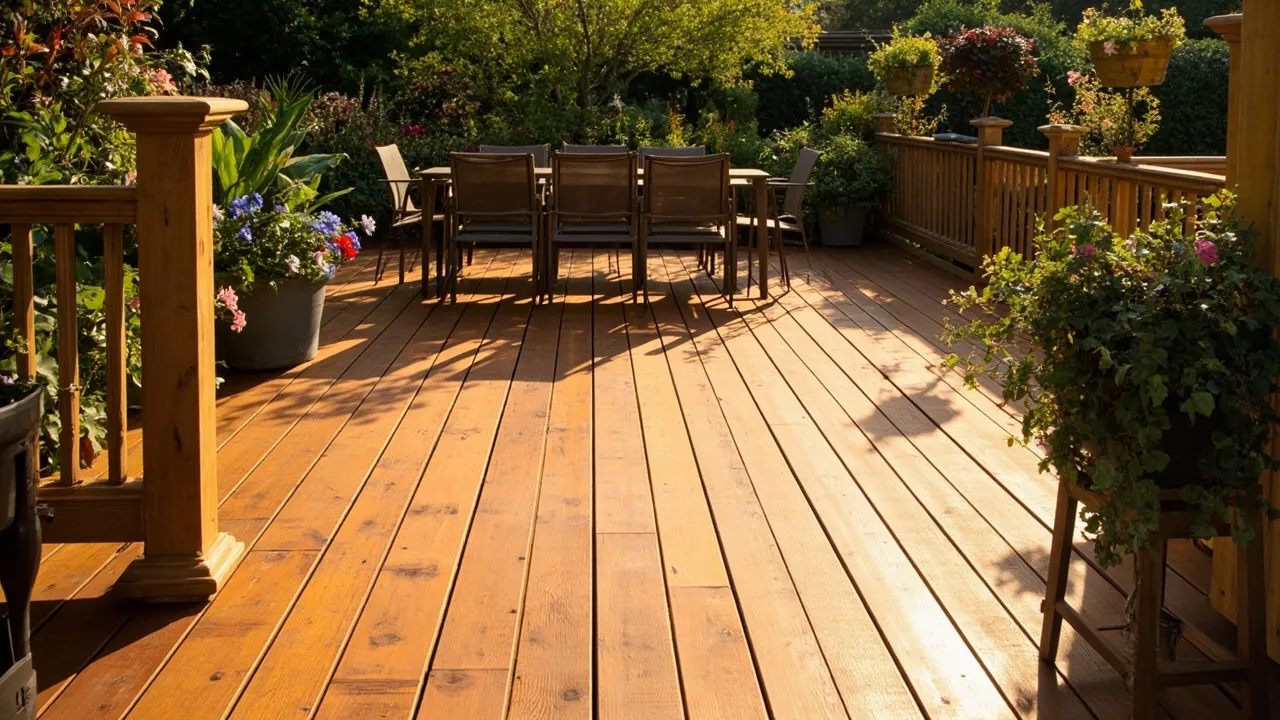
Outdoor wood projects can transform your backyard into a cozy retreat or add charming character to your home’s exterior. Whether it’s a custom-built deck, a rustic picnic table, or elegant garden planters, wood brings natural warmth to outdoor spaces. But if you’ve ever invested time and money into creating beautiful outdoor wood features only to watch them develop ugly moisture stains, you understand the heartbreak. Those dark, splotchy marks aren’t just unsightly – they’re warning signs of deeper damage that can ruin your projects.
The good news? Preventing moisture stains on outdoor wood projects is completely achievable with the right knowledge and materials. As someone who’s built and restored countless outdoor wood structures across different climates, I’ve learned exactly what works (and what doesn’t) for keeping wood looking its best. In this comprehensive guide, I’ll share all my proven techniques for preventing moisture stains on outdoor wood projects, tailored to different regions, budgets, and skill levels.
Table of Contents
Understanding Moisture Stains: More Than Just Cosmetic Damage
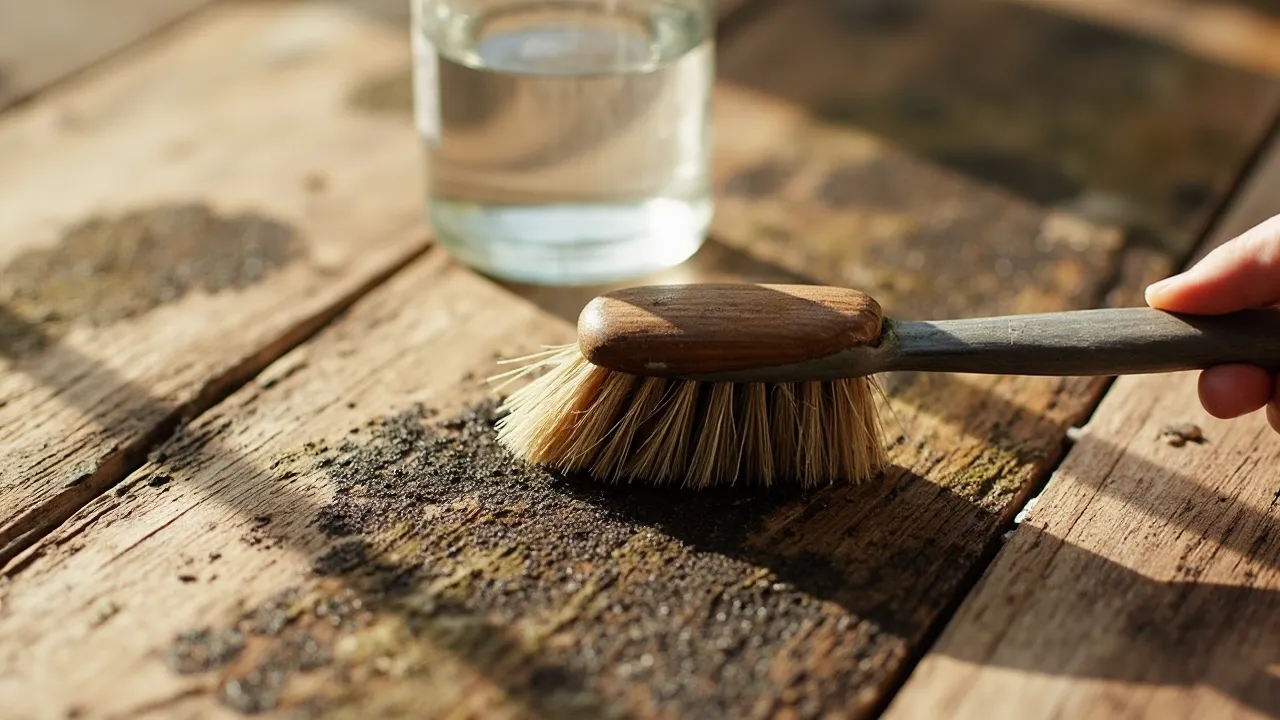
Before we dive into solutions, let’s understand what we’re dealing with. Moisture stains appear when water penetrates wood surfaces, leaving behind dark, uneven discoloration. These stains typically show up as:
- Dark gray or black splotches (indicating mold or mildew growth)
- White, chalky patches (mineral deposits from hard water)
- Yellowish streaks (tannins leaching from the wood)
But preventing moisture stains on outdoor wood projects isn’t just about aesthetics. Left unchecked, moisture leads to:
- Structural damage: Water causes wood fibers to swell and contract, leading to warping, cracking, and eventual rot
- Mold growth: Damp wood creates ideal conditions for mold and mildew, which can spread to your home
- Insect infestations: Termites and carpenter ants are attracted to moist, soft wood
- Shortened lifespan: Unprotected wood may need replacement in just 2-3 years versus 10+ years with proper care
The key to preventing moisture stains on outdoor wood projects lies in understanding how moisture interacts with wood. Wood is naturally hygroscopic – meaning it absorbs and releases moisture from the air. This becomes problematic when:
- Water sits on the surface too long (from rain, sprinklers, or humidity)
- There’s no protective barrier to slow moisture absorption
- The wood can’t dry properly due to poor air circulation
Now that we understand the stakes, let’s explore the most effective strategies for preventing moisture stains on outdoor wood projects that will keep your creations beautiful for decades.
Step 1: Selecting the Right Wood – Your First Defense Against Moisture

The battle for preventing moisture stains on outdoor wood projects begins at the lumberyard. Not all wood is created equal when it comes to moisture resistance. Here’s an in-depth look at your best options:
Naturally Rot-Resistant Woods
- Western Red Cedar
- Natural preservatives (thujaplicins) resist moisture, insects, and decay
- Straight grain makes it easy to work with
- Lightweight yet durable
- Ideal for: Decks, fences, outdoor furniture
- Cost: $$ (mid-range)
- Redwood (Heartwood Grade)
- Contains tannins and oils that repel water
- Naturally beautiful reddish hue ages to silvery gray
- More stable than cedar (less prone to warping)
- Ideal for: Premium decks, pergolas, hot tub surrounds
- Cost: $$$ (premium)
- White Oak
- Tight grain structure resists water penetration
- Extremely dense and durable
- Traditional choice for boat building
- Ideal for: Outdoor tables, benches, marine applications
- Cost: $$$
Treated Wood Options
- Pressure-Treated Southern Yellow Pine
- Infused with preservatives under pressure
- Affordable and widely available
- Modern treatments (like MCQ) are safer than old arsenic formulas
- Ideal for: Structural elements, deck frames, playgrounds
- Cost: $
- Thermally Modified Wood
- Heated to high temperatures to change cellular structure
- Becomes hydrophobic (water-repelling)
- No chemicals used
- Ideal for: Decking, siding, saunas
- Cost: $$$
- Composite Decking
- Wood-plastic blend resists moisture completely
- Never needs staining or sealing
- Available in realistic wood-grain patterns
- Ideal for: Low-maintenance decks
- Cost: $$$$
Pro Tip for preventing moisture stains on outdoor wood projects: When shopping at Home Depot or Lowe’s, look for these markings:
- “Ground Contact Rated” (for posts or structural pieces)
- “Kiln Dried After Treatment” (KDAT) means less warping
- “Premium” or “Select” grades have fewer knots (which absorb more moisture)
Step 2: Proper Sealing Techniques – Creating an Impenetrable Barrier


The single most important step for preventing moisture stains on outdoor wood projects is applying the right protective finish. Here’s everything you need to know:
Types of Protective Finishes
- Penetrating Oil Sealers
- Soak into wood fibers
- Allow wood to breathe
- Need reapplication every 1-2 years
- Best for: Decks, fences, cedar siding
- Film-Forming Sealers
- Create a surface layer
- More waterproof but can peel
- Last 2-3 years
- Best for: Furniture, railings
- Hybrid Formulas
- Combine oil and resin
- Penetrate while forming protective layer
- Last 2-4 years
- Best for: High-traffic areas
Top Product Recommendations
- For Decks:
- Thompson’s WaterSeal Advanced Natural Wood Protector
- Ready Seal Exterior Stain and Sealer
- Cabot Australian Timber Oil
- For Furniture:
- Minwax Helmsman Spar Urethane
- TotalBoat Halcyon Marine Varnish
- General Finishes Exterior 450
- For Fences:
- DEFY Extreme Semi-Transparent Stain
- Behr Premium Transparent Waterproofing
- Flood CWF-UV Clear Wood Finish
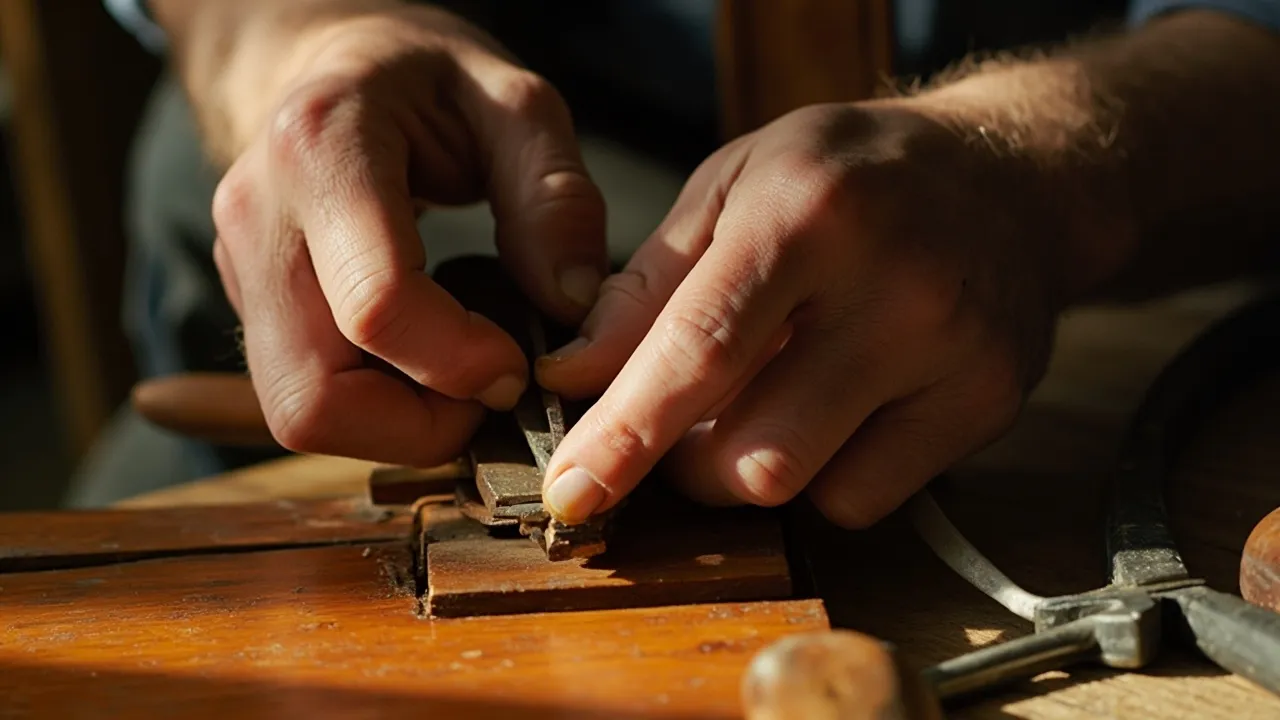
Application Masterclass
Follow this professional process for preventing moisture stains on outdoor wood projects:
- Preparation (Most Critical Step!)
- Wait for new wood to dry completely (30-60 days for pressure-treated)
- Clean with wood brightener/cleaner
- Sand with 80-grit then 120-grit sandpaper
- Remove all dust with tack cloth
- Application
- Use a high-quality brush (Purdy or Wooster)
- Apply along the grain
- Maintain a “wet edge” to avoid lap marks
- Two thin coats are better than one thick coat
- Drying
- Allow 24-48 hours between coats
- Don’t apply if rain is forecast within 24 hours
- Ideal temperature: 50-90°F
- Maintenance
- Inspect annually
- Reapply when water stops beading
- Clean before recoating
Pro Tip: For maximum protection when preventing moisture stains on outdoor wood projects, pay special attention to:
- End grains (absorbs 10x more moisture)
- Undersides of horizontal surfaces
- Joints and crevices
Step 3: Design Strategies to Keep Wood Dry
Smart design is crucial for preventing moisture stains on outdoor wood projects. Implement these features:
Water-Shedding Design Elements
- Sloping Surfaces
- Decks: 1/4″ drop per foot away from house
- Table tops: Slight dome shape or edge drip grooves
- Proper Spacing
- Deck boards: 1/8″ gap for expansion
- Fence pickets: Space for air circulation
- Overhangs and Drip Edges
- Extend table tops beyond base
- Add metal drip edges to pergola rafters
- Elevation Techniques
- Use galvanized or composite deck risers
- Install furniture on casters or feet
Regional Design Adaptations
- Humid Climates (FL, LA, GA)
- Wider board spacing (3/16″)
- Elevated foundation with maximum airflow
- Metal flashing between wood and masonry
- Rainy Northwest (WA, OR)
- Steeper slopes (1/2″ per foot)
- Covered storage for cushions
- Gutter systems on pergolas
- Dry Southwest (AZ, NV)
- Tight seams to prevent UV damage
- Shade structures
- More frequent conditioning
Step 4: Maintenance Routines for Lasting Protection

Preventing moisture stains on outdoor wood projects requires ongoing care. Follow this seasonal checklist:
Monthly
- Brush off leaves/debris
- Check for new stains
- Inspect sealant beading
Quarterly
- Deep clean with appropriate cleaner
- Spot treat any mildew
- Tighten hardware
Annually
- Full inspection
- Light sanding if needed
- Reapplication of sealant
Problem-Solving Guide
If you notice stains despite preventing moisture stains on outdoor wood projects:
- Black Stains
- Mix 1 cup oxygen bleach per gallon water
- Scrub with stiff brush
- Rinse thoroughly
- White Mineral Deposits
- Use vinegar/water solution (50/50)
- Wipe with microfiber
- Neutralize with baking soda rinse
- Tannin Bleed
- Apply wood brightener
- Use stain-blocking primer before refinishing
Advanced Protection Methods
For those serious about preventing moisture stains on outdoor wood projects, consider:
- Wood Stabilizers
- Penetrating epoxy treatments
- Best for end grains and cut ends
- Back-Priming
- Sealing all sides before assembly
- Especially important for furniture
- Capillary Breaks
- Rubber gaskets between wood and metal
- Prevents wicking at connection points
FAQs About Preventing Moisture Stains on Outdoor Wood Projects
Q: How soon should I seal new outdoor wood projects?
A: It depends on the wood type:
- Pressure-treated wood: Wait 30-60 days for it to dry completely before sealing.
- Cedar or redwood: Can be sealed immediately if kiln-dried, but wait 2-4 weeks for air-dried lumber.
- Composite decking: Doesn’t require sealing, but some benefit from UV-protective coatings.
Q: Can I paint over moisture stains?
A: Never paint over existing moisture stains! This traps moisture and worsens rot. Instead:
- Clean the stains with a wood brightener or bleach solution.
- Sand the affected area lightly.
- Apply a stain-blocking primer (like Kilz or Zinsser).
- Paint with exterior-grade paint.
Q: What’s the best sealer for humid climates like Florida?
A: Look for:
✔ Mold/mildew-resistant formulas (e.g., Thompson’s WaterSeal Advanced)
✔ Breathable sealers (oil-based > film-forming)
✔ UV protection (critical for sunny states)
Reapply every 12-18 months in high-humidity areas.
Q: Does staining wood prevent moisture stains?
A: Yes, but only if you use the right type:
- Transparent stains offer minimal moisture protection.
- Semi-transparent/solid stains provide better water resistance.
- Stain + sealer combos (like Cabot or Ready Seal) work best for preventing moisture stains on outdoor wood projects.
Q: Why does my deck still get stains even after sealing?
A: Common reasons:
- Old or worn-out sealer (check if water stops beading)
- Improper application (missed spots, too thin of a coat)
- Standing water (poor drainage or lack of slope)
- Mold/algae growth (common in shaded areas)
Q: How do I remove white, chalky stains from my wood furniture?
A: These are usually mineral deposits from water. Try:
- Vinegar solution (1:1 water/vinegar) – scrub gently.
- Commercial wood cleaner (like Krud Kutter).
- Light sanding (220-grit) if stains persist.
Always reseal after cleaning!
Q: Can I use motor oil or used cooking oil to protect outdoor wood?
A: Never! These attract dirt, cause rot, and create fire hazards. Stick to tested wood sealers (Thompson’s, Minwax, etc.) for preventing moisture stains on outdoor wood projects safely.
Q: How do I protect wood in snowy climates?
A: Winter-proof your wood with:
- Heavy-duty sealers (like Sikken’s Cetol 1).
- Waterproof covers for furniture.
- Plastic or composite feet to prevent ground contact.
Avoid shoveling snow directly onto wood—it traps moisture.
Q: Does sealing both sides of wood help?
A: Absolutely! Sealing all sides (including ends and undersides) is crucial for:
- Furniture (table bottoms, chair legs)
- Deck boards (especially the grooves)
- Fence posts (where ground contact occurs)
Q: What’s the cheapest way to prevent moisture stains?
A: Budget-friendly tips:
✔ Use pressure-treated pine (more affordable than cedar/redwood).
✔ DIY cleaning (vinegar/water vs. commercial cleaners).
✔ Reapply sealant only where needed (spot-treat high-wear areas).
✔ Elevate projects (free airflow prevents pooling water).
Final Thoughts
Preventing moisture stains on outdoor wood projects requires a multi-layered approach combining the right materials, proper sealing techniques, smart design, and regular maintenance. By implementing these strategies, you can enjoy beautiful, long-lasting outdoor wood features that maintain their appearance and structural integrity for decades.
Remember that preventing moisture stains on outdoor wood projects is always easier than repairing damage later. Invest time upfront in proper preparation and protection, and you’ll save countless hours and dollars on refinishing or replacement down the road.
Whether you’re building a new deck in Florida’s humidity, crafting Adirondack chairs for a Midwest patio, or installing cedar planters in California’s dry climate, these principles of preventing moisture stains on outdoor wood projects will serve you well. Your future self will thank you when your wood still looks pristine years later!