The Challenge of Hardwoods
Woodworking with hardwoods like oak, walnut, and maple is incredibly rewarding but it’s also tough on your tools. Unlike softwoods, which cut like butter, hardwoods are dense, abrasive, and can quickly dull blades, burn out drill bits, and wear down sandpaper if you’re not careful.
I learned this the hard way when I tried cutting a thick piece of white oak with an old saw blade. Halfway through, the blade was so dull that it started smoking, and the cut was jagged and uneven. That’s when I realized: working with hardwoods without tool damage requires the right tools, techniques, and a little know-how.
Table of Contents
Whether you’re building a walnut coffee table, crafting an oak bookshelf, or just starting with hardwoods, this guide will teach you how to:
- Choose the best tools for hardwoods
- Cut, drill, and sand without damaging your equipment
- Adjust techniques for different climates (humid, dry, or cold)
- Keep your tools sharp and well-maintained
- Apply flawless finishes that protect your hard work
Let’s dive in and make sure your next hardwood project goes smoothly without ruining your tools!
Why Hardwoods Are Tough on Tools (And How to Adapt)
Hardwoods like oak, walnut, cherry, and maple are prized for their strength and beauty, but their density makes them challenging to work with. Here’s why:
1. High Density & Silica Content
- Oak, for example, contains silica, which acts like sandpaper on blades.
- Walnut is slightly softer but still dense enough to wear down dull tools quickly.
- Maple is so hard that it can cause burn marks if cut too fast.
2. Regional Climate Challenges
- Humid climates (Florida, Louisiana): Moisture makes wood fibers swell, increasing resistance.
- Dry climates (Arizona, Nevada): Wood becomes brittle, leading to splintering.
- Cold climates (Midwest, Northeast): Low temperatures make wood harder to cut cleanly.
3. Common Tool Problems When Working with Hardwoods
- Dull Blades: Burn marks, rough cuts, and excessive sawdust.
- Splintering: Tear-out when drilling or sawing.
- Tool Overheating: Friction from dense wood can damage motors.
Key Takeaway: Working with hardwoods without tool damage means understanding these challenges and adjusting your approach.
Choosing the Right Tools for Hardwoods
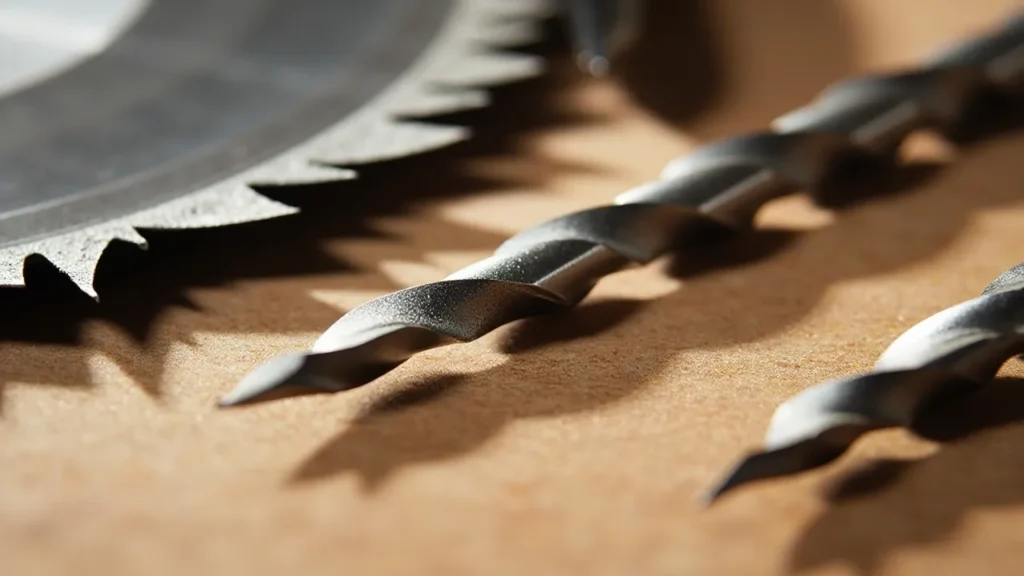
1. Invest in High-Quality Blades & Bits
The biggest mistake beginners make is using cheap tools on hardwoods. Here’s what you need:
Saw Blades
- Carbide-Tipped Blades (Freud, Diablo): Last 5x longer than standard blades.
- Tooth Count: 60-80 teeth for smooth cuts in hardwoods.
- Thin Kerf Blades: Reduce waste and require less power.
Drill Bits
- Brad-Point Bits (Bosch, DeWalt): Prevent splintering in hardwoods.
- Forstner Bits: Ideal for clean, flat-bottomed holes.
- Avoid Twist Drills: They wander and splinter in dense wood.
Router Bits
- Up-Spiral Carbide Bits: Reduce tear-out in hardwoods.
- Compression Bits: Clean cuts on both sides of the wood.
2. Keep Your Tools Razor-Sharp
Dull tools are the #1 cause of damage when working with hardwoods without tool damage.
- Sharpening Frequency: Check blades after every project.
- Best Sharpening Tools: Diamond stones, honing guides, or professional services.
- Signs of a Dull Blade: Burn marks, excessive sawdust, rough edges.
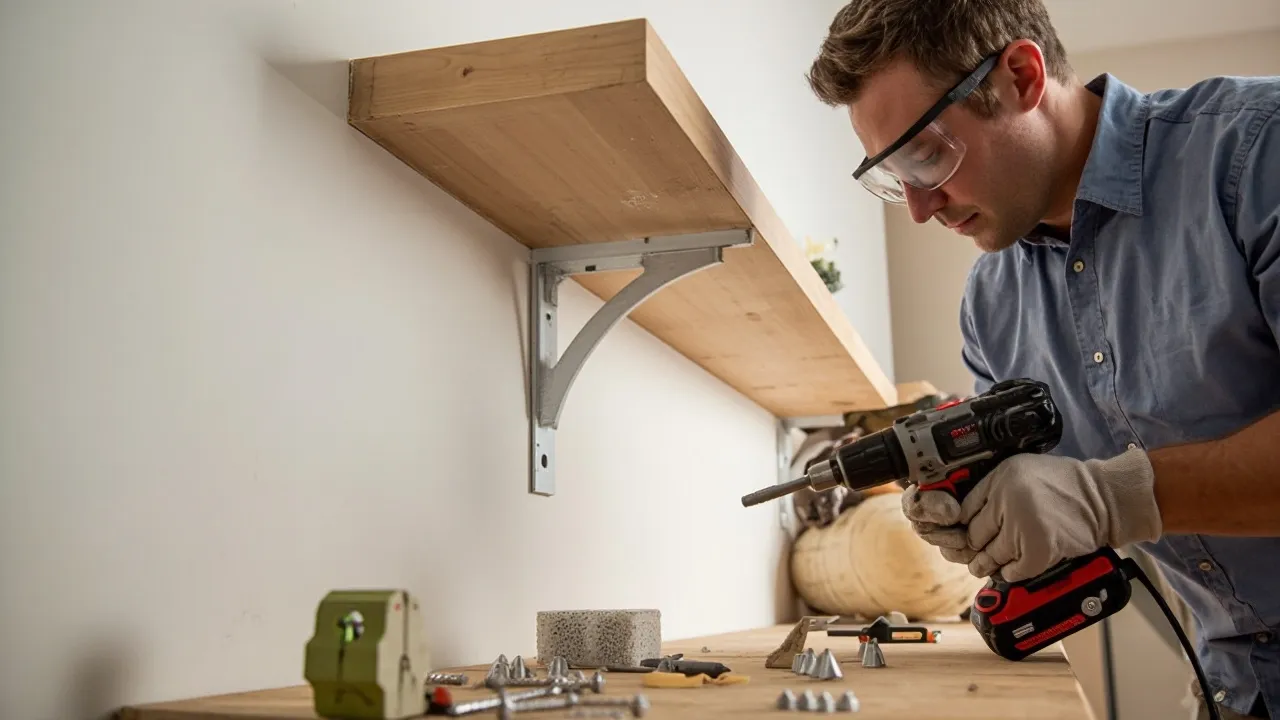
3. Use the Right Clamps & Workholding
Hardwoods are slippery and can kick back if not secured.
- Bar Clamps (Bessey, Jorgensen): Best for large panels.
- Quick-Grip Clamps: Ideal for small projects.
- Non-Marring Pads: Prevent dents in expensive hardwoods.
Techniques for Cutting, Drilling & Sanding Hardwoods
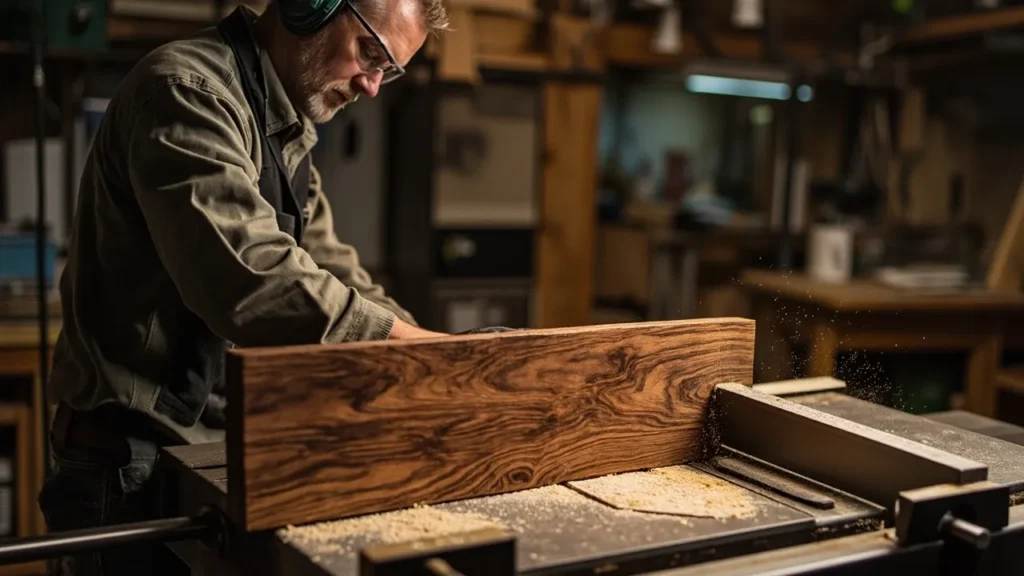

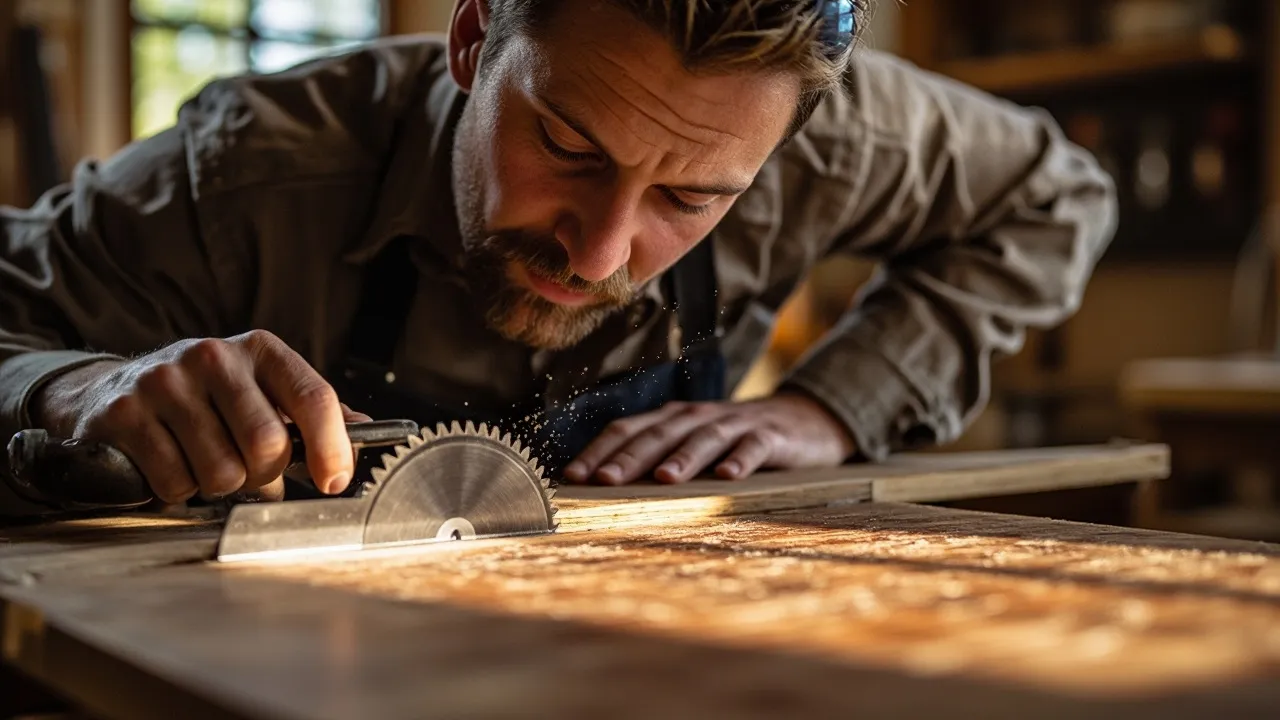
1. Cutting Hardwoods Without Burning or Tear-Out
- Slow Feed Rate: Let the blade do the work don’t force it.
- Zero-Clearance Inserts: Prevent tear-out on table saws.
- Masking Tape Trick: Reduces splintering on cuts.
2. Drilling Clean Holes in Hardwoods
- Pre-Drill Pilot Holes: Prevents splitting.
- Low Speed Setting: Reduces heat buildup.
- Backer Board: Eliminates blow-out on exit holes.
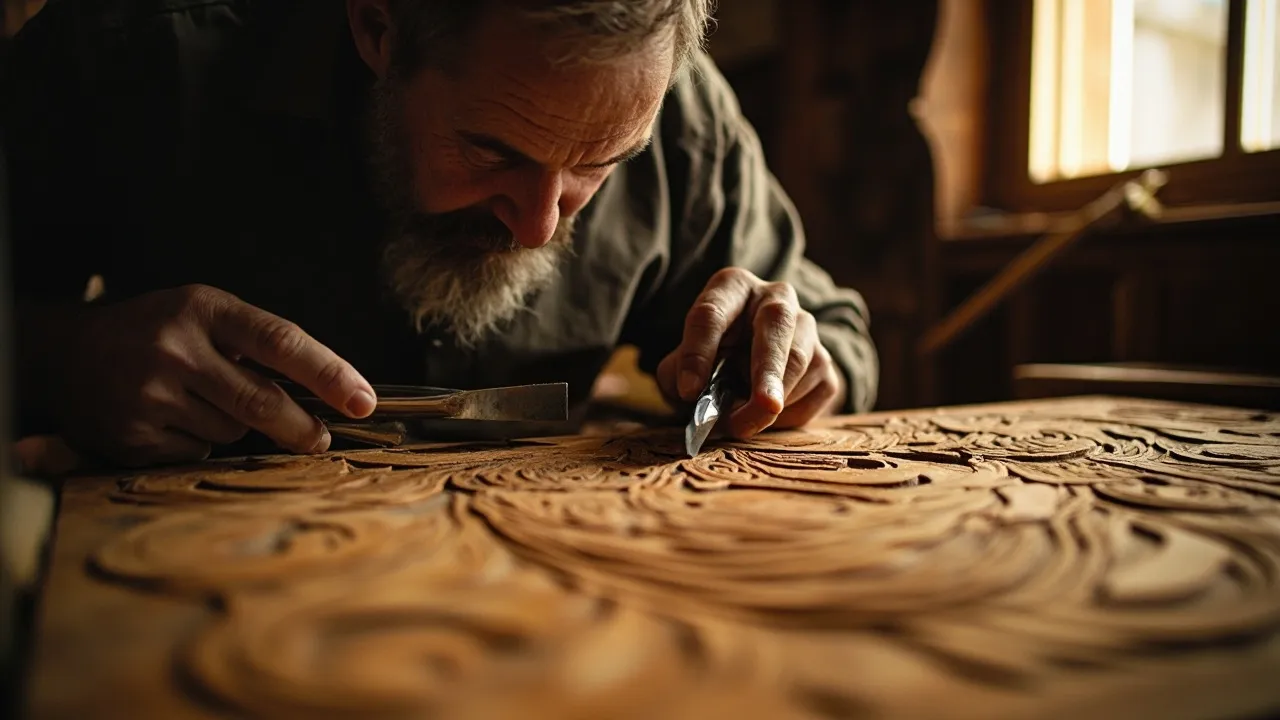
3. Sanding Hardwoods for a Glass-Smooth Finish
- Start with 80 Grit: Removes saw marks.
- Progress to 220 Grit: For ultra-smooth surfaces.
- Always Sand with the Grain: Avoid cross-grain scratches.
Regional Tips for Working with Hardwoods
Humid Climates (Florida, Louisiana, Georgia)
- Problem: Swelling wood fibers increase cutting resistance.
- Solution: Store wood indoors, use dehumidifiers, and seal projects with Thompson’s WaterSeal.
Dry Climates (Arizona, Nevada, Texas)
- Problem: Brittle wood prone to cracking.
- Solution: Lightly mist wood before cutting, use wood conditioners (Minwax Pre-Stain).
Cold Climates (Midwest, Northeast)
- Problem: Hardwoods become extra dense in cold.
- Solution: Warm up the workshop before cutting, use sharp tools.
Protecting & Maintaining Your Tools
1. Clean Tools After Every Use
- Compressed Air: Removes sawdust from power tools.
- Brush & Lubricant: Keeps moving parts smooth.
2. Proper Storage to Prevent Rust
- Silica Gel Packs: Absorb moisture in toolboxes.
- Rust Inhibitor Spray (WD-40 Specialist): Protects metal parts.
3. Regular Maintenance Schedule
- Monthly: Check blade sharpness, lubricate moving parts.
- Annually: Replace worn-out parts, service power tools.
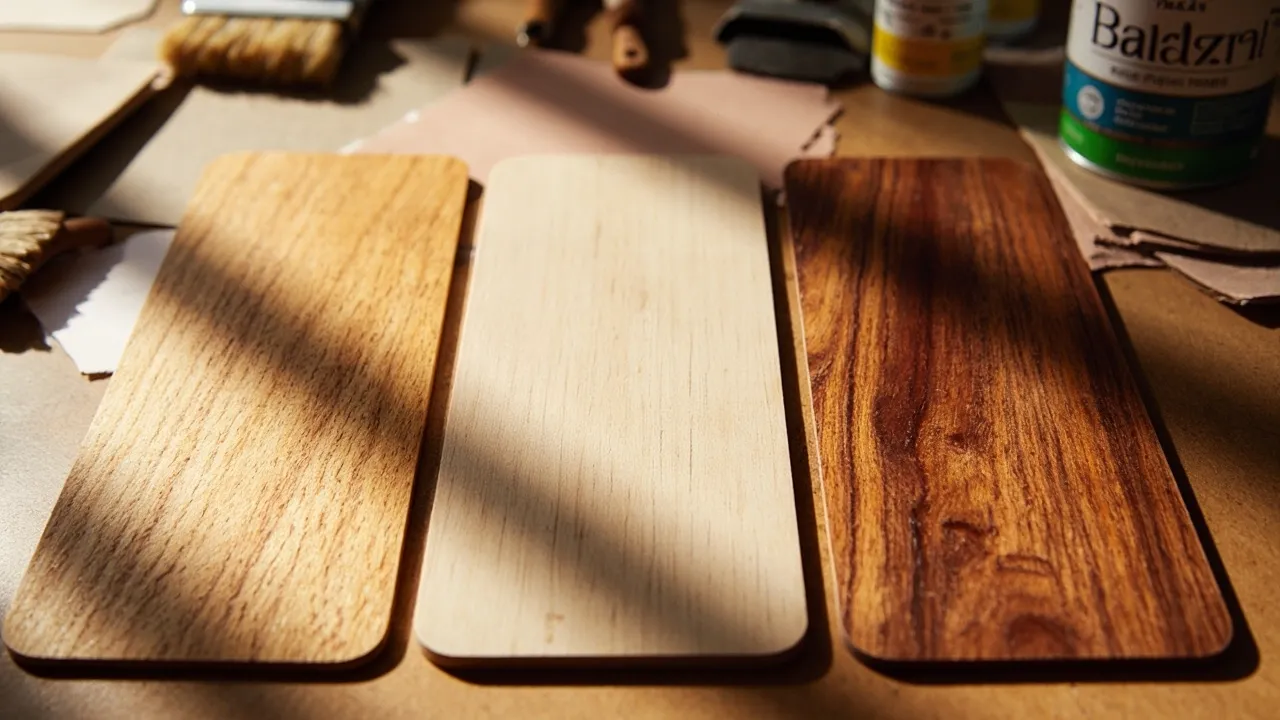
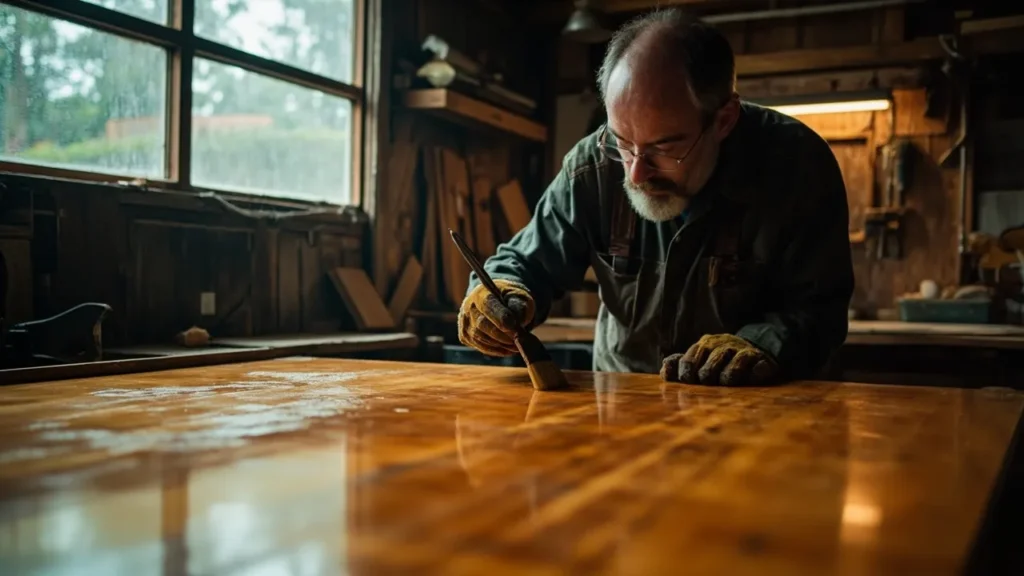
Finishing Hardwoods for Durability & Beauty
Best Finishes for Hardwoods
- Oil-Based Polyurethane: Durable for tables & floors.
- Danish Oil (Watco): Enhances grain with easy application.
- Lacquer: Professional-grade, fast-drying finish.
Application Tips
- Thin Coats: Prevent drips and bubbles.
- Sand Between Coats: 320 grit for ultra-smooth results.
FAQs: Working with Hardwoods Without Tool Damage
1. Can I use the same saw blade for hardwoods and softwoods?
Yes, but hardwoods require sharper, higher-tooth-count blades.
2. Why does my drill bit keep burning in oak?
You’re drilling too fast slow down and use sharp bits.
3. How often should I sharpen my planer blades?
After every 3-4 hardwood projects, or when cuts feel rough.
Key Takeaways for Working with Hardwoods Without Tool Damage
✅ Use high-quality carbide blades & bits
✅ Keep tools sharp dull tools ruin wood & equipment
✅ Cut slow, drill carefully, sand progressively
✅ Adjust techniques for your climate (humid, dry, cold)
✅ Clean & maintain tools after every use
Final Thoughts
Working with hardwoods without tool damage is all about preparation, patience, and the right tools. Whether you’re crafting a walnut desk or an oak dining table, these tips will help you achieve flawless results while keeping your tools in top shape.
Now it’s your turn! Have you struggled with hardwoods before? Share your tips in the comments and if you’re in the U.S., let us know how your local climate affects your woodworking!