If you’ve ever tried to make a straight cut with a saw or knife and ended up with a crooked line, you know how frustrating it can be. That moment when you realize your cut isn’t straight can ruin an entire project.
Maybe you live in a small apartment in New York, where there’s simply no space for a saw bench, or perhaps you’re working on a quick project in Arizona, where the intense 110°F heat makes handling heavy tools even more challenging.
The good news is that achieving perfect straight cuts without professional tools is absolutely possible – and often easier than you think. With just a few simple techniques and basic household items, you can consistently achieve professional-looking results, even if this is your very first DIY project.
Table of Contents
In this comprehensive guide, I’ll share practical, accessible methods for making straight cuts without professional tools, with specific adaptations for different situations and regions across the U.S.
Whether you’re repairing furniture in Chicago during those brutal -20°F winters or building a deck in Florida’s 90% humidity, you’ll find customized solutions that actually work in your environment. We’ll cover everything from selecting the right basic tools to climate-specific techniques that ensure success regardless of your location or experience level.
Why Are Straight Cuts So Important in DIY Projects?
Making straight cuts without professional tools might seem like a minor detail, but it’s actually the foundation of quality craftsmanship. When pieces fit together perfectly, your projects gain structural integrity and aesthetic appeal.
Imagine spending hours assembling a bookshelf only to discover the uneven cuts make it wobble dangerously. Or picture installing flooring where gaps between planks grow wider because the cuts weren’t perfectly straight. These are the frustrations we’ll help you avoid.
Precision matters because:
- Structural stability: Straight cuts without professional tools ensure tight joints that won’t loosen over time
- Material efficiency: Accurate cuts minimize waste, saving you money on materials
- Professional results: Clean edges make even simple projects look store-bought
- Time savings: Proper technique prevents do-overs and corrections
Beyond practicality, there’s immense personal satisfaction in mastering straight cuts without professional equipment. That moment when two pieces click together perfectly is incredibly rewarding, especially when you’ve achieved it with basic tools.
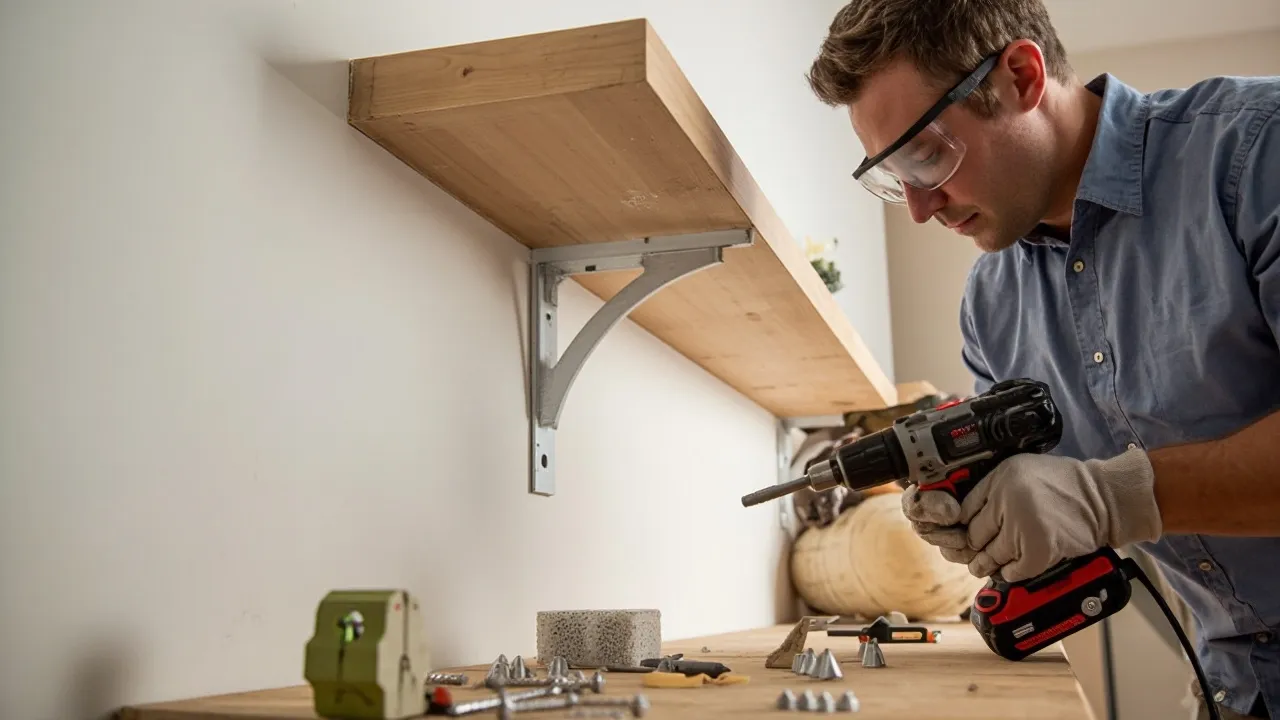
Essential Tools for Straight Cuts Without Professional Equipment

You absolutely don’t need a $300 circular saw or dedicated workshop to make straight cuts. Here’s a detailed breakdown of affordable, accessible tools that deliver professional results:
1. Measuring and Marking Tools
For straight cuts without professional tools, precise measurement is 90% of the battle:
- Tape Measure: Look for a 25-foot Stanley PowerLock ($7 at Home Depot) with a sturdy blade that won’t bend
- Combination Square: The Irwin Tools 6-inch model ($12 at Lowe’s) helps mark perfect 90° angles
- Chalk Line: The Stanley 47-443 ($10) creates long, straight guidelines across large materials
- Carpenter’s Pencil: Flat-sided pencils ($3 for a 5-pack) won’t roll away and make clearer marks
2. Cutting Tools
These basic options outperform expensive power tools for many straight cuts:
- Japanese Pull Saw: The Shark Corp 10-2440 ($25 on Amazon) cuts on the pull stroke for better control
- Utility Knife: Milwaukee’s Fastback ($15) with snap-off blades handles drywall and laminate
- Hacksaw: A Lenox 12132HT50 ($18) with 24 TPI blade makes clean metal cuts
3. Workholding Solutions
Proper material fixation is crucial for straight cuts without professional tools:
- Quick-Grip Clamps: Bessey’s 6-inch clamps ($10 each at Harbor Freight) provide 150lbs of pressure
- Bench Dogs: Rockler’s set ($25) turns any table into a work surface
- Non-Slip Mats: Duck Brand shelf liner ($8/roll) prevents material movement
4. Guides and Straightedges
Create your own cutting guides for perfect straight cuts without professional tools:
- Aluminum Level: The Empire 48-inch ($30) doubles as a saw guide
- MDF Strips: Home Depot cuts these to size for free – perfect custom guides
- Speed Square: The Swanson 7-inch ($10) handles both marking and guiding
For those in humid climates like Louisiana, consider stainless steel tools to prevent rust. In dry areas like Nevada, keep tools in climate-controlled spaces to prevent warping.
Step-by-Step Guide to Perfect Straight Cuts Without Professional Tools


1. Precision Measuring and Marking Techniques
The foundation of straight cuts without professional tools begins with perfect markings:
Detailed Process:
- Measure twice from a reference edge, marking with a V-shape rather than a line for precision
- Use a knife instead of pencil for wood – it severs fibers for cleaner edges
- For long straight cuts without professional tools, snap a chalk line between two marks
- Mark all visible sides of the material to maintain alignment while cutting
Pro Tip: In humid climates like Florida, mark and cut quickly as moisture can cause wood to swell and warp your markings.
2. Advanced Material Securing Methods
Proper workholding makes straight cuts without professional tools achievable:
Innovative Solutions:
- Carpet Tape: Double-sided tape ($5/roll) holds materials to work surfaces
- Sandpaper Grip: Glue 60-grit sandpaper to clamps for better hold
- Wedging Technique: Use wooden wedges to immobilize oddly shaped pieces
Regional Adaptation: In cold Midwest winters, warm your materials first – cold wood is more brittle and prone to splintering.
3. Creating Foolproof Cutting Guides
These techniques ensure straight cuts without professional tools every time:
Guide Options:
- Clamped Straightedge: Use two clamps on a level for a saw guide
- DIY Track Saw: Make a guide from two parallel strips of MDF
- Notched Block: Create an L-shaped guide that hooks over material edges
Case Study: For drywall in Texas heat, use a metal T-square ($25 at Lowe’s) that won’t warp like wood guides might.
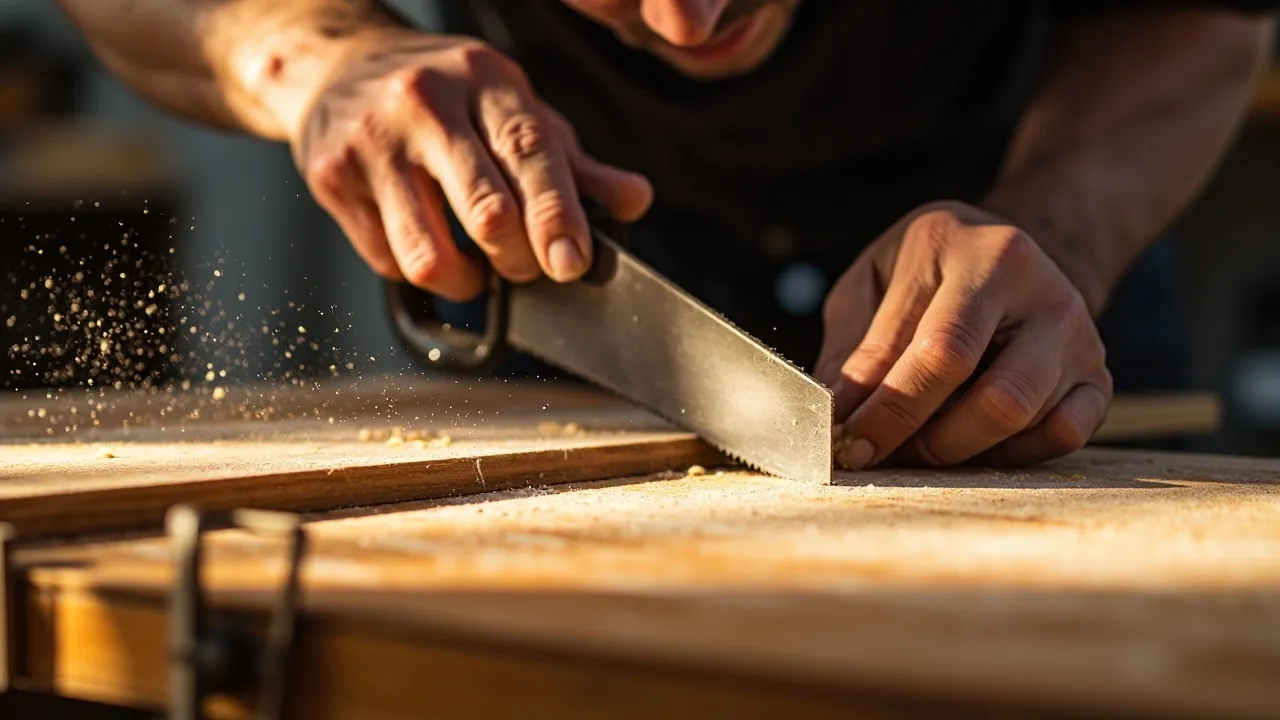
4. Mastering the Cutting Motion
Proper technique transforms basic tools into precision instruments:
Cutting Methods:
- Score-and-Snap: For sheet materials, make multiple light passes
- Pull Stroke: Japanese saws cut on pull for better control
- Angle Maintenance: Keep the blade at a consistent 45° angle
Climate Tip: In Arizona’s heat, work early morning to avoid fatigue affecting your cuts.
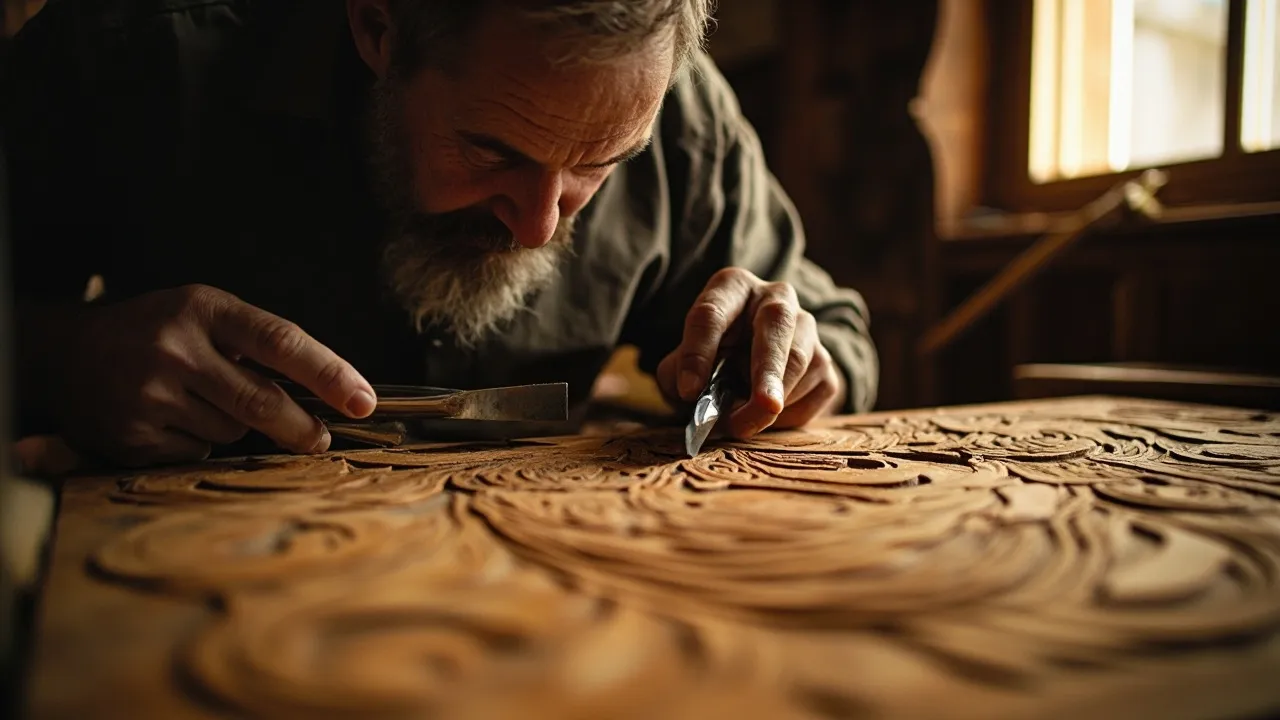
5. Professional Finishing Touches
Complete your straight cuts without professional tools with these refinements:
Edge Treatment:
- Block Plane: The Stanley 12-220 ($30) shaves edges perfectly straight
- Sandpaper Techniques: Wrap sandpaper around a block for even smoothing
- Edge Banding: Iron-on veneer ($15/roll) covers imperfect edges
Regional Adaptations for Flawless Straight Cuts

Humid Climate Solutions (Florida, Gulf Coast)
- Morning Cutting: Wood absorbs moisture overnight – cut early before expansion
- Seal Immediately: Apply Thompson’s WaterSeal ($20/gallon) to fresh cuts
- Stainless Tools: Prevent rust with products like DeWalt’s stainless saw ($35)
Arid Climate Techniques (Southwest, Desert)
- Material Storage: Keep wood in climate-controlled spaces
- Cutting Lubricant: Use candle wax on saw blades to reduce friction
- Work Timing: Avoid midday when heat causes fatigue
Cold Weather Adjustments (North, Midwest)
- Pre-Warm Tools: Store tools indoors before use
- Slow Cutting: Frozen materials require slower, gentler cuts
- Glove Selection: Mechanix Cold Work gloves ($25) maintain dexterity
Advanced Tips for Professional Results
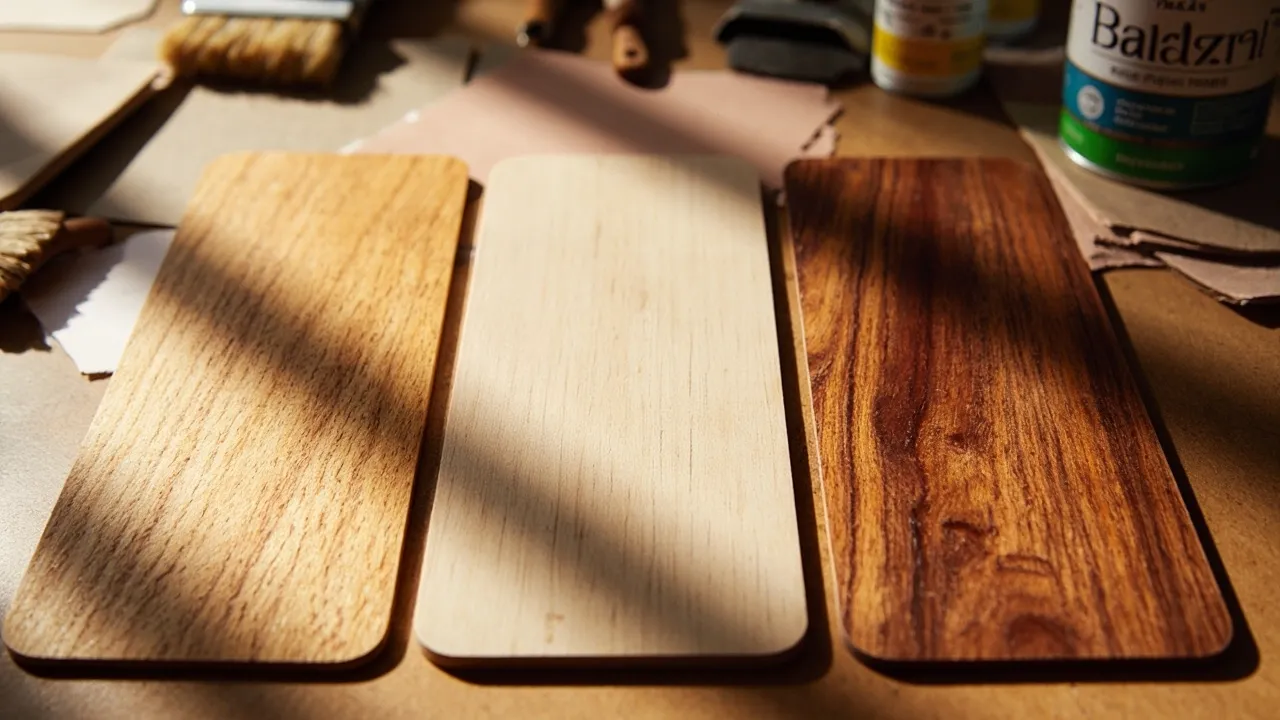
Material-Specific Techniques
- Plywood: Apply masking tape along cut lines to prevent splintering
- PVC Pipe: Rotate the material while cutting for even pressure
- Metal Sheets: Use tin snips in small increments for control
Time-Saving Tricks
- Template System: Create reusable templates from scrap wood
- Production Line: Cut all same-size pieces at once
- Marking Jig: Build a custom marking gauge for repetitive cuts
Safety Enhancements
- Cut-Resistant Gloves: Magid’s M-Pact series ($22) protect without limiting movement
- Lighting Setup: LED work lights ($30) eliminate shadows for better visibility
- Dust Control: Use a shop vac with a DIY adapter during cutting
Frequently Asked Questions (Expanded)
1. What’s the absolute easiest way to make straight cuts without professional tools?
The clamped guide method is most reliable – secure any straight edge (like a level) parallel to your cut line and run your saw along it. This works for nearly all materials and requires minimal skill.
2. How can I make long straight cuts without professional tools in sheet goods?
Create a track saw guide by screwing two straight boards together in an L-shape. The vertical part guides your saw while the horizontal part clamps to the material. Home Depot will often cut these guides to size for free.
3. Why do my straight cuts without professional tools keep veering off course?
Common issues include:
- Too much downward pressure (let the saw do the work)
- Not watching both sides of the blade (focus on the far side of the cut)
- Dull blades (replace or sharpen more frequently)
4. What’s the best blade for making straight cuts without professional tools in various materials?
Keep these blades on hand:
- 10-12 TPI for hardwoods
- 14-16 TPI for softwoods
- 24+ TPI for metal
- Carbide-tipped for laminate and composites
Comprehensive Summary
Mastering straight cuts without professional tools requires:
- Precision Preparation: Careful measuring and marking with quality tools
- Stable Workholding: Proper material fixation using clamps and creative solutions
- Effective Guides: DIY jigs and straightedges that ensure accuracy
- Proper Technique: Controlled cutting motions adapted to your material
- Climate Adaptation: Adjustments for humidity, dryness, or cold
Remember that making straight cuts without professional tools is a skill that improves with practice. Start with scrap materials to build confidence before tackling important projects.