Wood Finishing
Learning how to apply varnish or paint on wood projects is one of the most valuable skills for any DIY enthusiast or woodworker. Whether you’re restoring antique furniture, building custom cabinets, or creating decorative pieces, the finish you choose can make or break your project. In this comprehensive guide, we’ll walk through every step of the process to help you achieve professional-quality results.
Table of Contents
Understanding how to apply varnish or paint on wood projects properly means recognizing that wood finishing serves two crucial purposes:
- Protection against moisture, UV rays, and daily wear
- Enhancement of the wood’s natural beauty or complete transformation
The techniques for how to apply varnish or paint on wood projects vary based on your material, tools, and desired outcome. We’ll cover all the options so you can choose what works best for your specific situation.
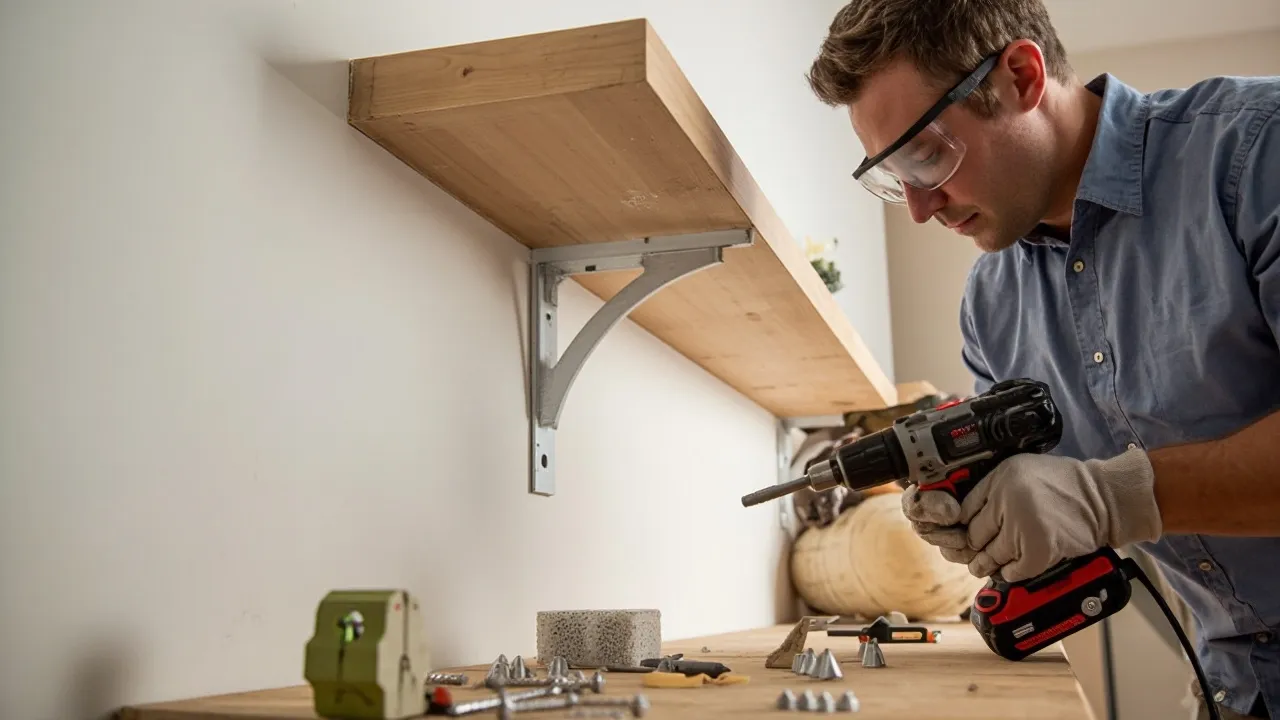
Essential Tools for Flawless Application
Must-Have Brushes and Applicators
When learning how to apply varnish or paint on wood projects, your tools make all the difference:
- Natural Bristle Brushes (for oil-based products):
- China bristle brushes (2-3″ widths)
- Angled sash brushes for edges
- Quality brands: Purdy, Wooster
- Synthetic Brushes (for water-based products):
- Nylon/polyester blends
- Detail brushes for tight spaces
- Foam brushes for smooth finishes
- Specialty Applicators:
- Microfiber rollers for large flat surfaces
- Foam pads for tabletops
- Spray systems for professional results
Remember that knowing how to apply varnish or paint on wood projects starts with selecting the right tool for your specific product and project size.
Preparation Tools You Can’t Skip
Before you even think about how to apply varnish or paint on wood projects, you need these preparation essentials:
- Sanding Supplies:
- Sandpaper (80-220 grit)
- Sanding blocks
- Random orbital sander
- Tack cloths
- Cleaning Supplies:
- Mineral spirits
- Denatured alcohol
- Lint-free rags
- Repair Materials:
- Wood filler
- Grain filler
- Putty knives
Surface Preparation: The Foundation

Step-by-Step Sanding Process
The secret to how to apply varnish or paint on wood projects successfully begins with proper sanding:
- Start Coarse (80-100 grit):
- Removes mill marks
- Levels uneven surfaces
- Opens wood pores
- Progress to Medium (120-150 grit):
- Removes previous grit scratches
- Creates uniform texture
- Prepares for final smoothing
- Finish Fine (180-220 grit):
- Creates glass-smooth surface
- Removes all visible scratches
- Prevents “telegraphing” through finish
Cleaning and Final Prep


After sanding but before learning how to apply varnish or paint on wood projects:
- Remove all dust with:
- Compressed air
- Tack cloth
- Vacuum with brush attachment
- Wipe down with:
- Mineral spirits (oil-based)
- Water (water-based)
- Dedicated cleaner
- Repair any:
- Dents (steam out)
- Scratches (fill)
- Gaps (caulk)
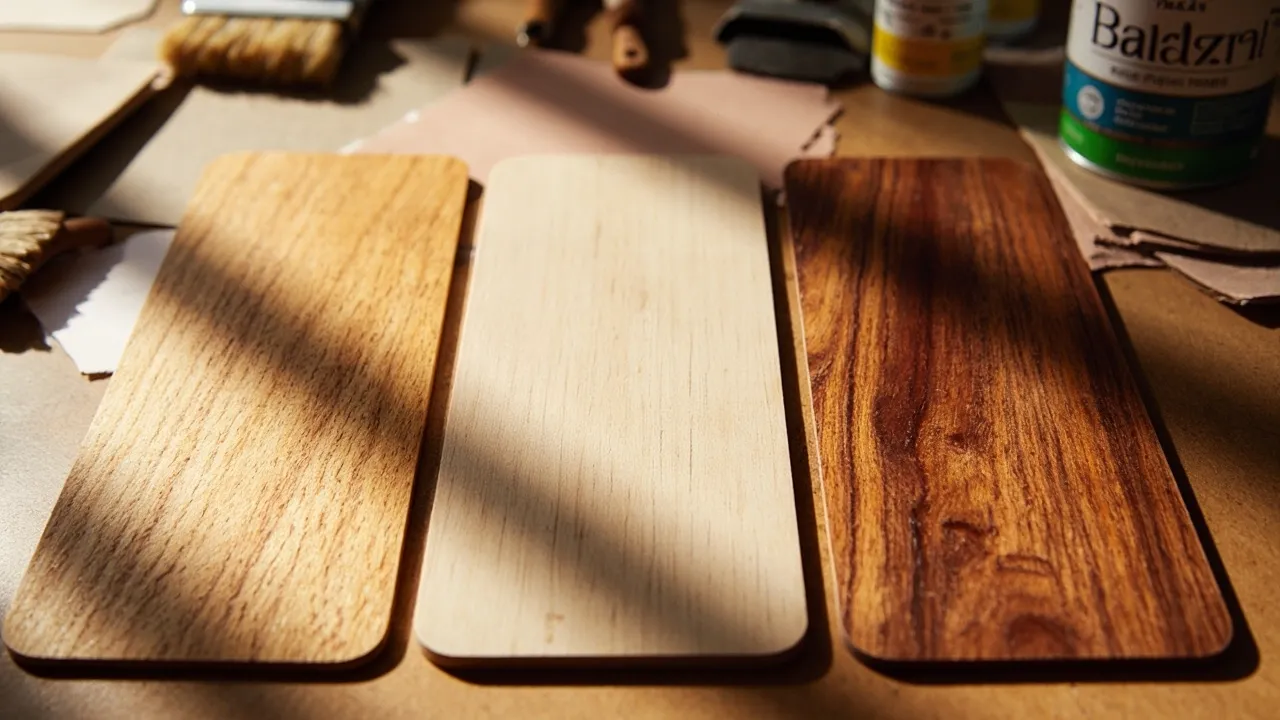
Choosing Your Finish

Varnish Selection Guide
When deciding how to apply varnish or paint on wood projects, consider these varnish types:
- Polyurethane:
- Most durable
- Excellent for high-traffic areas
- Available in satin/semi-gloss/gloss
- Spar Varnish:
- UV protection
- Flexible for outdoor use
- Marine-grade available
- Oil-Based:
- Deep penetration
- Rich color enhancement
- Longer dry times
Paint Options Explained
Alternative approaches for how to apply varnish or paint on wood projects include:
- Latex Paint:
- Easy cleanup
- Low odor
- Quick drying
- Oil-Based Paint:
- Harder finish
- Better flow/leveling
- Longer durability
- Specialty Paints:
- Chalk paint
- Milk paint
- Metallic finishes
Application Techniques Masterclass
Brushing Methods That Work
The traditional approach to how to apply varnish or paint on wood projects involves:
- Loading Your Brush Properly:
- Dip 1/3 of bristles
- Tap off excess
- Never wipe on can edge
- Application Strokes:
- Follow wood grain
- Maintain wet edge
- Cross-brush then tip-off
- Troubleshooting:
- Bubbles (don’t overbrush)
- Runs (don’t overapply)
- Brush marks (use better brush)
Spraying for Professional Results
For larger projects or when learning how to apply varnish or paint on wood projects efficiently:
- Equipment Choices:
- HVLP systems
- Airless sprayers
- Aerosol cans
- Spray Techniques:
- Maintain consistent distance
- Overlap passes 50%
- Keep gun perpendicular
- Cleanup:
- Flush immediately
- Use proper thinner
- Store properly
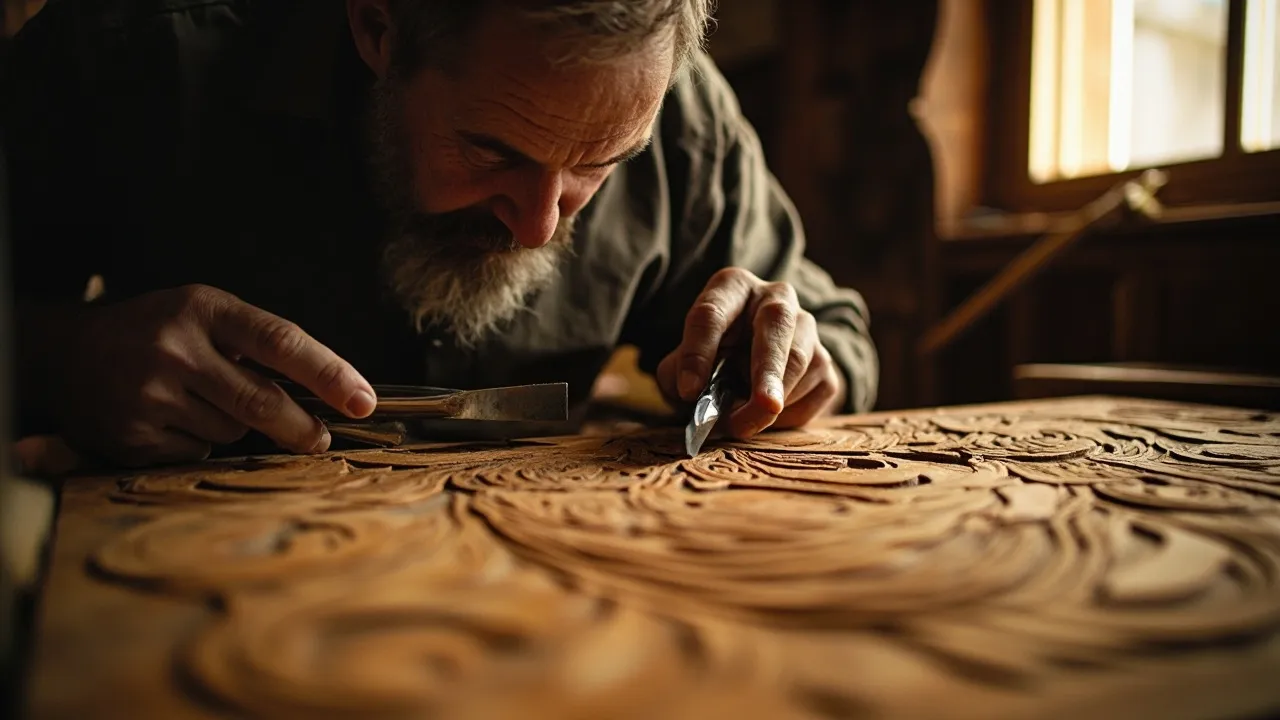
Advanced Finishing Techniques
Layering for Depth
When mastering how to apply varnish or paint on wood projects with artistic flair:
- Glazing:
- Base coat
- Glaze layer
- Top coat
- Distressing:
- Strategic sanding
- Wax resist
- Dry brushing
- Faux Finishes:
- Wood graining
- Marble effects
- Metallic patinas
Special Effects
Creative approaches to how to apply varnish or paint on wood projects include:
- Crackle Finishes:
- Base color
- Crackle medium
- Top color
- Textured Finishes:
- Sand additives
- Specialty rollers
- Stippling brushes
- High-Gloss:
- Multiple thin coats
- Wet sanding
- Buffing compounds
Maintenance and Repair
Caring for Finished Surfaces
After learning how to apply varnish or paint on wood projects, maintain them with:
- Regular Cleaning:
- Dust weekly
- Clean monthly
- Avoid harsh chemicals
- Periodic Refreshing:
- Light sanding
- Recoat as needed
- Wax for protection
- Damage Prevention:
- Use coasters
- Felt pads
- Avoid direct sun
Repairing Common Issues
Even when you know how to apply varnish or paint on wood projects perfectly, damage happens:
- Scratches:
- Wax sticks
- Touch-up markers
- Localized refinishing
- Water Rings:
- Mild abrasive
- Oil treatment
- Reapplication
- Major Damage:
- Strip completely
- Sand thoroughly
- Start fresh
FAQ: How to Apply Varnish or Paint on Wood Projects
1. What’s the difference between varnish and paint for wood projects?
Varnish enhances the wood’s natural grain while providing protection, whereas paint covers the wood completely for a solid color finish. When learning how to apply varnish or paint on wood projects, consider:
- Varnish = Best for visible wood grain (e.g., oak tables, walnut furniture).
- Paint = Best for hiding imperfections or creating bold colors (e.g., cabinets, decorative pieces).
2. How many coats of varnish or paint should I apply?
For a durable finish when applying how to apply varnish or paint on wood projects, follow this rule:
- Varnish: 2-3 thin coats (sanding lightly between coats).
- Paint: 1-2 coats of primer + 2 topcoats (if needed).
🔹 Pro Tip: More thin coats > fewer thick coats (prevents drips).
3. Can I apply varnish over paint?
Yes, but only if:
✔ The paint is fully cured (wait 24-48 hours).
✔ You lightly sand (220-grit) for better adhesion.
✔ You use a compatible varnish (e.g., water-based over latex paint).
4. How do I prevent brush marks when applying varnish or paint?
To master how to apply varnish or paint on wood projects smoothly:
✅ Use high-quality brushes (natural bristles for oil-based, synthetic for water-based).
✅ Thin the product slightly (follow manufacturer guidelines).
✅ Apply in the direction of the wood grain.
✅ Sand lightly between coats with 320-grit sandpaper.
5. How long should I wait between coats?
Drying times vary, but general guidelines for how to apply varnish or paint on wood projects:
- Water-based products: 2-4 hours between coats.
- Oil-based products: 6-8 hours (longer in humid climates).
- Full cure time: 7-30 days (avoid heavy use until fully hardened).
6. What’s the best way to clean brushes after varnishing or painting?
Proper cleanup ensures long-lasting tools:
- Oil-based finishes: Soak in mineral spirits, then wash with soapy water.
- Water-based finishes: Rinse with warm water immediately.
- Dried brushes: Use a brush comb or vinegar soak to restore.
7. Can I use a spray gun instead of a brush?
Yes! Spraying is ideal for large projects when learning how to apply varnish or paint on wood projects:
🔹 HVLP sprayers = Best for fine finishes (low overspray).
🔹 Airless sprayers = Faster for big surfaces (like cabinets).
⚠ Always test on scrap wood first!
8. How do I fix bubbles or streaks in my finish?
Common issues and fixes:
- Bubbles: Don’t over-brush; let them settle before drying.
- Streaks: Sand lightly and reapply in thinner coats.
- Dust nibs: Sand smooth and apply a final topcoat.
9. What’s the best finish for outdoor wood projects?
For durability when applying how to apply varnish or paint on wood projects outside:
🌞 Varnish: Use “spar varnish” (UV-resistant).
🎨 Paint: Choose 100% acrylic latex (flexible & weatherproof).
🔧 Maintenance tip: Reapply every 2-3 years for best protection.
10. How do I store leftover varnish or paint?
Extend shelf life with these tips:
✔ Seal cans tightly (tap lid edges with a rubber mallet).
✔ Store upside down (prevents skin formation).
✔ Keep in a cool, dry place (avoid temperature swings).
Conclusion: Your Finishing Journey
Now that you understand how to apply varnish or paint on wood projects from start to finish, you’re equipped to tackle any finishing challenge. Remember these key points:
- Preparation is 90% of success
- Quality tools make the job easier
- Patience produces better results
- Practice improves your technique