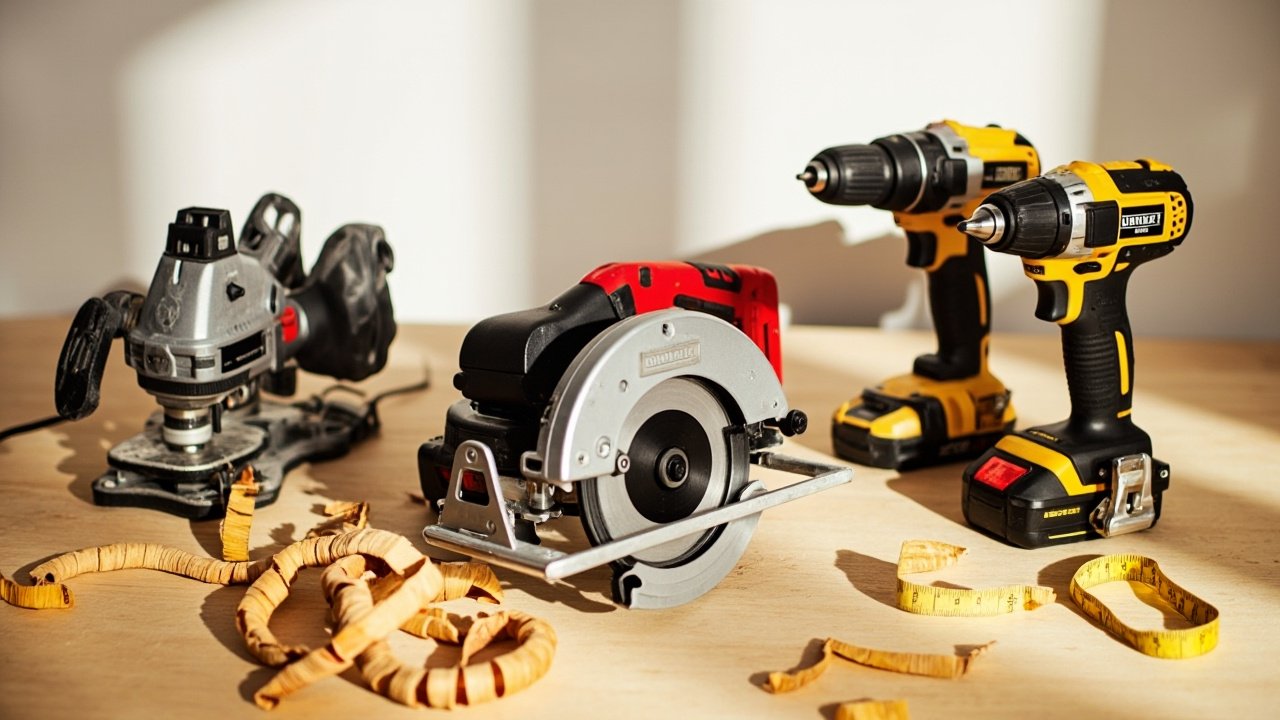
Woodworking is a rewarding, fulfilling hobby that allows you to create functional and beautiful pieces. As a beginner, it can feel overwhelming standing in front of your first project, unsure of where to start. However, it doesn’t have to be as intimidating as it seems. The key is to focus on essential tools to start woodworking. With the right tools, you’ll be able to create amazing projects without frustration or confusion.
Table of Contents
Table of Contents
Why Starting with the Right Tools Matters
When you first begin woodworking, it’s easy to get excited and rush into buying every tool you see on the shelf. I’ve been there myself. But after spending a small fortune on cheap tools that broke within weeks, I learned the hard way that it’s more important to invest in essential tools to start woodworking than to simply fill your garage with gadgets. By focusing on quality, reliability, and purpose-driven tools, you’ll avoid common pitfalls and ensure that your projects are successful.
Choosing the essential tools to start woodworking properly will save you time, effort, and money. Not only will you be able to complete your projects more efficiently, but you’ll also avoid mistakes that could result from cheap, poor-quality equipment. Quality tools make a world of difference, and the good news is that they don’t necessarily need to be the most expensive options. You can find tools that are reliable, durable, and affordable. Start with the basics, and as you grow in your skills, you can begin to expand your collection.
Think of woodworking like cooking. You don’t need every kitchen gadget under the sun to make a delicious meal, but a few quality essentials a good knife, a sturdy pan, and a solid cutting board are crucial. The same principle applies to woodworking: with the right essential tools to start woodworking, you can create anything from small projects like shelves to large furniture items like tables or dressers.
Investing in the right tools right away means fewer mistakes, better results, and more enjoyment of the process. You’ll be able to work more efficiently, and your projects will come together more smoothly.
The Must-Have Tools for Every Beginner
1. Measuring and Marking Tools
Accurate measurements are the foundation of any woodworking project. Without precise measurements and markings, your cuts won’t align, and your project might be doomed from the start. The first essential tools you’ll need are those for measuring and marking, which include a tape measure, a combination square, and a pencil or marking knife. These tools ensure that every cut is measured, straight, and precise.
Tape Measure:
A 25-foot tape measure is an excellent all-around tool. Most woodworking projects require this length, and having a reliable tape measure on hand will save you time and frustration. Look for one with clear markings and a sturdy lock to prevent it from retracting while you measure. Popular brands like Stanley and Komelon offer durable, well-made tape measures that are easy to read and won’t let you down. A high-quality tape measure will last for years and is one of the most important essential tools to start woodworking. Having a tape measure is non-negotiable because every other step depends on your measurements being accurate.
Combination Square:
The combination square is an incredibly versatile tool. This tool will allow you to measure both angles and lengths, making it crucial for marking 90-degree angles and ensuring your cuts are square. Whether you’re laying out joinery or checking the accuracy of your saw cuts, the combination square can help ensure that everything aligns perfectly. The combination square is ideal for making sure your projects are well-crafted and professional looking.
Pencil and Marking Knife:
For clear, accurate marks, you’ll need either a pencil or a marking knife. Pencils are great for general marking, but a marking knife provides more precision, especially for finer projects. A marking knife will leave a cleaner, more visible line, ensuring that your cuts follow your markings exactly. For precision, a marking knife is one of the best essential tools to start woodworking, as it helps achieve the sharpest lines, which results in cleaner cuts and better craftsmanship.
Pro Tip:
If you live in a humid region, like Florida, it’s important to store your measuring and marking tools in a dry area. Humidity can cause tools to rust, so a dehumidifier can be a good investment for maintaining your tools in prime condition.
2. Cutting Tools
Cutting is where the real magic happens in woodworking. To transform a piece of raw wood into a usable, finished product, you need reliable cutting tools. Having the right cutting tools is one of the most important steps in achieving success in woodworking.
Circular Saw:
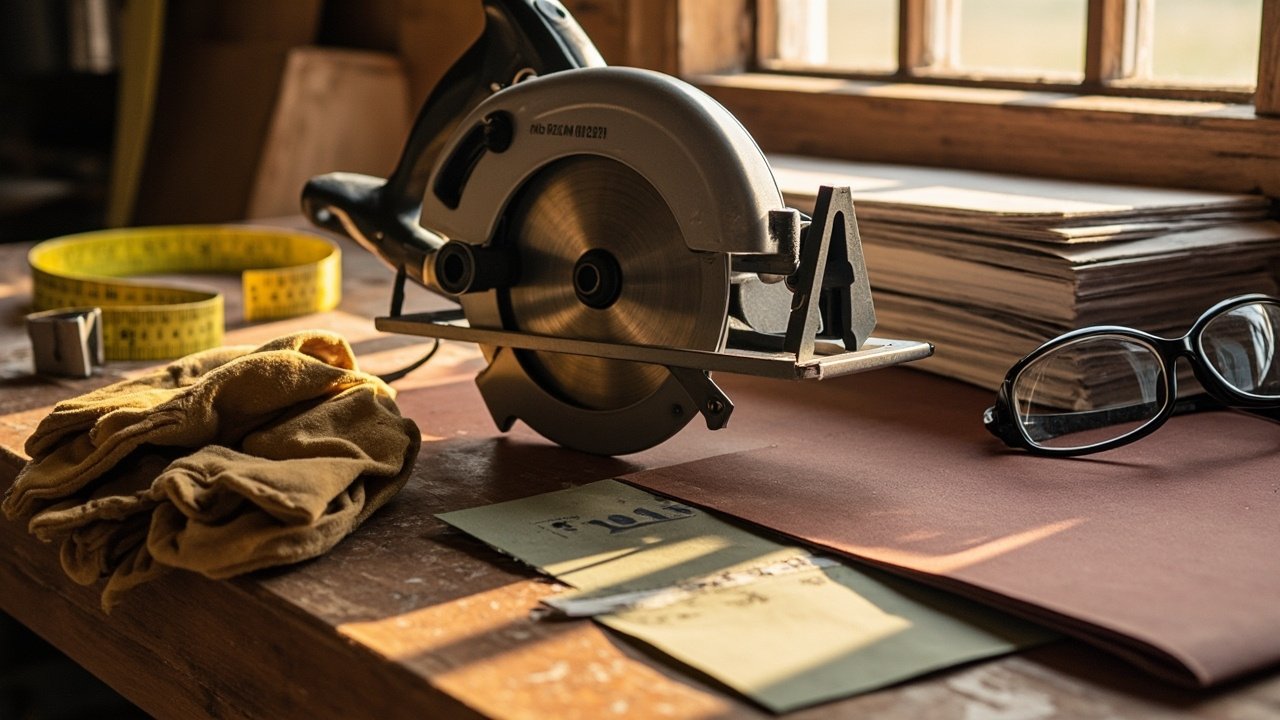
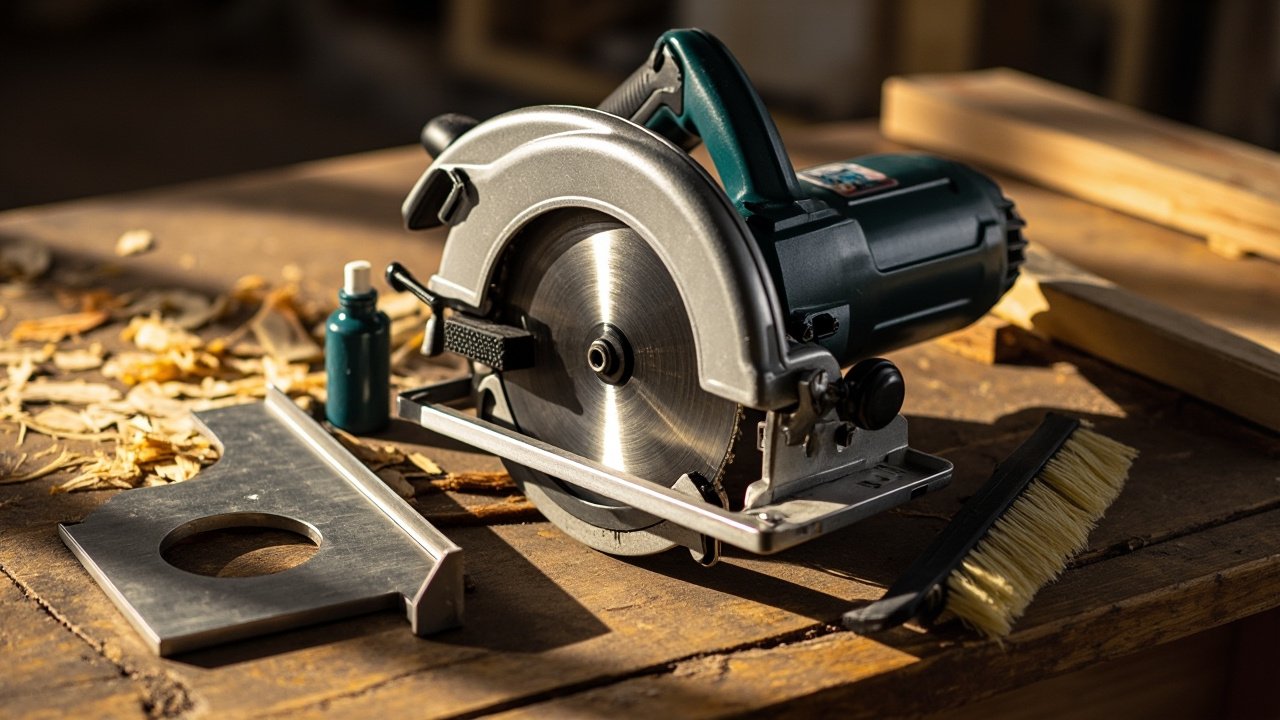
A circular saw is an incredibly versatile tool that’s essential for straight cuts. Whether you’re cutting plywood for a bookshelf or trimming boards for a coffee table, a circular saw will help you achieve clean, straight cuts with ease. Look for a saw that allows for adjustable depth and angle settings. This way, you can customize your cuts for various types of projects. Brands like DeWalt and Makita offer top-tier circular saws that are durable, reliable, and suitable for all levels of woodworking. With a circular saw, you’ll be able to complete your cutting tasks quickly and precisely.
Jigsaw:
A jigsaw is another essential cutting tool, especially for making curved cuts. It’s great for projects where straight cuts won’t suffice. Whether you’re cutting rounded edges for a table or making intricate designs for a decorative piece, the jigsaw is your go-to tool. Bosch and Black+Decker are two trusted brands known for making high-quality jigsaws that perform well in a variety of applications. The jigsaw is a must-have in your collection of essential tools to start woodworking, especially for beginners who want versatility in their toolset.
Handsaw:
Sometimes, the simplest tools are the best. A handsaw is an affordable, reliable tool that’s perfect for quick cuts and small projects. It may not be the most high-tech option, but it’s effective and easy to use for simple cuts. If you’re looking to refine your cutting skills or tackle small projects without the need for power tools, a handsaw will serve you well. A Japanese pull saw, for instance, is ideal for precision cuts, making it an excellent addition to your tool kit.
Regional Note:
If you’re in the Midwest where winters can warp wood, it’s important to have the right tools for cutting tougher materials. Consider investing in a carbide-tipped blade for your saws to handle the dense and sometimes warped woods that might be common in colder climates.
3. Shaping and Smoothing Tools
After cutting, the next step is shaping and smoothing the wood to give it a refined finish. These tools are crucial in turning rough-cut wood into a polished, professional-looking product.
Chisels:
Chisels are essential for carving and shaping your wood, particularly when you need to make joints or refine edges. A set of quality chisels is one of the most important essential tools to start woodworking, as it gives you control over the finer details of your projects. Brands like Stanley and Narex produce high-quality chisels that can handle tough tasks while maintaining sharpness. Starting with a set of three or four chisels in different sizes (such as 1/4″, 1/2″, 3/4″, and 1″) will cover most tasks.
Plane:
A hand plane is another tool that can smooth rough wood surfaces. It’s ideal for reducing thickness or smoothing out imperfections. A block plane is great for smaller tasks, while a jack plane is better for larger, rougher surfaces. A hand plane is a must-have for anyone serious about woodworking, as it’s one of the most important tools for refining your work.
Sandpaper and Sanding Blocks:
Sanding is a crucial step to achieving a smooth finish. Start with a coarse grit (80-120) and gradually work your way up to a finer grit (220) for a polished, smooth surface. Sanding blocks are essential for applying even pressure during the sanding process. If you’re working on larger surfaces, an orbital sander can save you time and energy.
Pro Tip:
In dry climates like Arizona, wood can splinter easily. To avoid this, use finer grit sandpaper and always sand in the direction of the grain to prevent unwanted scratches or imperfections.
4. Assembly Tools
After your pieces are cut, shaped, and smoothed, it’s time to bring everything together. This is where assembly tools come into play. These tools help you join your pieces securely and finish your projects.
Clamps:
When gluing your wood together, clamps are essential. They hold your pieces in place while the glue dries, ensuring the joint stays tight. A variety of clamp sizes will be necessary for different projects. Spring clamps are ideal for smaller projects, while bar clamps or pipe clamps are better suited for larger pieces. Without clamps, you risk your project shifting or misaligning while the glue sets.
Screwdrivers and Drill:
A cordless drill is one of the most essential power tools in woodworking. It allows you to drive screws, make pilot holes, and complete a wide range of tasks. Look for a drill with adjustable torque settings to prevent over-tightening screws. Popular brands like Milwaukee and Ryobi offer reliable, durable cordless drills that are easy to use for beginners and professionals alike. With a cordless drill, you’ll be able to quickly assemble your projects and handle all your drilling and driving needs.
Wood Glue:
Wood glue is another must-have for joining wood. Look for a high-quality, waterproof glue like Titebond. In humid climates, wood glue is essential for maintaining strong, long-lasting bonds between your wood pieces. Too much glue can weaken the joint, so apply it sparingly. One of the most crucial aspects of using wood glue is knowing when to apply pressure with clamps and ensuring everything stays in place until the glue dries.
Regional Note:
In colder areas like the Northeast, wood glue can take longer to dry, especially in lower temperatures. Consider using fast-setting glue or setting up a space heater to speed up the drying process during the winter months.
5. Safety Gear
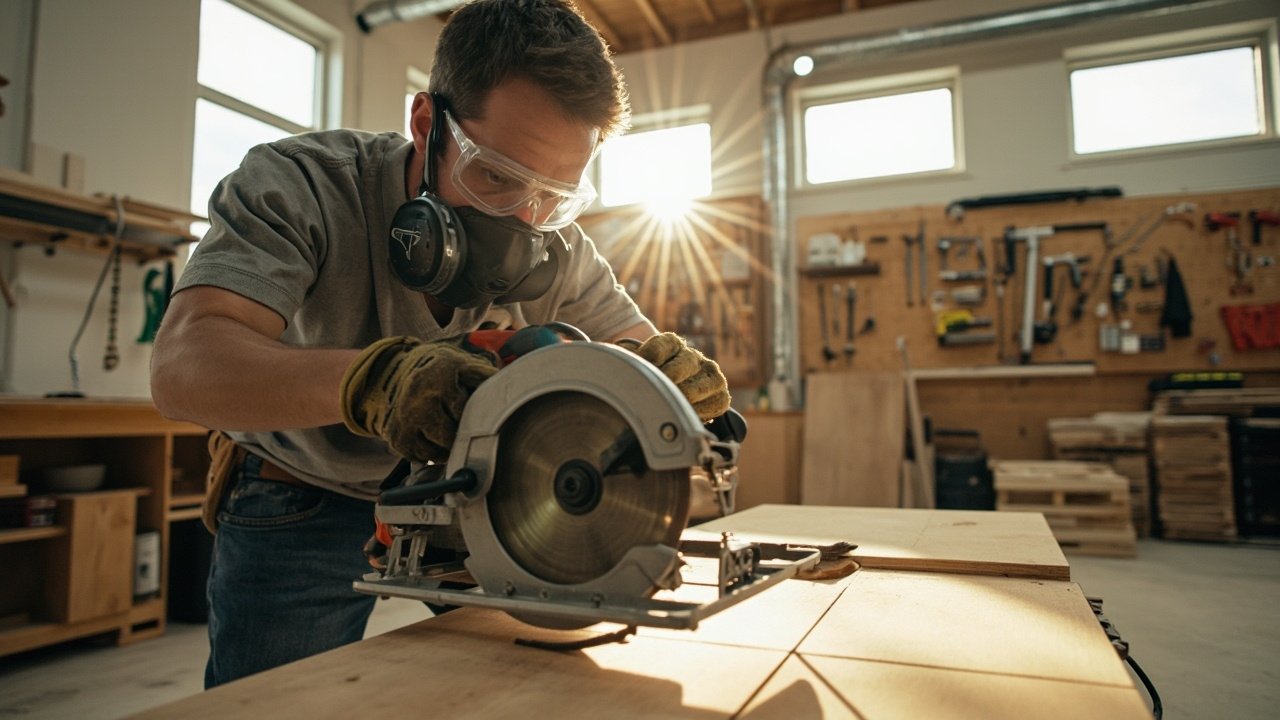
Safety is paramount in woodworking. When you’re working with power tools, sharp blades, and flying debris, the right safety gear is a must. Always wear proper protective equipment to avoid injuries.
Safety Glasses:
Protect your eyes from sawdust and debris with safety glasses. For humid areas, consider glasses with anti-fog coatings, as humidity can cause fogging, impairing your visibility while you work.
Ear Protection:
Power tools can be loud and damaging to your hearing, so wearing ear protection like earplugs or earmuffs is a necessity. Protecting your hearing is just as important as protecting your eyes and lungs.
Dust Mask:
A dust mask or respirator is important to protect your lungs from harmful sawdust. Especially when working indoors, make sure to wear a respirator mask with replaceable filters to avoid respiratory issues.
Read also: How to Maintain Physical Health (Posture, Repetitive Strain Injuries)?
Pro Tip:
If you’re working in a small space or want to keep your workshop clean, invest in a dust collection system or use a shop vacuum to keep the air clean and clear of debris.
Regional Adaptations for Woodworking
Woodworking isn’t a one-size-fits-all craft. Depending on where you live in the U.S., your tools and materials may need to be adapted for the climate and conditions.
- Humid Areas (e.g., Florida, Louisiana): Use moisture-resistant woods like cedar or teak. These types of wood hold up better against high humidity. Consider sealing your projects with products like Thompson’s WaterSeal to prevent warping, and store your tools in a dry space to avoid rust.
- Dry Climates (e.g., Arizona, Nevada): Opt for stable woods like maple or cherry. In dry regions, it’s important to keep your tools and materials in a climate-controlled environment to prevent cracking. A humidifier in your workspace can help maintain a consistent moisture level.
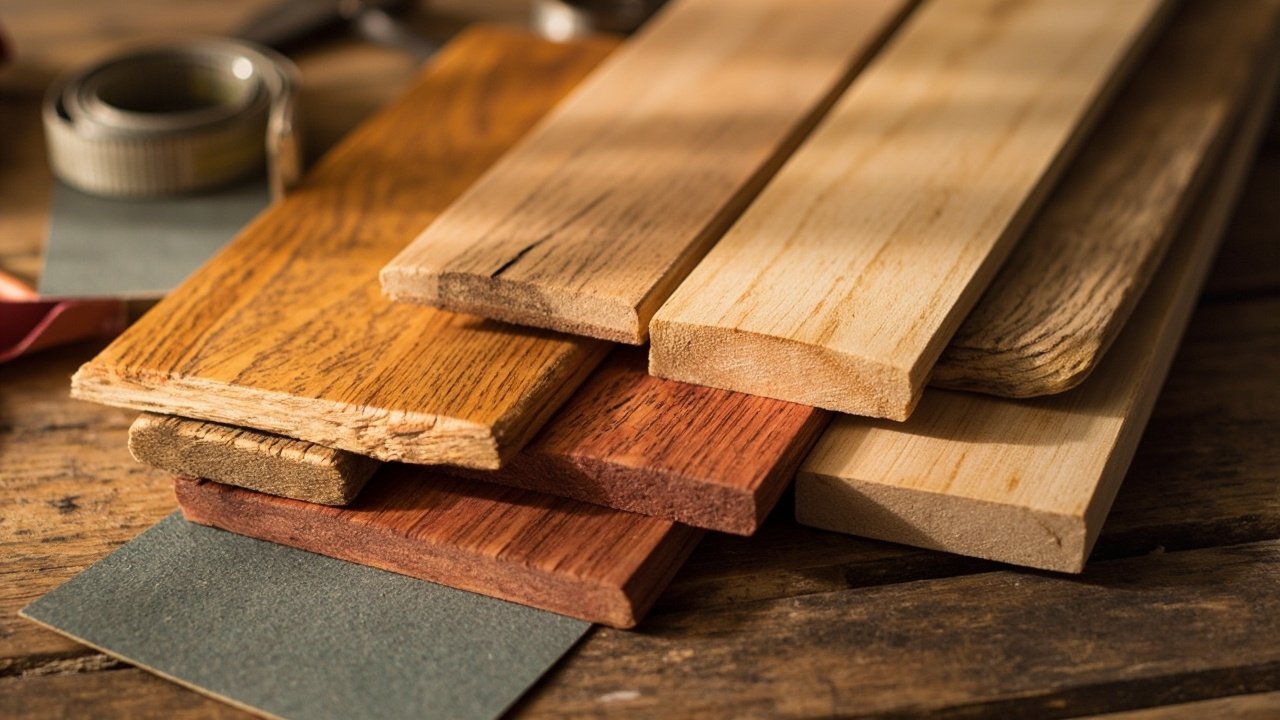
- Cold Regions (e.g., Minnesota, Maine): Opt for woods like oak or pine that are durable and can handle temperature fluctuations. Insulating your workspace will help maintain consistent temperatures and prevent wood from warping.
Regional Tip:
If you’re in the Pacific Northwest, where rainfall is common, a covered outdoor workspace or dehumidifier can be a lifesaver. Properly storing your wood and tools in these environments will keep your materials from deteriorating and extend the life of your essential tools to start woodworking.
Building Your First Project
Start with something simple and build your skills over time. A DIY Wooden Shelf is a great project to begin with. It will help you get comfortable using your essential tools to start woodworking, and as you work through it, you’ll gain more confidence and insight into what each tool does.
DIY Wooden Shelf
- Measure and cut a piece of pine or oak to your desired size.
- Sand the edges and surfaces to ensure they’re smooth.
- Drill pilot holes and attach brackets to the back of the shelf.
- Mount the shelf on the wall using screws and wall anchors.
Pro Tip: If you live in a region with high humidity, like the Southeast, use a water-resistant finish like polyurethane to protect your shelf from moisture.
FAQs
1. What’s the most important tool for beginners?
A circular saw is one of the most essential tools to start woodworking. It is versatile and can handle most cutting tasks, making it indispensable for beginners.
2. How much should I spend on tools?
You don’t need to break the bank when buying essential tools to start woodworking. Aim for mid-range tools from trusted brands like DeWalt or Ryobi. You’ll get a good balance of quality and affordability.
3. Can I use reclaimed wood for my projects?
Absolutely! Reclaimed wood can be an excellent choice for woodworking projects. Just make sure it’s clean, dry, and free of nails or screws before using it.
4. How do I maintain my tools?
Keep your tools clean and dry. Regularly sharpen blades and oil moving parts to extend their lifespan. Proper maintenance is crucial for keeping your essential tools to start woodworking in top condition.
5. What’s the best wood for beginners?
Pine is a great wood for beginners. It’s affordable, easy to work with, and widely available. It’s soft enough to cut and shape easily, making it perfect for practice projects.
Key Takeaways:
- Start with essential tools to start woodworking: measuring tools, cutting tools, shaping tools, assembly tools, and safety gear.
- Choose tools and materials suited to your region’s climate for better results.
- Begin with simple projects and gradually tackle more complex ones as you grow in skill.
- Always prioritize safety by using the proper protective gear.
Woodworking is a fantastic and fulfilling craft that allows you to create something tangible and lasting. By starting with the right essential tools to start woodworking, you’ll set yourself up for success and enjoy the process much more. With patience, creativity, and the right tools, the sky’s the limit!


