When I first started working on DIY projects, I remember standing frozen in the lumber aisle at Home Depot, completely overwhelmed by the endless options. There were stacks of pine boards, beautiful oak planks, and exotic hardwoods I’d never heard of – and I just needed wood for a simple shelf! My hands grew sweaty as I nervously picked up different pieces, wondering how to choose quality wood for DIY projects that wouldn’t end up warping or falling apart.
If this sounds painfully familiar, take a deep breath – you’re not alone. Every master woodworker started exactly where you are right now. The truth is, learning how to choose quality wood for DIY projects is the foundation that separates frustrating failures from professional-looking pieces you’ll treasure for years.
Table of Contents
In this comprehensive 5000-word guide, I’ll walk you through absolutely everything you need to know about how to choose quality wood for DIY projects. We’ll cover:
- The emotional journey of selecting your first boards
- A deep dive into wood types you’ve probably never heard of
- Regional considerations from Florida’s humidity to Arizona’s heat
- Foolproof inspection techniques used by professional carpenters
- Budget-friendly alternatives that don’t sacrifice quality
- And much more
Whether you’re building a rustic coffee table or modern floating shelves, understanding how to choose quality wood for DIY projects will save you countless hours of frustration and wasted money. Let’s transform you from confused beginner to confident wood selector!
Why Choosing the Right Wood Matters More Than You Think
Before we dive into the specifics of how to choose quality wood for DIY projects, let’s talk about why this decision impacts everything that follows. Imagine this heartbreaking scenario:
You spend an entire weekend building a gorgeous farmhouse dining table using beautiful pine from your local hardware store. It looks perfect when you finish staining it. But three weeks later, you notice the tabletop starting to bow in the middle. Within two months, cracks appear along the seams. By summer’s end, your masterpiece is practically unusable.
Read also: How to choose the best finish for different wood types?
This tragedy could have been avoided by understanding how to choose quality wood for DIY projects right from the start. The right wood selection affects:
1. Structural Integrity
Quality wood maintains its shape and strength over time. Poor quality wood warps, twists, and cracks – sometimes within weeks of completing your project.
2. Ease of Construction
Some woods are notoriously difficult for beginners to work with (looking at you, exotic hardwoods). Others like pine are much more forgiving when you’re learning how to choose quality wood for DIY projects.
3. Final Appearance
The wood you select determines whether your finished project looks like a professional piece or a grade school woodshop experiment. Grain patterns, color variations, and texture all play crucial roles.
4. Long-Term Maintenance
Understanding how to choose quality wood for DIY projects means selecting materials that won’t require constant repairs or refinishing down the road.
5. Emotional Satisfaction
There’s an indescribable pride that comes from creating something beautiful with your own hands – but only if it lasts. Learning how to choose quality wood for DIY projects ensures your hard work stands the test of time.
The Psychology Behind Wood Selection
What most guides won’t tell you about how to choose quality wood for DIY projects is the emotional component. Standing in that lumber aisle can trigger:
- Analysis paralysis from too many options
- Imposter syndrome (“Do I really belong here?”)
- Fear of wasting money on the wrong materials
- Performance anxiety about your skills
These feelings are completely normal. Even now, after building dozens of furniture pieces, I still get butterflies when selecting wood for important projects. The difference? I’ve learned systems for how to choose quality wood for DIY projects that remove the guesswork.
Understanding Wood Types: Hardwoods vs Softwoods Demystified
When learning how to choose quality wood for DIY projects, the first major distinction is between hardwoods and softwoods. Contrary to what the names suggest:
- Hardwoods don’t always feel harder
- Softwoods aren’t necessarily softer
The classification actually refers to the tree type they come from. Here’s what you need to know when determining how to choose quality wood for DIY projects:
Hardwoods: The Premium Choice
Hardwoods come from deciduous trees that lose their leaves annually. They’re generally (but not always) denser and more expensive – ideal for furniture and high-end projects when you’re learning how to choose quality wood for DIY projects.
Most Common Hardwoods for DIY Projects:
- Oak
- Why it’s great: Extremely durable with beautiful prominent grain
- Best for: Furniture, flooring, cabinetry
- Pro tip: Red oak stains better than white oak for beginners
- Maple
- Why it’s great: Hard and resistant to wear
- Best for: Cutting boards, butcher blocks, workbenches
- Pro tip: Can be difficult to stain evenly – practice first
- Cherry
- Why it’s great: Rich color that darkens beautifully over time
- Best for: Heirloom furniture, decorative pieces
- Pro tip: More expensive but worth it for special projects
- Walnut
- Why it’s great: Stunning dark brown color with straight grain
- Best for: Statement furniture, musical instruments
- Pro tip: Premium price but unmatched elegance
- Mahogany
- Why it’s great: Rot-resistant with reddish hue
- Best for: Outdoor furniture, boats, decks
- Pro tip: Becoming harder to find sustainably
Softwoods: The Beginner’s Best Friend
Softwoods come from coniferous (evergreen) trees. They’re typically more affordable and easier to work with – perfect when you’re first learning how to choose quality wood for DIY projects.
Most Common Softwoods for DIY Projects:
- Pine
- Why it’s great: Affordable, readily available, easy to cut
- Best for: Shelving, simple furniture, practice projects
- Pro tip: Yellow pine is harder than white pine
- Cedar
- Why it’s great: Natural insect and rot resistance
- Best for: Outdoor projects, closets, chests
- Pro tip: Wonderful aromatic smell lasts years
- Fir
- Why it’s great: Strong and stable for structural work
- Best for: Framing, support beams, work tables
- Pro tip: Often sold as “Douglas fir” in stores
- Redwood
- Why it’s great: Beautiful color, weather resistant
- Best for: Decks, outdoor furniture, garden beds
- Pro tip: More expensive but lasts decades outdoors
- Spruce
- Why it’s great: Lightweight with good strength
- Best for: Musical instruments, crates, millwork
- Pro tip: Often used for soundboards in guitars
Lesser Known Woods Worth Considering
As you advance in understanding how to choose quality wood for DIY projects, explore these specialty options:
- Poplar: Paints beautifully, great for hidden parts
- Alder: Affordable alternative to cherry
- Ash: Tough but flexible, perfect for tool handles
- Basswood: Carves like butter for detailed work
- Cypress: Naturally waterproof for humid climates
Step-by-Step: How to Choose Quality Wood for DIY Projects
Now that you understand wood types, let’s dive into the practical steps for how to choose quality wood for DIY projects that professionals use. Follow this foolproof system every time:
Step 1: Define Your Project’s Purpose
Your first consideration when learning how to choose quality wood for DIY projects should always be the project’s intended use. Ask yourself:
- Indoor or outdoor use? Outdoor projects need weather-resistant woods
- Structural or decorative? Weight-bearing pieces require stronger woods
- Painted or natural finish? Some woods take paint better than others
- Frequently handled? Table tops need more durable surfaces
Pro Tip: Create a simple project requirements checklist before shopping.
Step 2: Master the Art of Board Inspection
Learning how to choose quality wood for DIY projects requires developing a keen eye for spotting defects. Here’s what to examine:
1. Check for Warping (The Sight Test)
- Place the board on a flat surface
- Look down its length like a rifle barrel
- Any bowing, twisting or cupping means reject it
2. Examine for Cracks (The End Grain Check)
- Inspect both ends of the board
- Small checks are normal in some woods
- Large cracks that run along the length are bad
3. Evaluate Knots (The Beauty vs Strength Balance)
- Small tight knots add character
- Large loose knots weaken the structure
- Avoid knots in critical stress areas
4. Moisture Content (The Tap Test)
- Knock on the wood with your knuckle
- A hollow sound suggests internal drying issues
- Dense, solid sound indicates good integrity
Step 3: Understand Wood Grading Systems
Part of knowing how to choose quality wood for DIY projects is deciphering those mysterious grade stamps:
- FAS (First and Second): Highest quality, minimum defects
- Select: Nearly clear appearance, small defects allowed
- #1 Common: More knots but still structurally sound
- #2 Common: Economical choice with visible imperfections
- Construction Grade: For framing, not fine woodworking
Pro Tip: For visible surfaces, spend extra on Select or better grades.
Step 4: Consider the Finish Early
Your finishing plans affect how to choose quality wood for DIY projects:
For Painting:
- Choose woods with minimal grain like poplar or pine
- Avoid woods with heavy resin like some pines
For Staining:
- Select woods with attractive grain like oak or ash
- Test stains on scrap pieces first
Natural Finish:
- Use woods with beautiful natural color like cherry or walnut
- Consider how the color changes with age
Step 5: Source from the Right Places
Where you buy impacts how to choose quality wood for DIY projects:
Big Box Stores (Home Depot, Lowe’s):
- Pros: Convenient, consistent supply
- Cons: Limited selection, often lower grades
Local Lumberyards:
- Pros: Higher quality, expert advice
- Cons: More expensive, limited hours
Online Specialty Retailers:
- Pros: Exotic woods available
- Cons: Can’t inspect before buying
Reclaimed Wood Sources:
- Pros: Unique character, eco-friendly
- Cons: Requires more preparation work
Climate Considerations: How to Choose Quality Wood for DIY Projects in Your Region
Understanding how to choose quality wood for DIY projects requires considering your local climate. Here’s a regional breakdown:
Humid Climates (Florida, Louisiana, Coastal Areas)
Challenges:
- Wood absorbs moisture and swells
- Mold and mildew growth
- Insect infestations
Best Woods:
- Cedar (natural rot resistance)
- Teak (weatherproof)
- Pressure-treated pine
Pro Tip: Always allow wood to acclimate to your shop before working.
Hot, Dry Climates (Arizona, Nevada, New Mexico)
Challenges:
- Wood dries out and cracks
- Rapid moisture loss
- UV damage
Best Woods:
- Mesquite (extremely stable)
- Redwood (UV resistant)
- White oak
Pro Tip: Use penetrating oils instead of surface finishes.
Cold Climates (Midwest, Northeast, Mountain States)
Challenges:
- Extreme temperature swings
- Indoor heating dries wood
- Freeze/thaw cycles
Best Woods:
- Maple (stable in humidity changes)
- Cherry (beautiful indoor option)
- Ash (handles cold well)
Pro Tip: Humidify your workshop in winter.
Variable Climates (California, Pacific Northwest)
Challenges:
- Coastal vs inland differences
- Microclimates
- Seasonal changes
Best Woods:
- Douglas fir (versatile)
- Red cedar (coastal areas)
- Walnut (inland valleys)
Pro Tip: Check local lumber mills for regional specialties.
Essential Tools for Working With Your Chosen Wood
Now that you know how to choose quality wood for DIY projects, let’s discuss the tools you’ll need:
Measuring & Marking
- Tape measure (get both imperial and metric)
- Combination square
- Carpenter’s pencil
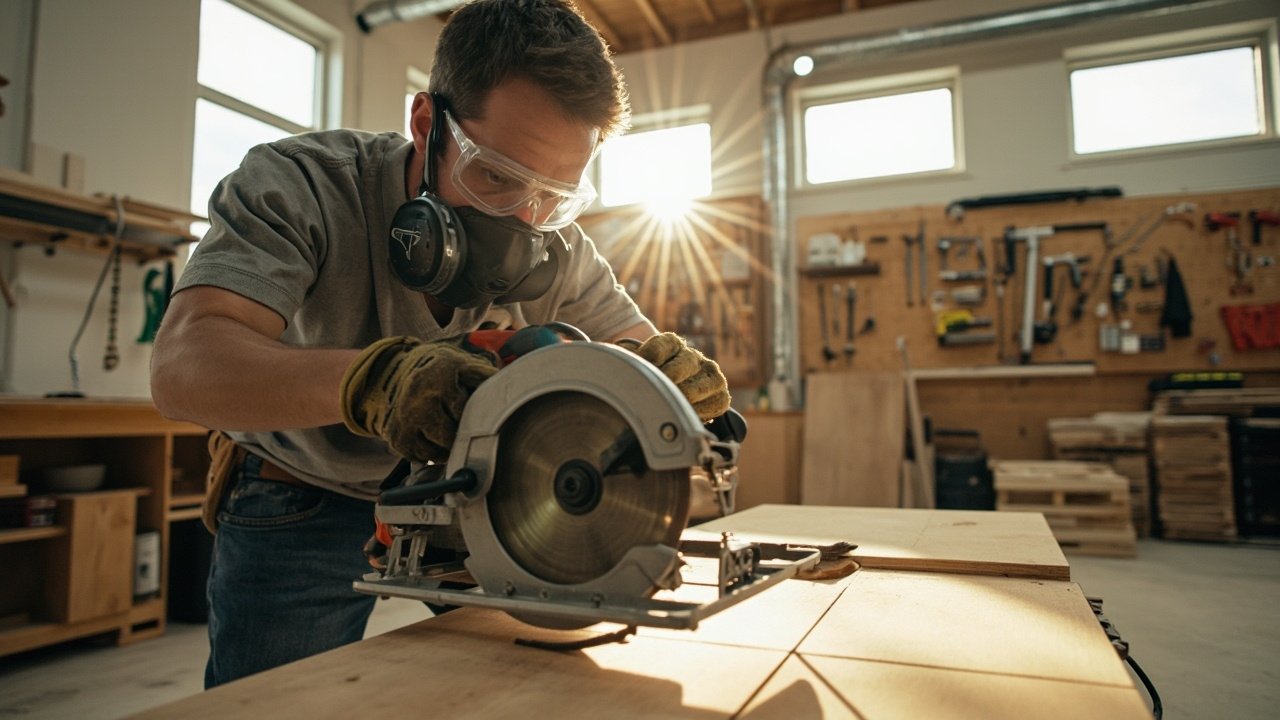
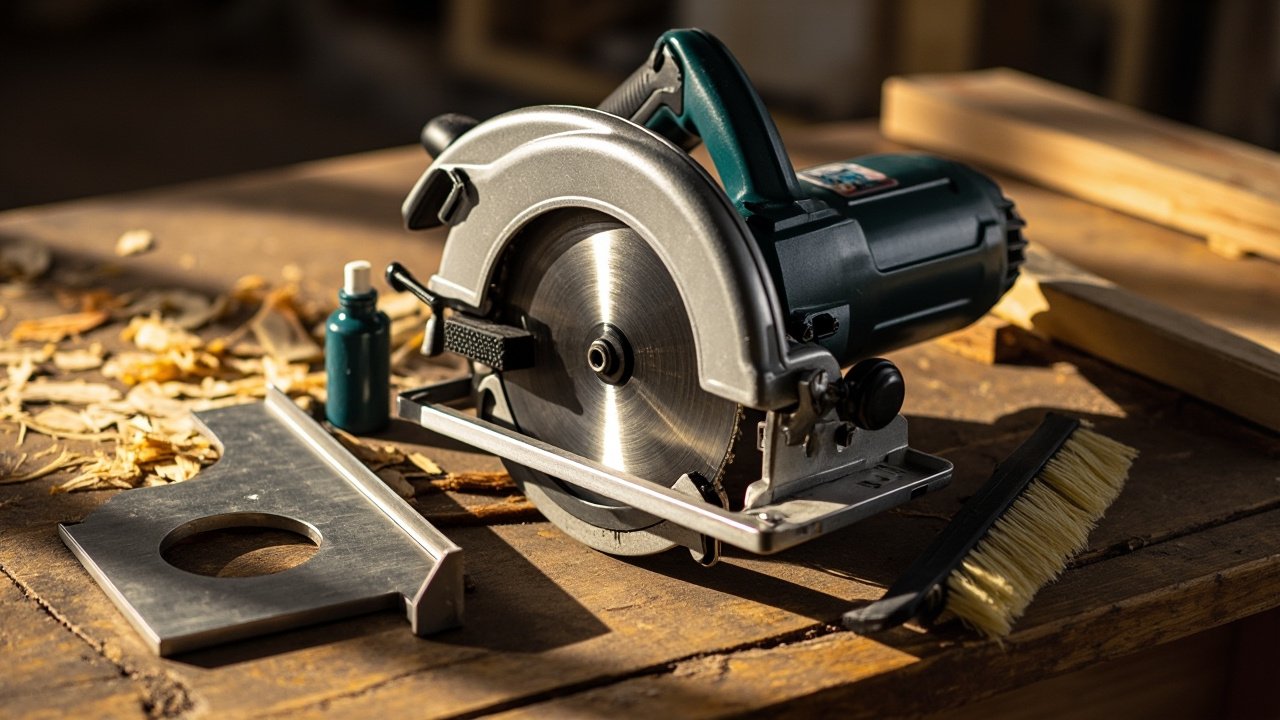
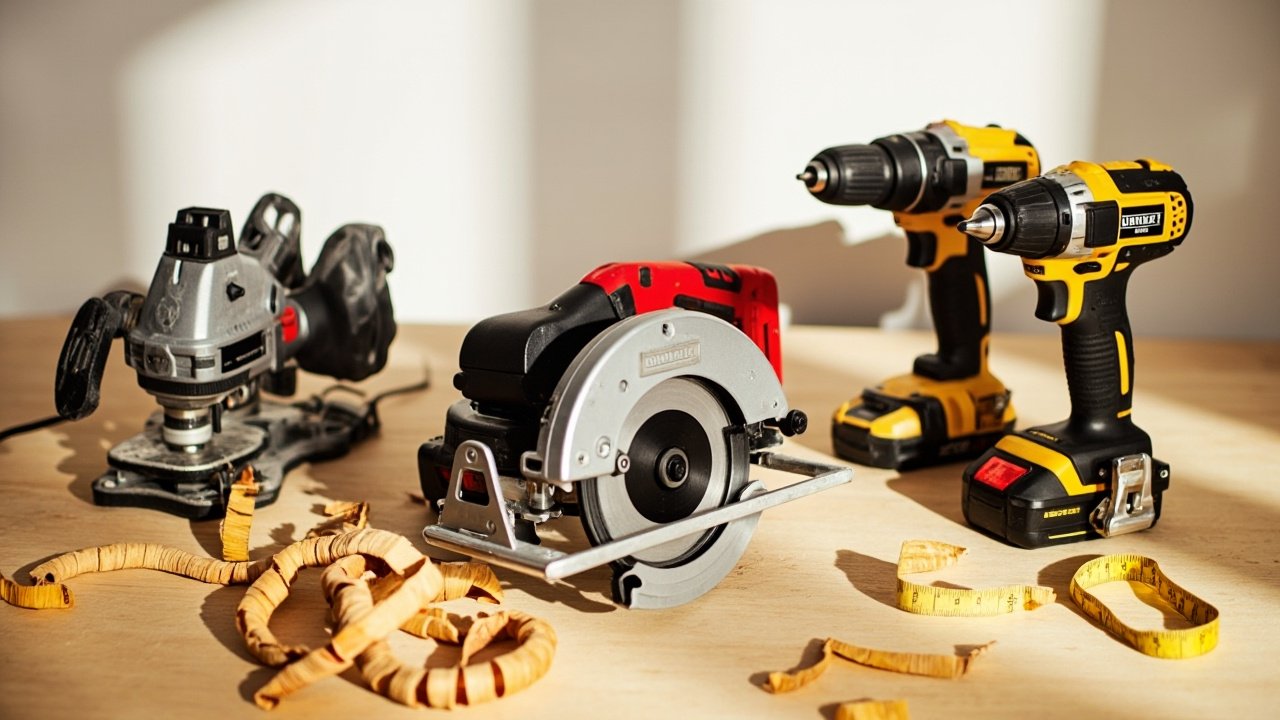
Cutting Tools
- Circular saw (beginner friendly)
- Miter saw (for precise angles)
- Jigsaw (for curves)
Shaping & Smoothing
- Random orbital sander
- Hand planes
- Rasp set
Joinery
- Power drill/driver
- Pocket hole jig
- Clamps (you can never have too many)
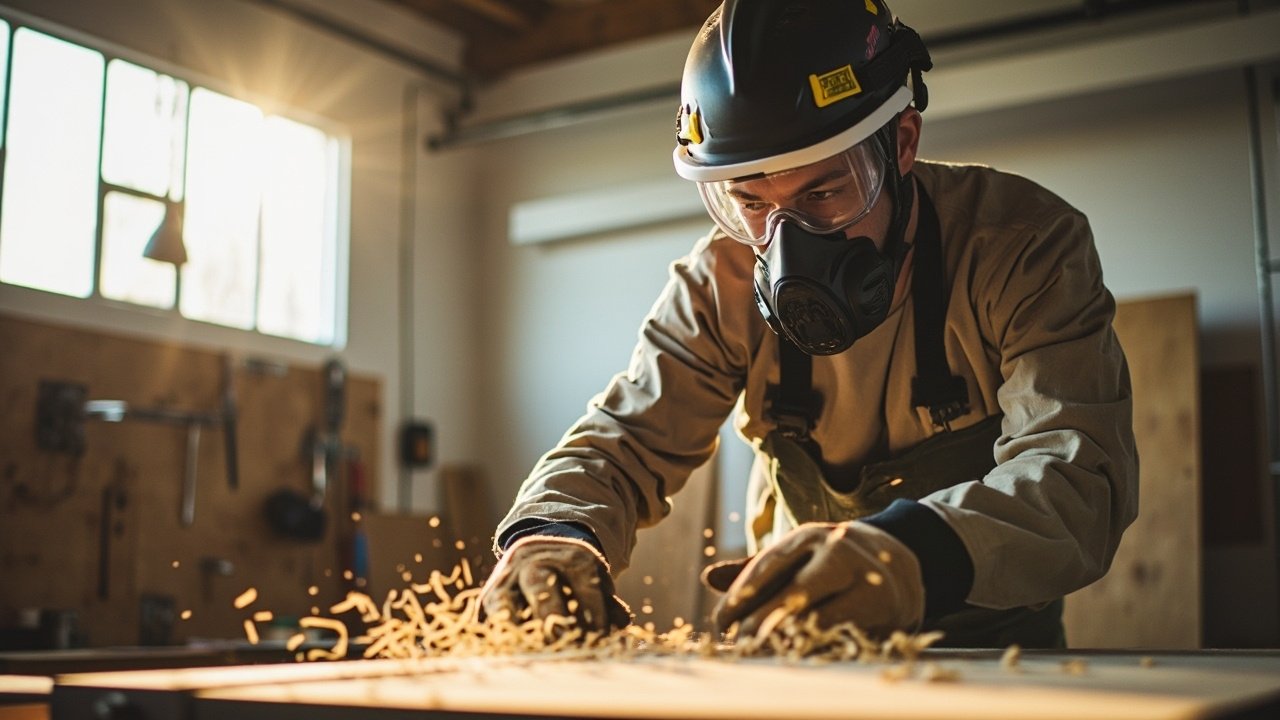
Safety Gear
- Safety glasses
- Hearing protection
- Dust mask/respirator
25 Most Common Mistakes When Choosing Wood
Even with this guide on how to choose quality wood for DIY projects, beginners often make these errors:
- Buying the cheapest option available
- Not checking for warping before purchasing
- Ignoring wood grain direction
- Choosing the wrong wood for their climate
- Not buying extra for mistakes
- Selecting boards with large knots in critical areas
- Not considering how the wood will age
- Forgetting to check end grain for cracks
- Not acclimating wood to their shop
- Mixing incompatible wood types in one project
- Overlooking local wood options
- Not asking for help at the lumberyard
- Buying wood that’s too thick or thin for their project
- Not planning for wood movement
- Choosing pretty boards over structurally sound ones
- Not considering weight for large projects
- Forgetting to check moisture content
- Not inspecting all sides of each board
- Buying wood that’s too green
- Not storing wood properly before use
- Overlooking recycled/reclaimed options
- Not considering how the wood takes finish
- Buying only clear boards when character wood would look better
- Not checking return policies before purchasing
- Getting discouraged after one bad experience
Expert Tips for Specific Projects
Here’s how to choose quality wood for DIY projects based on common project types:
Furniture Projects
Best Choices:
- Tables: Hard maple, walnut, cherry
- Chairs: White oak, ash, hickory
- Cabinets: Birch, maple, quarter-sawn oak
Pro Tip: Invest in quality wood for furniture – it’s worth it.
Outdoor Projects
Best Choices:
- Decks: Pressure-treated pine, cedar, composite
- Fences: Cedar, redwood, cypress
- Garden boxes: Cedar, redwood
Pro Tip: Use stainless steel hardware outdoors.
Small Decorative Items
Best Choices:
- Picture frames: Maple, cherry, walnut
- Cutting boards: Hard maple, walnut, cherry
- Carvings: Basswood, butternut
Pro Tip: Buy smaller pieces from scrap bins.
The Complete FAQ Section
Here are expanded answers to the most common questions about how to choose quality wood for DIY projects:
Q1: What’s the absolute best wood for complete beginners?
A: For your first projects, stick with pine or poplar. They’re affordable, readily available at all home centers, and easy to work with basic tools. Pine is softer (easier to cut/sand) while poplar takes paint beautifully. Avoid expensive hardwoods until you’ve mastered fundamental skills.
Q2: How can I tell if wood is dry enough to use?
A: Use these professional methods:
- Moisture meter (most accurate, about $30)
- Weight test – Dry wood feels significantly lighter
- Sound test – Dry wood “rings” when tapped
- Sawdust test – Dry wood produces fluffy sawdust
Wood should be below 12% moisture for indoor projects, ideally 6-8%.
Q3: What’s the difference between construction lumber and furniture-grade wood?
A: Construction lumber (2x4s, etc.) is:
- Cut for structural strength, not appearance
- Often has more knots and imperfections
- Typically not dried as carefully
- May still contain sap/resin
Furniture-grade wood is:
- Selected for appearance and workability
- Carefully dried to prevent warping
- Available in wider, thicker dimensions
- More expensive but worth it for fine projects
Q4: How much extra wood should I buy for mistakes?
A: Follow this simple formula:
- Simple projects: Add 20% to your measurements
- Complex projects: Add 30-50%
- First-time projects: Consider doubling your estimate
It’s better to have leftovers than to run out mid-project and risk not matching color/grain.
Q5: Can I mix different wood types in one project?
A: Yes, but follow these guidelines:
- Choose woods with similar movement rates
- Consider how finishes will look on each
- Use contrasting colors intentionally
- Avoid mixing softwoods and hardwoods structurally
Q6: How do I store wood before using it?
A: Proper storage is crucial:
- Keep indoors in climate-controlled space
- Stack flat with spacers between boards
- Place heavy weights on top to prevent warping
- Allow at least 1 week per inch of thickness to acclimate
Q7: What does “quarter sawn” mean and is it worth the extra cost?
A: Quarter sawn wood is cut radially from the log, resulting in:
- More stable boards (less movement)
- Beautiful straight grain patterns
- Higher durability
It’s worth it for:
- Fine furniture
- Musical instruments
- Projects where stability is critical
Q8: How can I get quality wood on a tight budget?
A: Try these money-saving tips:
- Check lumberyard “cull” bins
- Look for “shorts” (shorter lengths)
- Buy S4S (surfaced four sides) to skip planing
- Consider veneers over solid wood for large surfaces
- Use construction lumber for hidden parts
Q9: What wood should I avoid as a beginner?
A: Steer clear of these until you gain experience:
- Exotic hardwoods (extremely dense)
- Highly figured woods (difficult to work)
- Green/wet wood (will warp as it dries)
- Reclaimed wood with hidden metal
Q10: How do I choose wood for projects that will be painted?
A: The best woods for painting:
- Poplar (smooth, minimal grain)
- Maple (tight grain)
- MDF (for ultra-smooth surfaces)
Avoid:
- Woods with heavy grain (oak)
- Resinous woods (some pines)
- Woods prone to bleed-through (cherry)
Final Thoughts: Your Wood Selection Journey
Learning how to choose quality wood for DIY projects is a skill that improves with practice. Remember:
- Start simple with pine or poplar
- Always inspect each board carefully
- Consider your project’s purpose and environment
- Don’t be afraid to ask for help at the lumberyard
- Keep notes on what works for future reference
The most important tip? Enjoy the process! There’s something magical about transforming raw wood into functional art. With this comprehensive guide on how to choose quality wood for DIY projects, you’re now equipped to select materials with confidence.
Now go forth and create something amazing! Your perfect project starts with the right wood choice.